Presentation Mode
Presentation mode allows you to showcase your animation sequence from various perspectives – perfect for demonstrating the results of your work to others.
You can create a presentation that automatically switches views and defines how long the camera lingers on specific points within the scene.
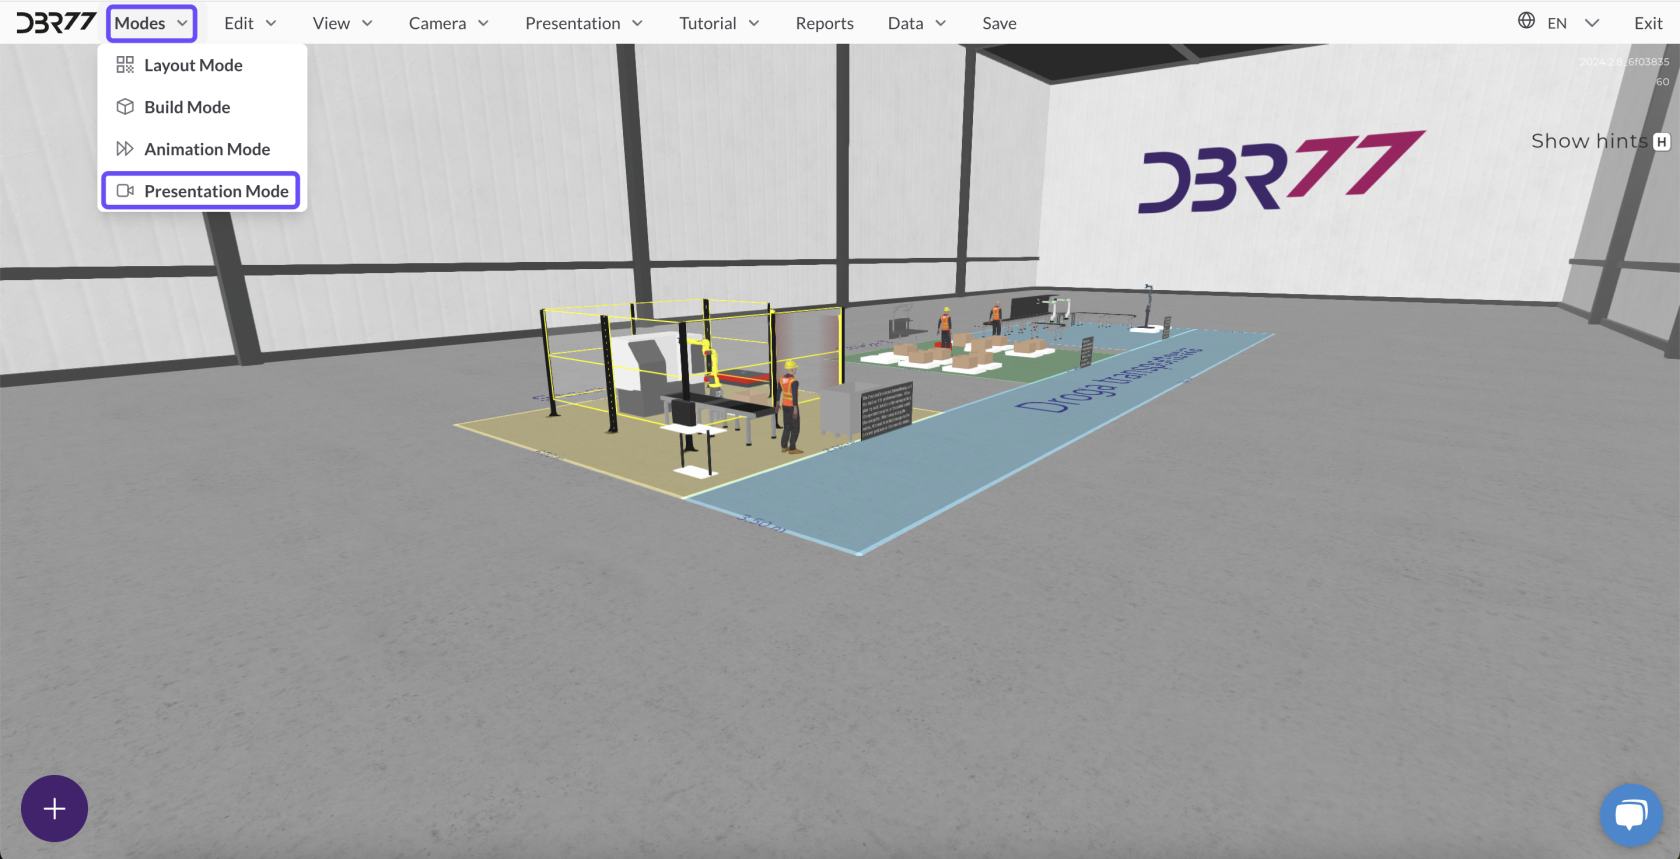
Step 1: Switching to Presentation Mode
- Go to the Modes section in the main menu.
- Select Presentation Mode from the available options.
Step 2: Adding Views and Setting Display Durations
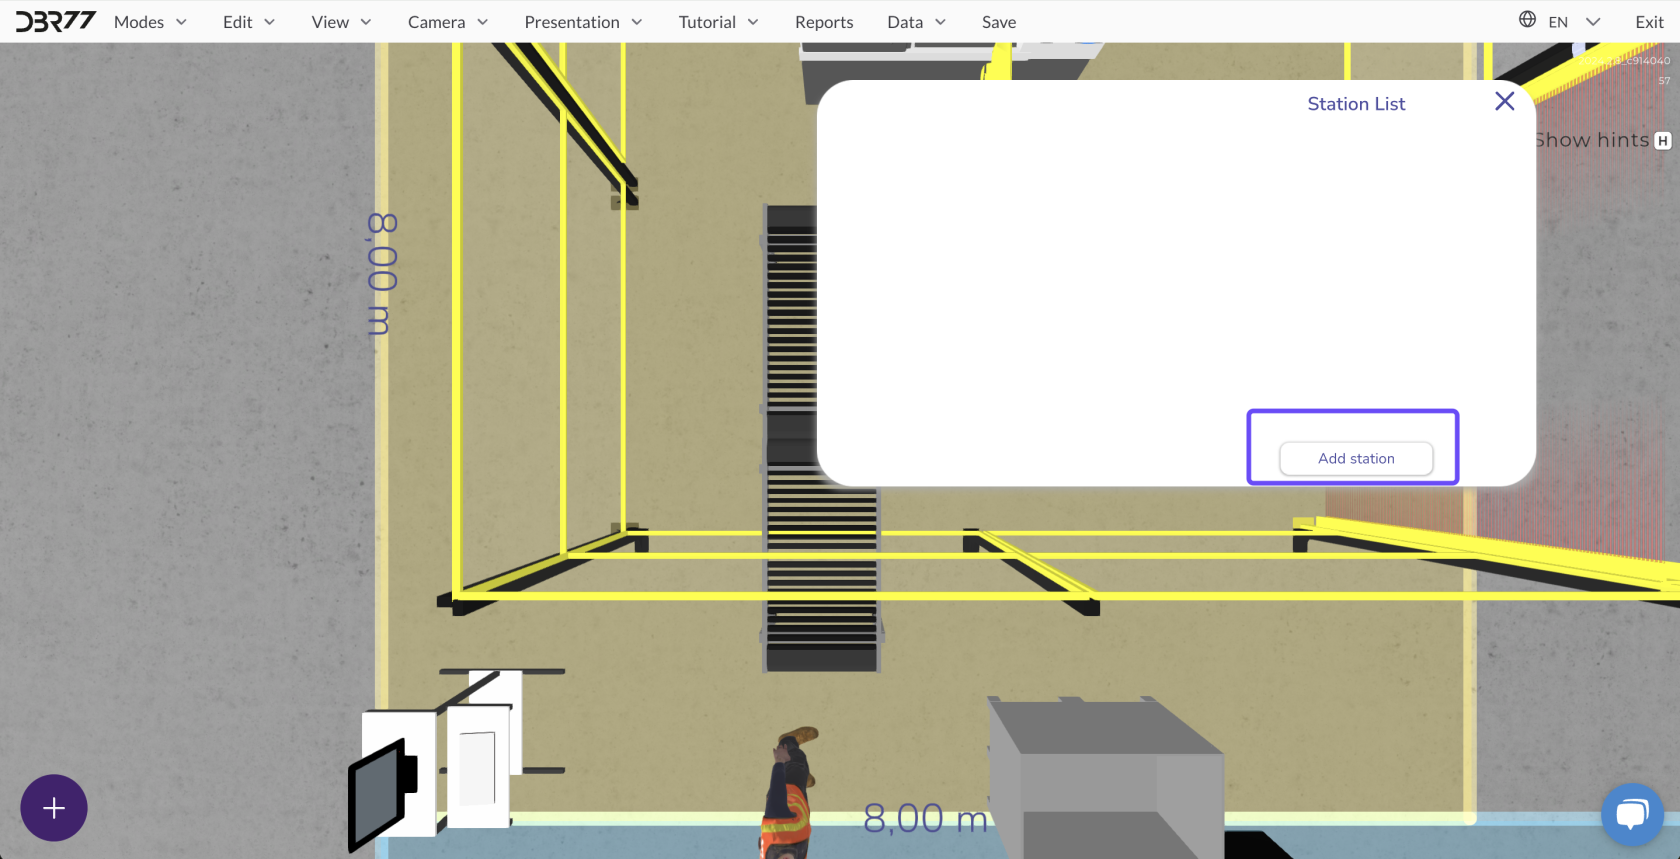
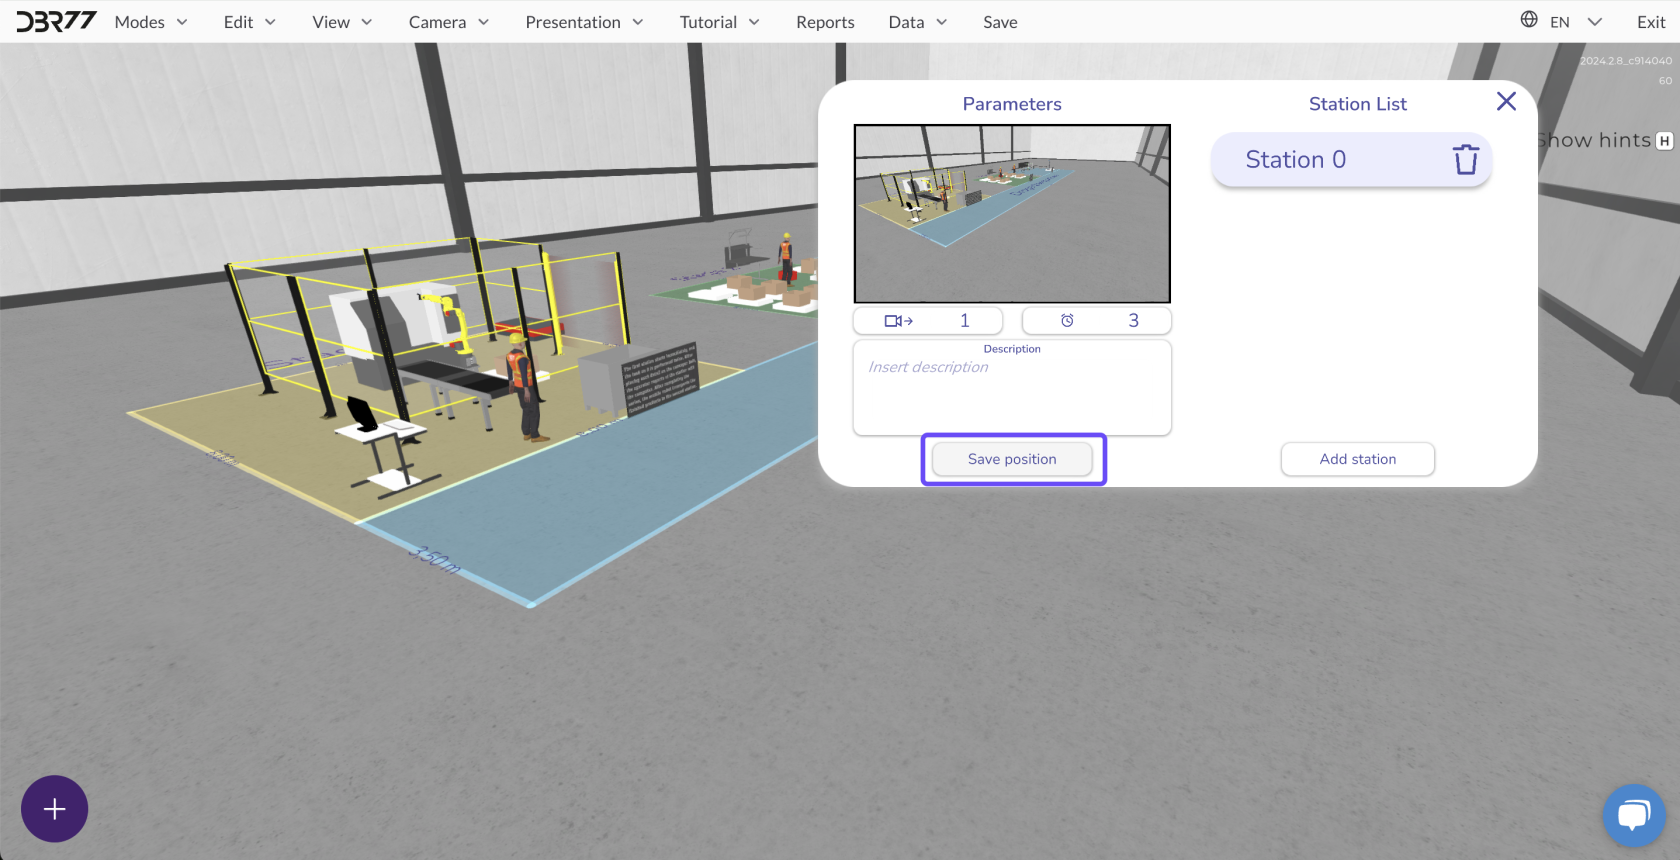
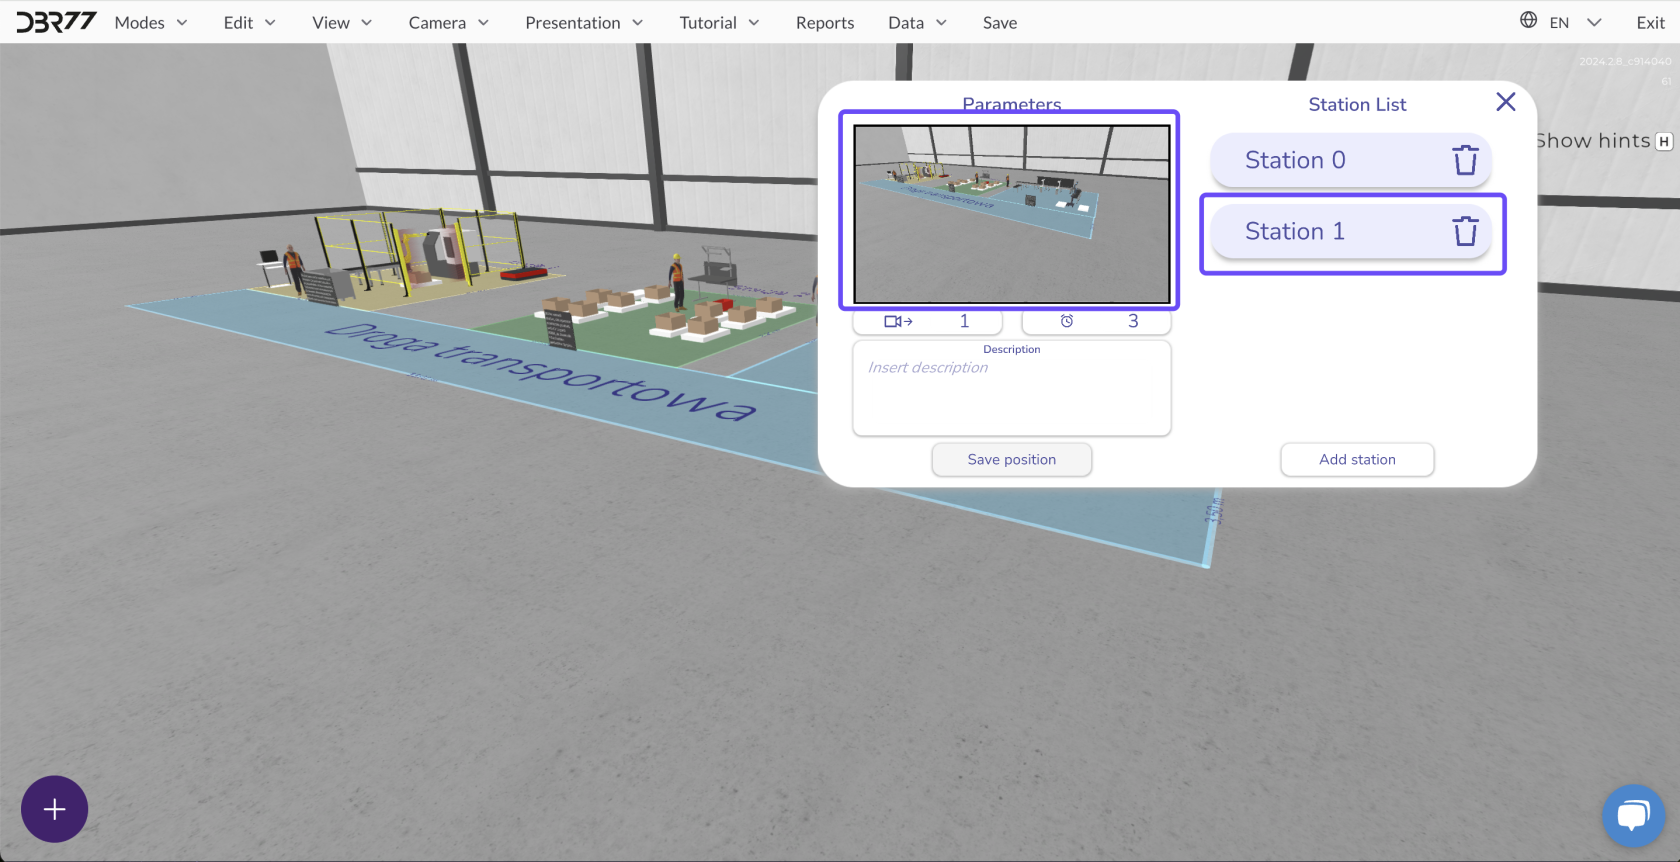
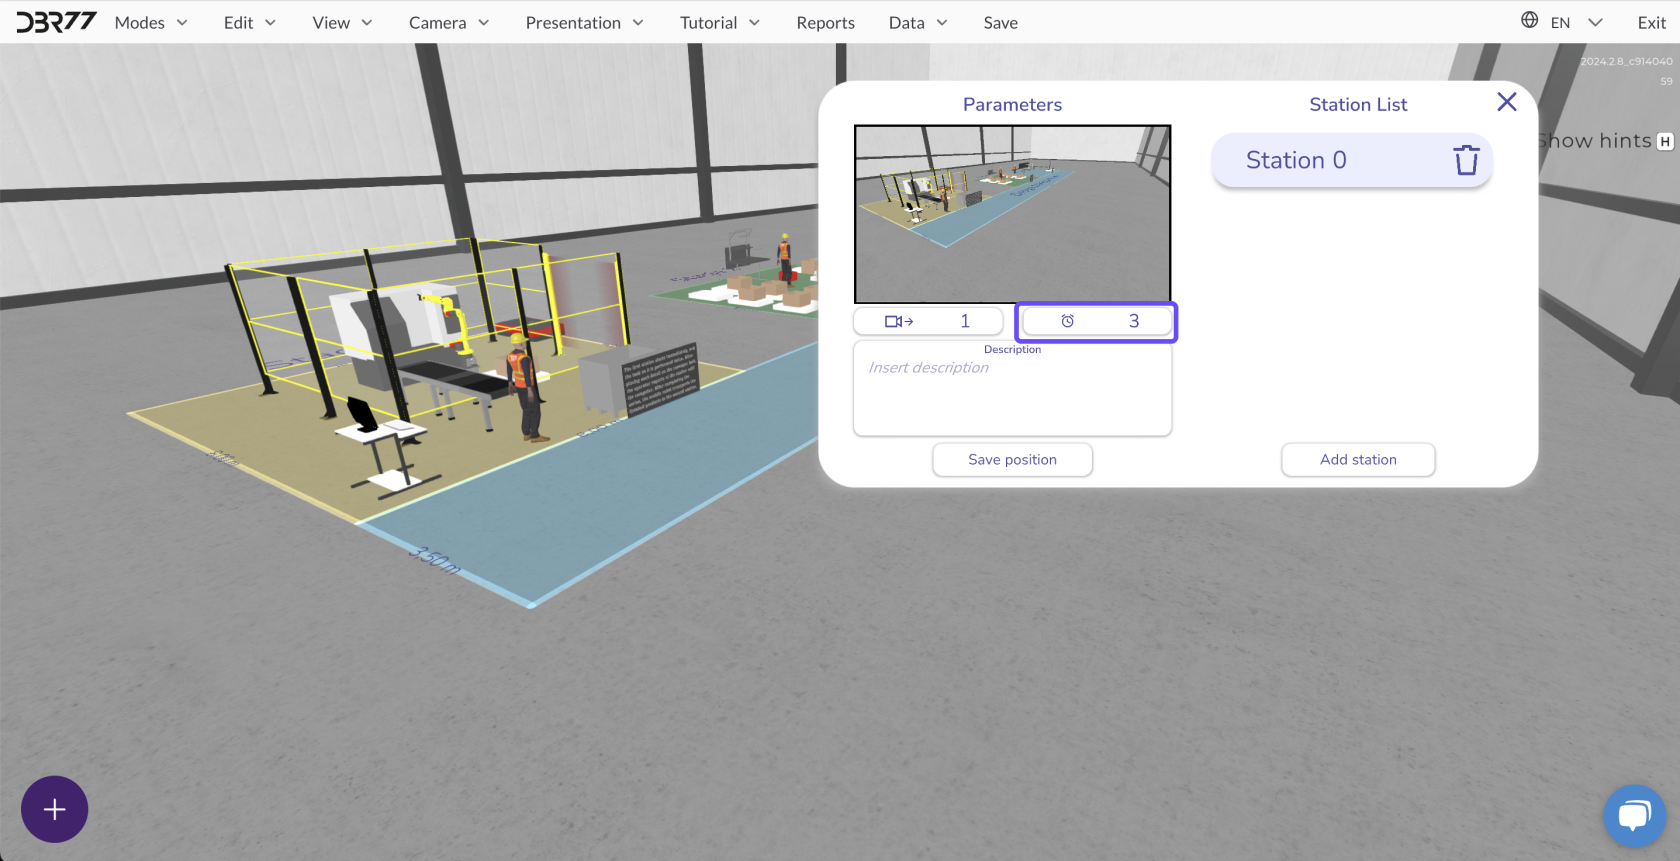
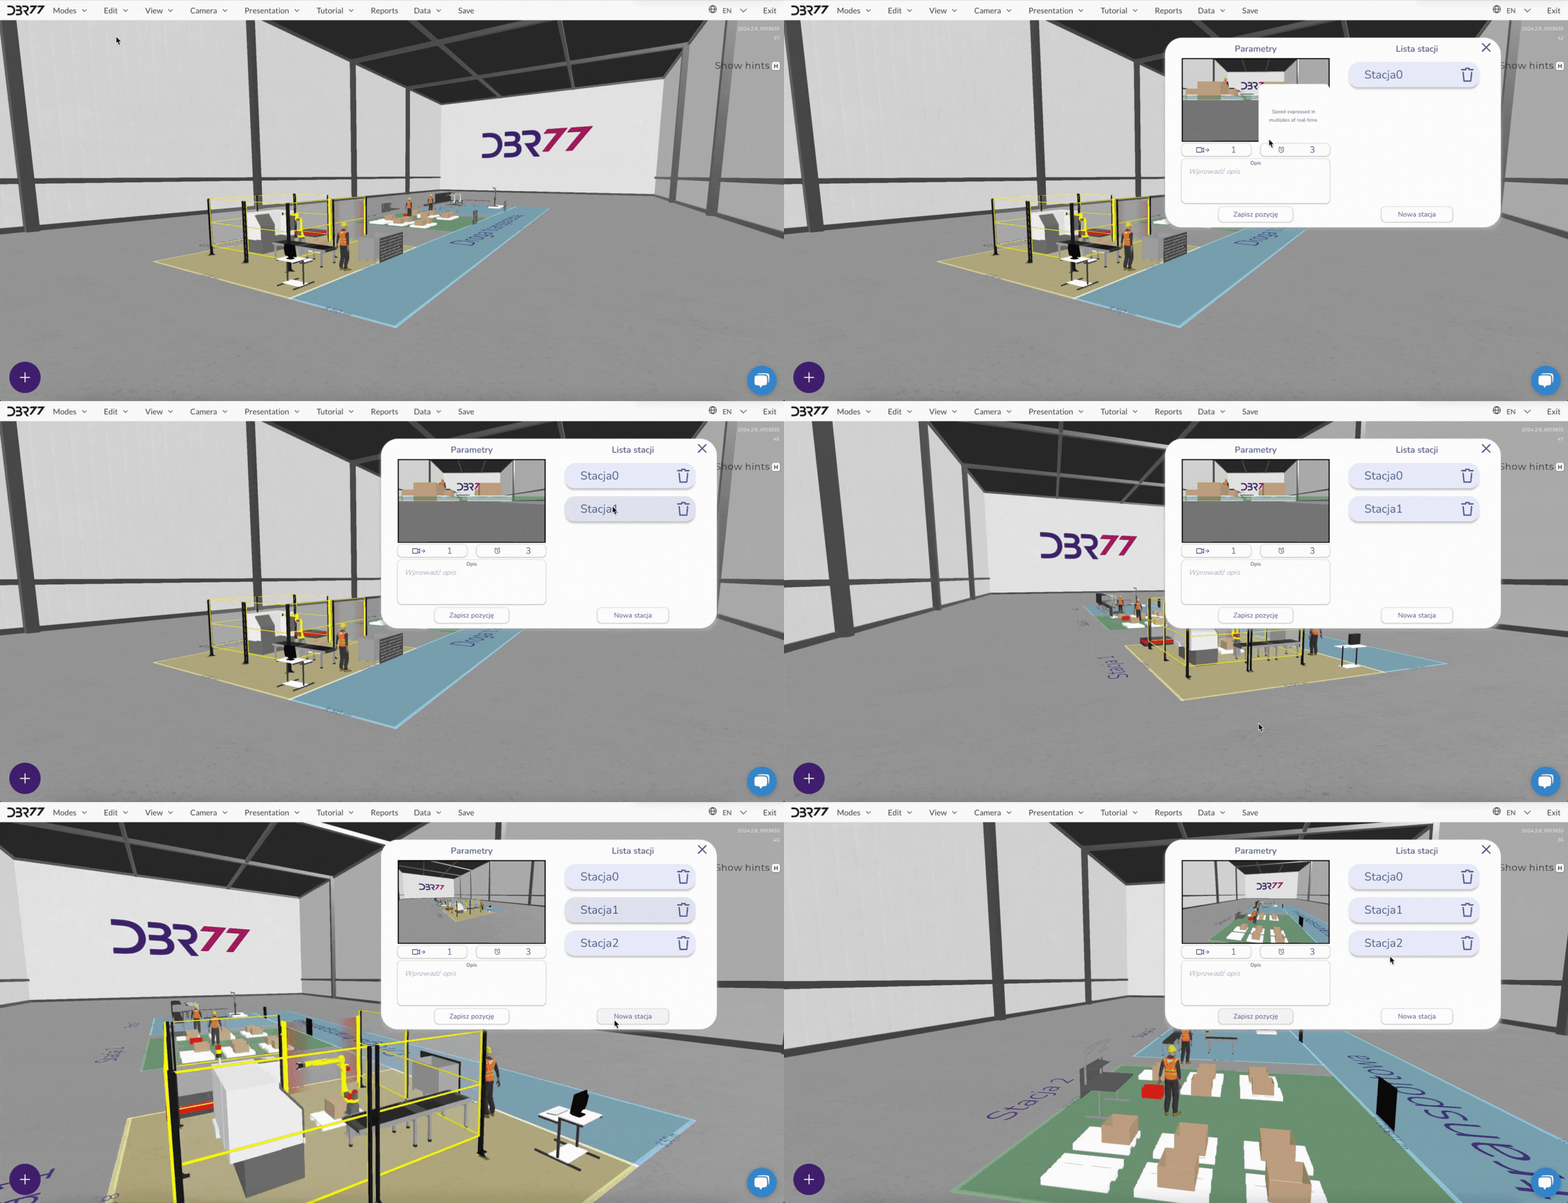
- Once you’ve switched to Presentation Mode, you can add the desired views to be shown during the presentation. Position the camera at the desired points in the scene.
For each view you add, you can set the duration the camera stays in that perspective. This ensures smooth transitions between different angles.
Step 3: Creating the Presentation Material
- After configuring the views and their durations, you can create the presentation material.
- During the presentation, launch the screen recording tool to create a video that you can share with interested parties later.
Step 4: Starting and Stopping the Presentation
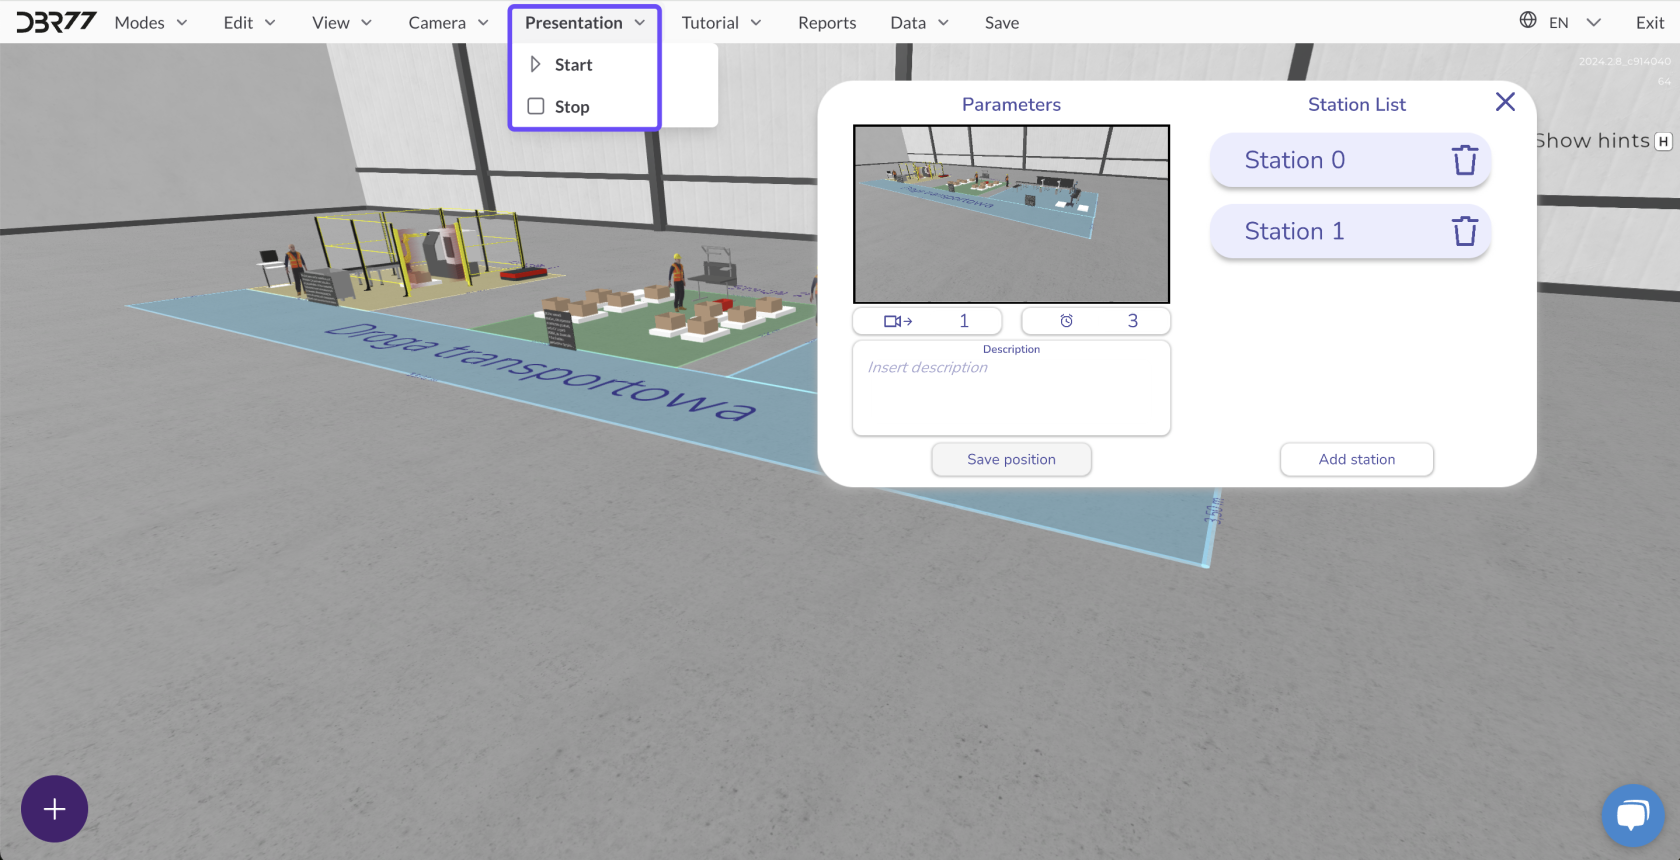
- To start the presentation, select the presentation option in the top menu.
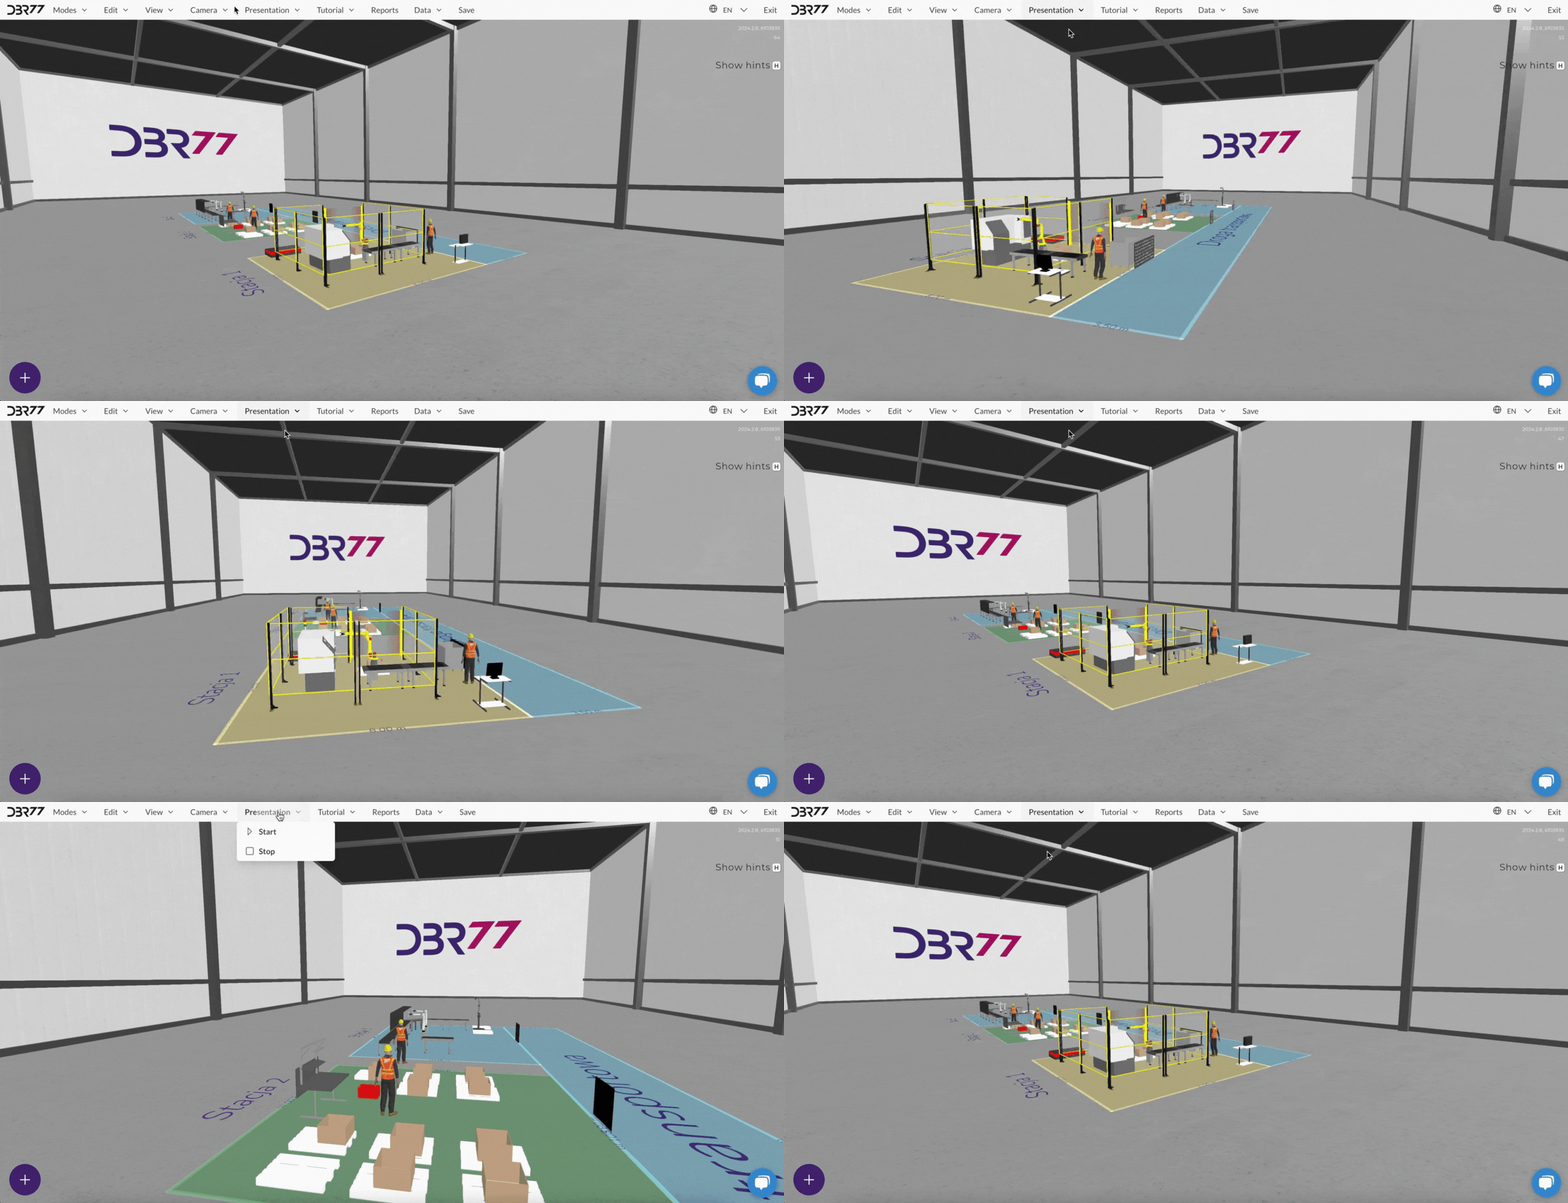
- Click Start, and the presentation will automatically play through all the configured views.
- You can stop the presentation at any time by clicking Stop in the same menu.
The presentation mode enables you to showcase your entire animation impressively by switching camera angles and controlling the pace of the display. This tool is ideal for creating demo materials or visual reports for interested audiences.

No Comments