Configuring Components
Configuring components in the animation process enables a more precise visualization of your production processes. You can control components in various ways, modify their appearance and orientation, and adjust settings during the animation to align them with specific process steps.
Setting Up Input Components:
-
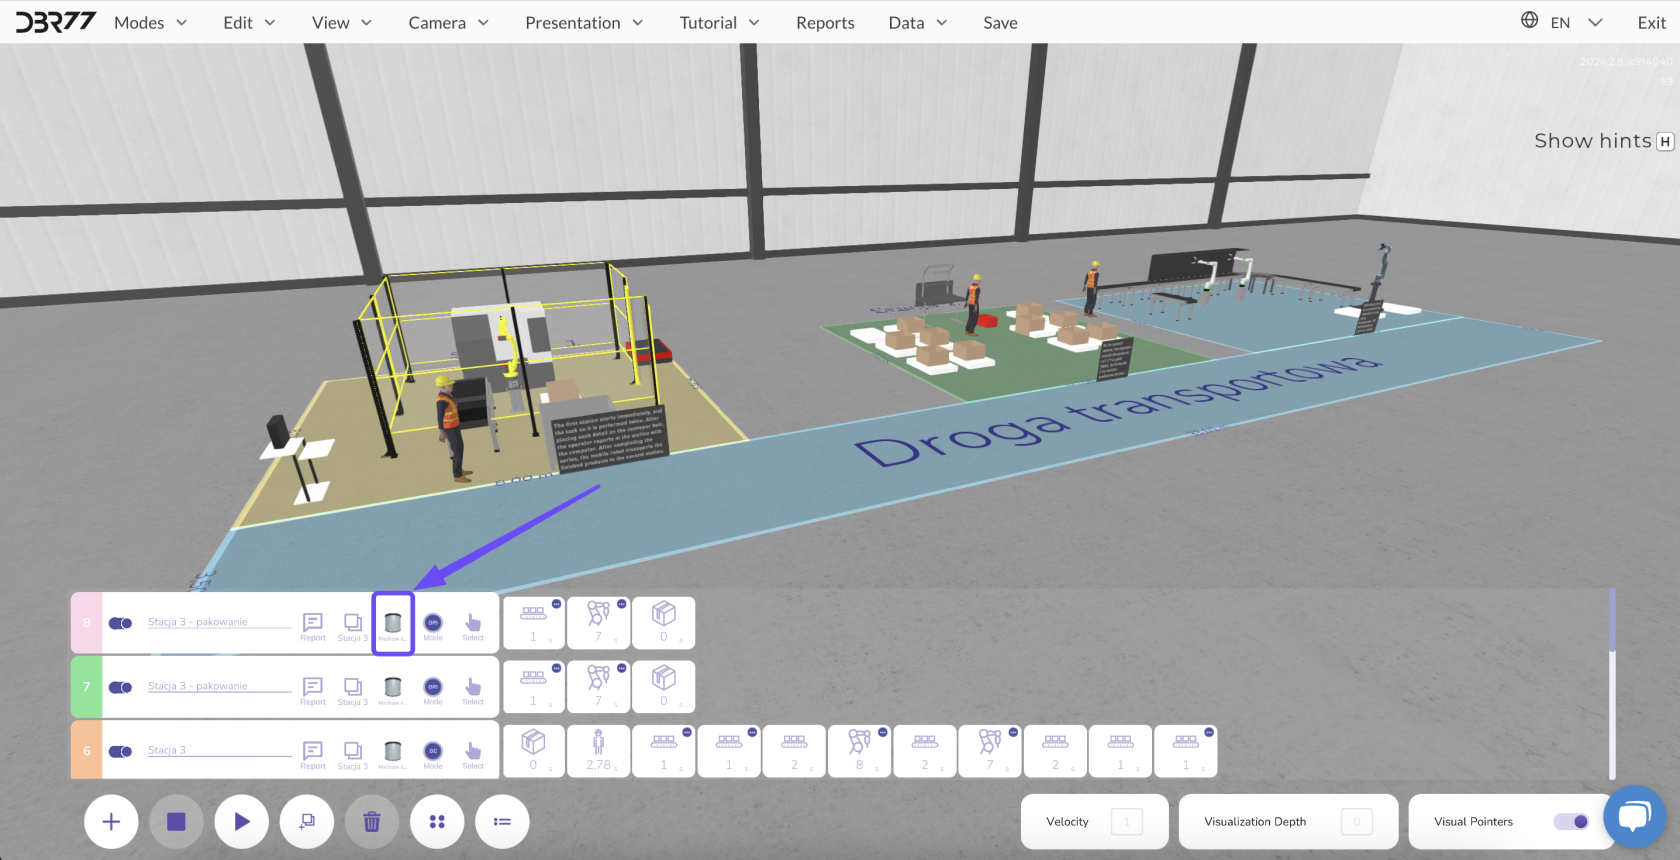
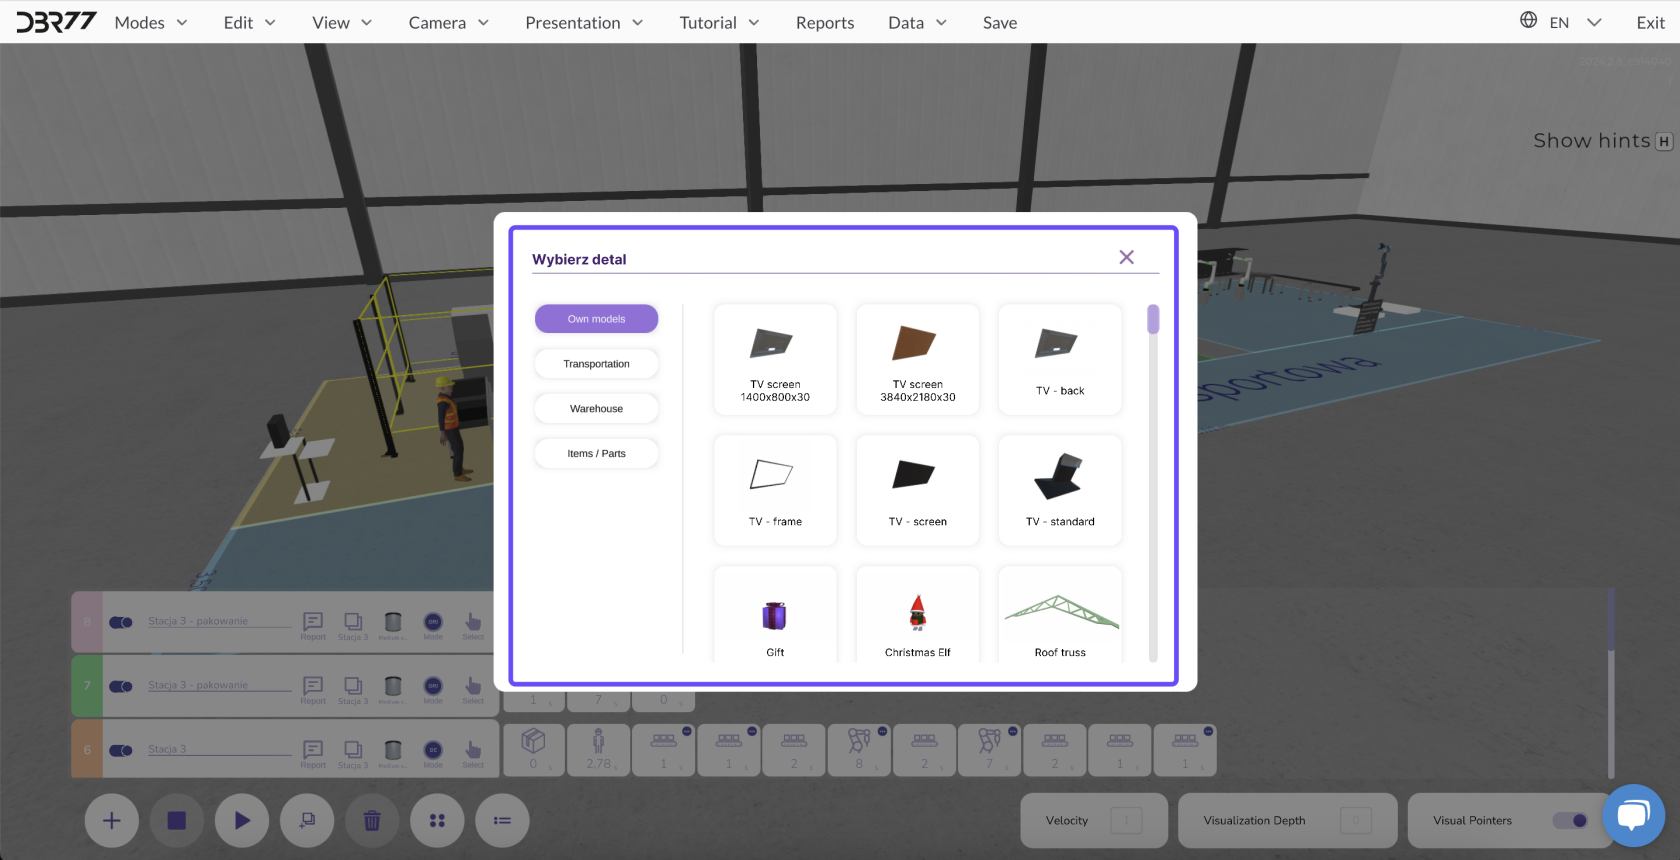
To add an input component to the animation, first select the desired model from the available options.
-
The input component represents the item being processed during the simulation. It can be introduced at the start of the production process or at any step of the animation, depending on the requirements.
Modifying Components During the Animation:
-
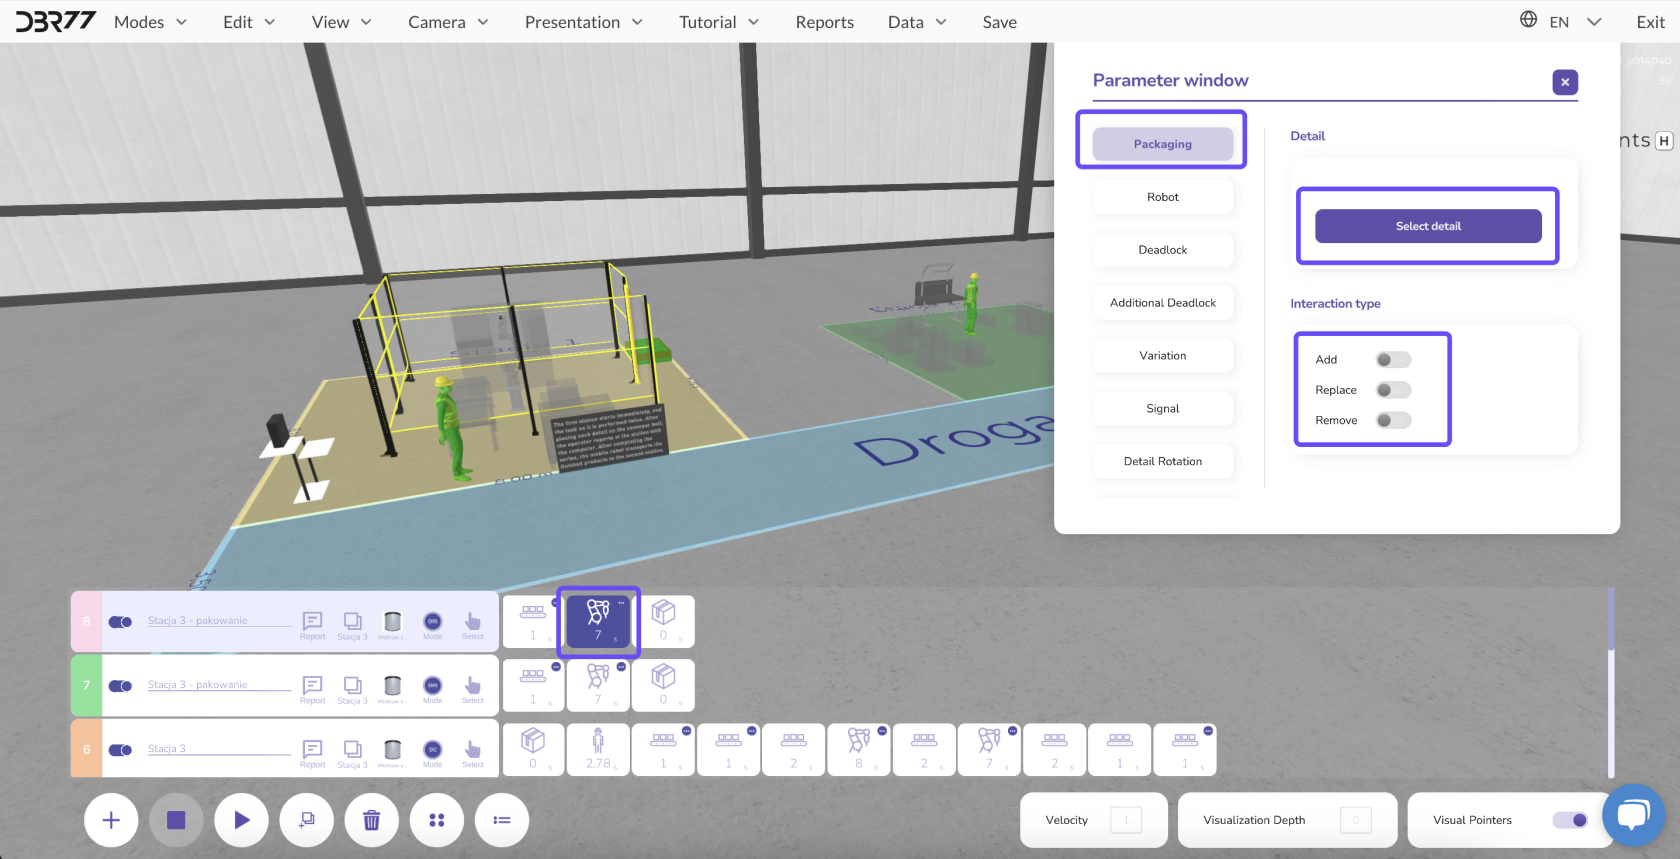
You can assign different components at various stages of the animation. For example, a component on the conveyor belt can undergo multiple processing steps, transforming into another component.
- Open the parameter window for the specific animation step to change the component.
- Select the new component to appear at that phase.
This approach allows you to depict the entire production cycle, from raw materials to finished products.
You can add, replace, or remove components as needed.
Rotating Components:
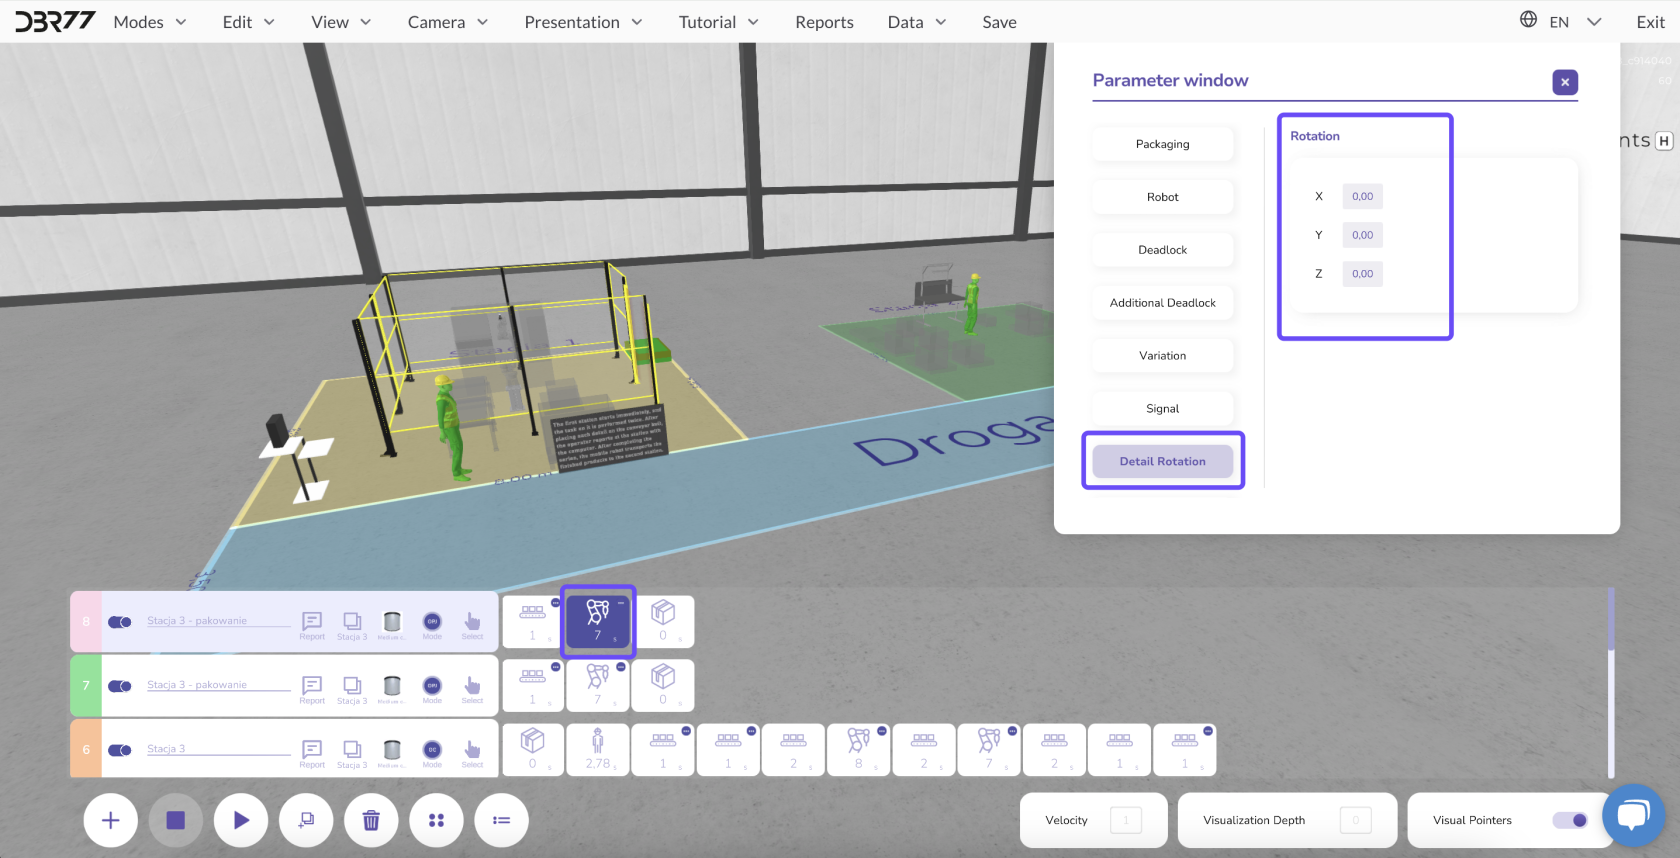
In the animation's parameter window, you can also rotate the component to adjust its orientation.
- This is useful when a component is misaligned on the conveyor belt and needs correction by an operator or robot.
- To rotate the component, enter the desired values in the parameter window and confirm the changes.
By managing components at every stage of the animation, you maintain full control over the production process and its visualization.


No Comments