Adding a New Area in Layout Mode
Adding an area in Layout Mode is a crucial step in designing production, warehouse, or facility spaces. Follow these steps to create a new area and ensure accuracy in your design.
Steps to Add a New Area
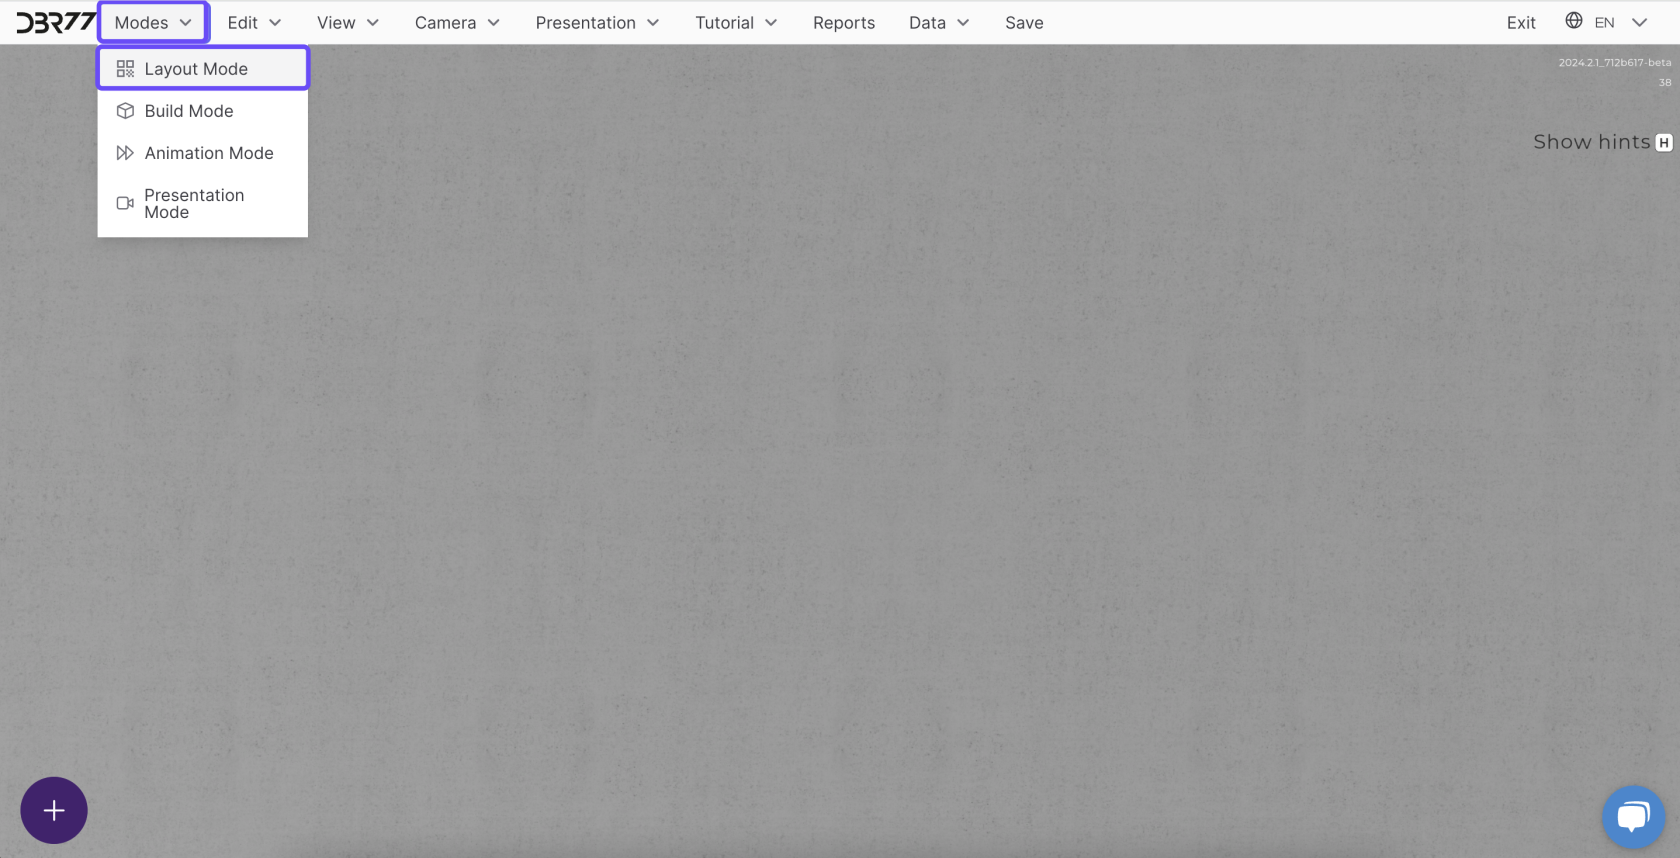
Switch to Layout Mode
- Ensure you are in Layout Mode by selecting it from the "Modes" menu.
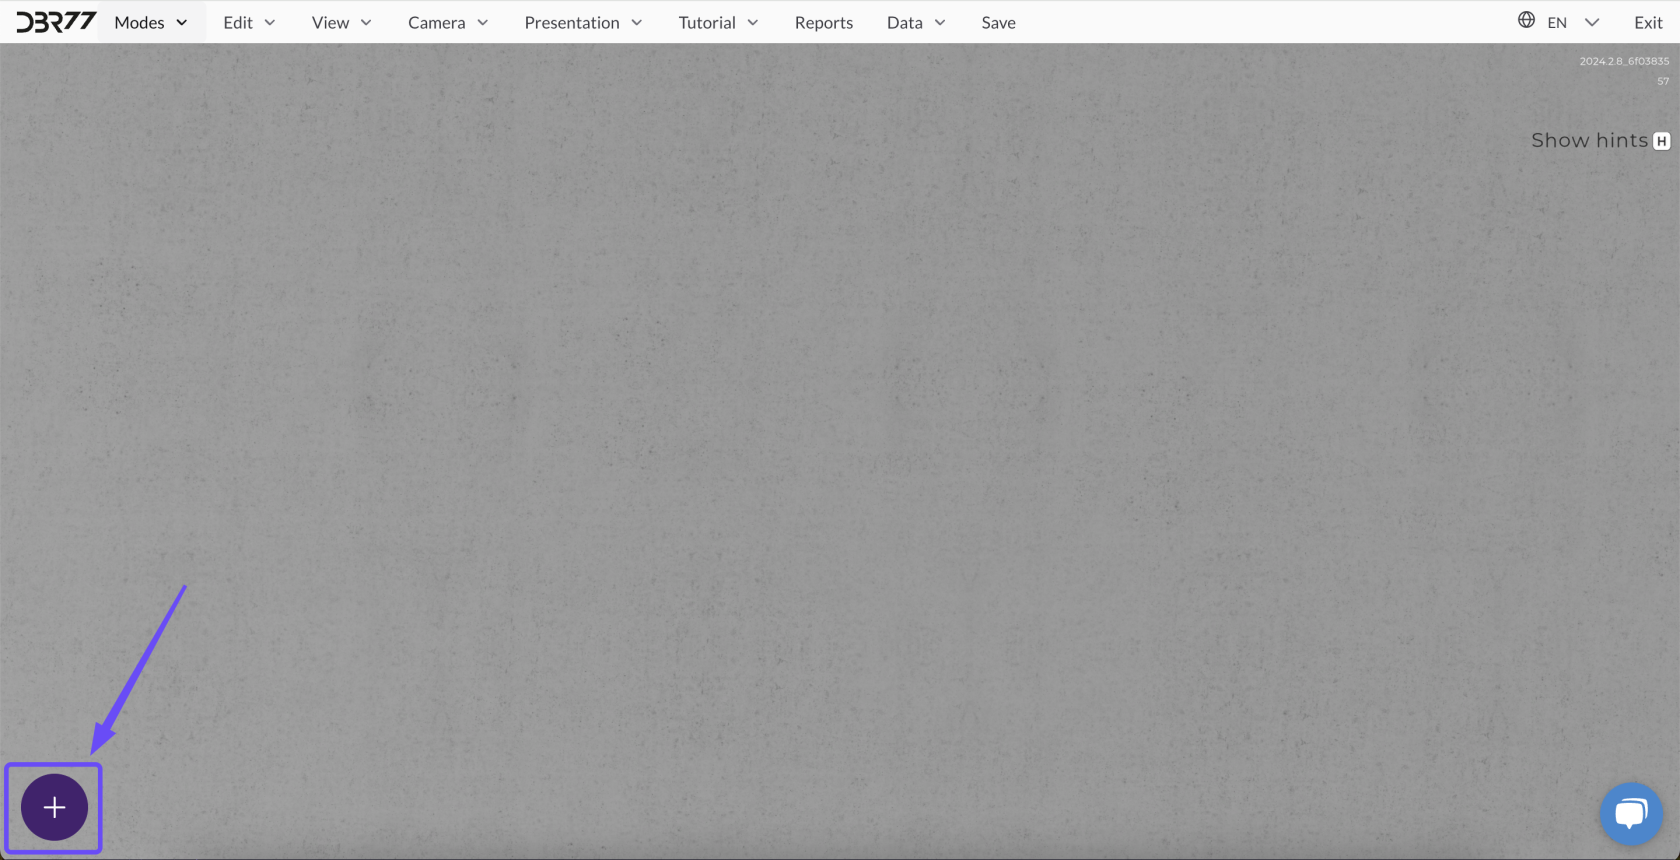
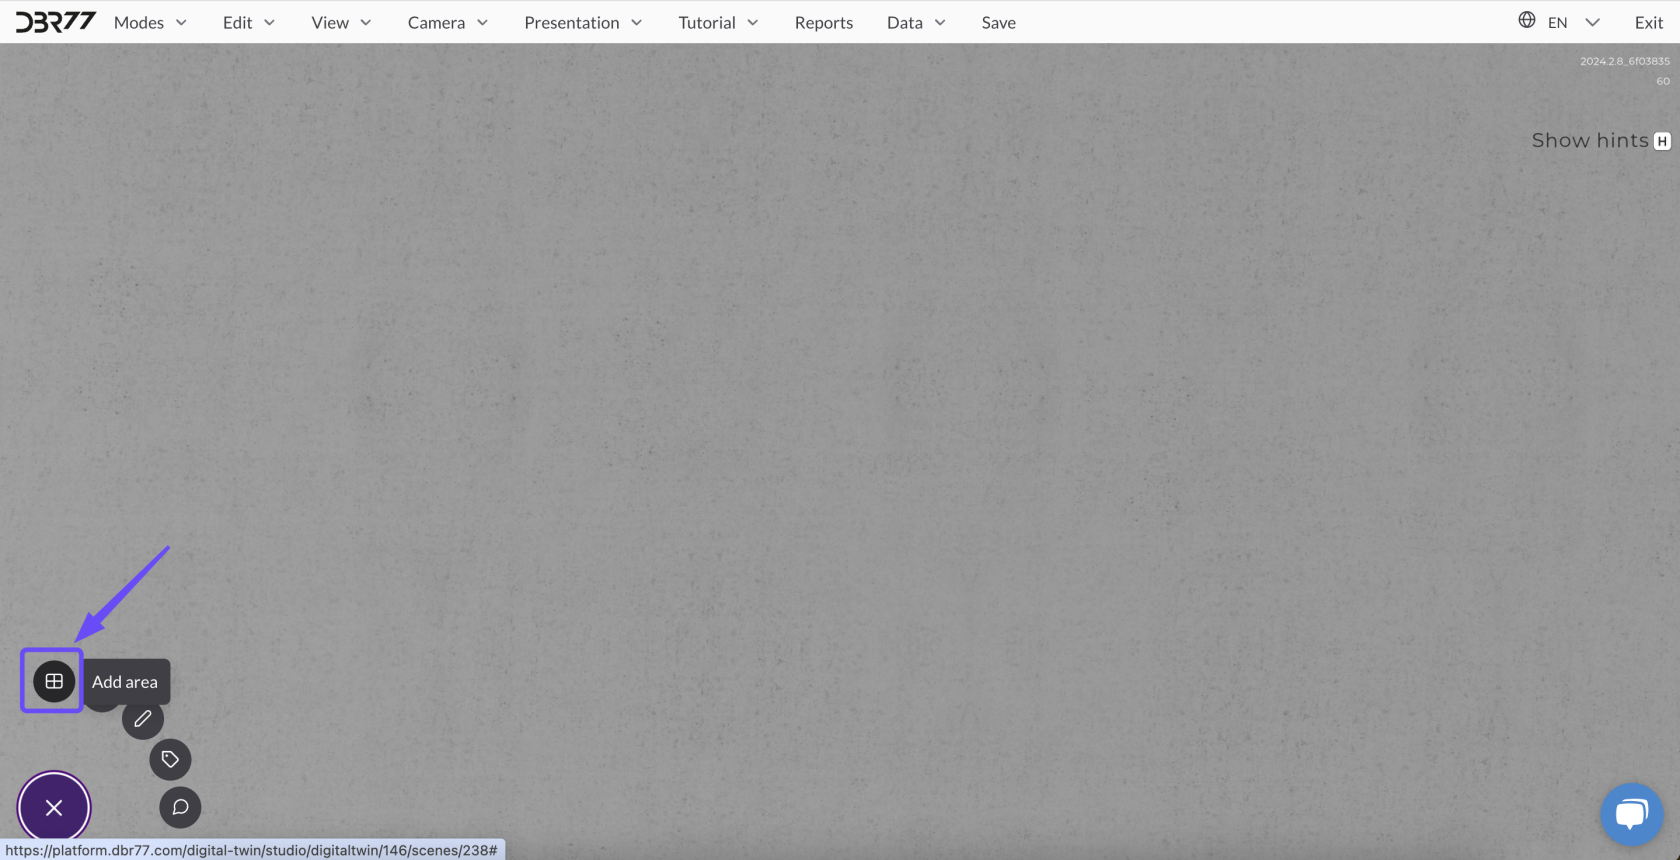
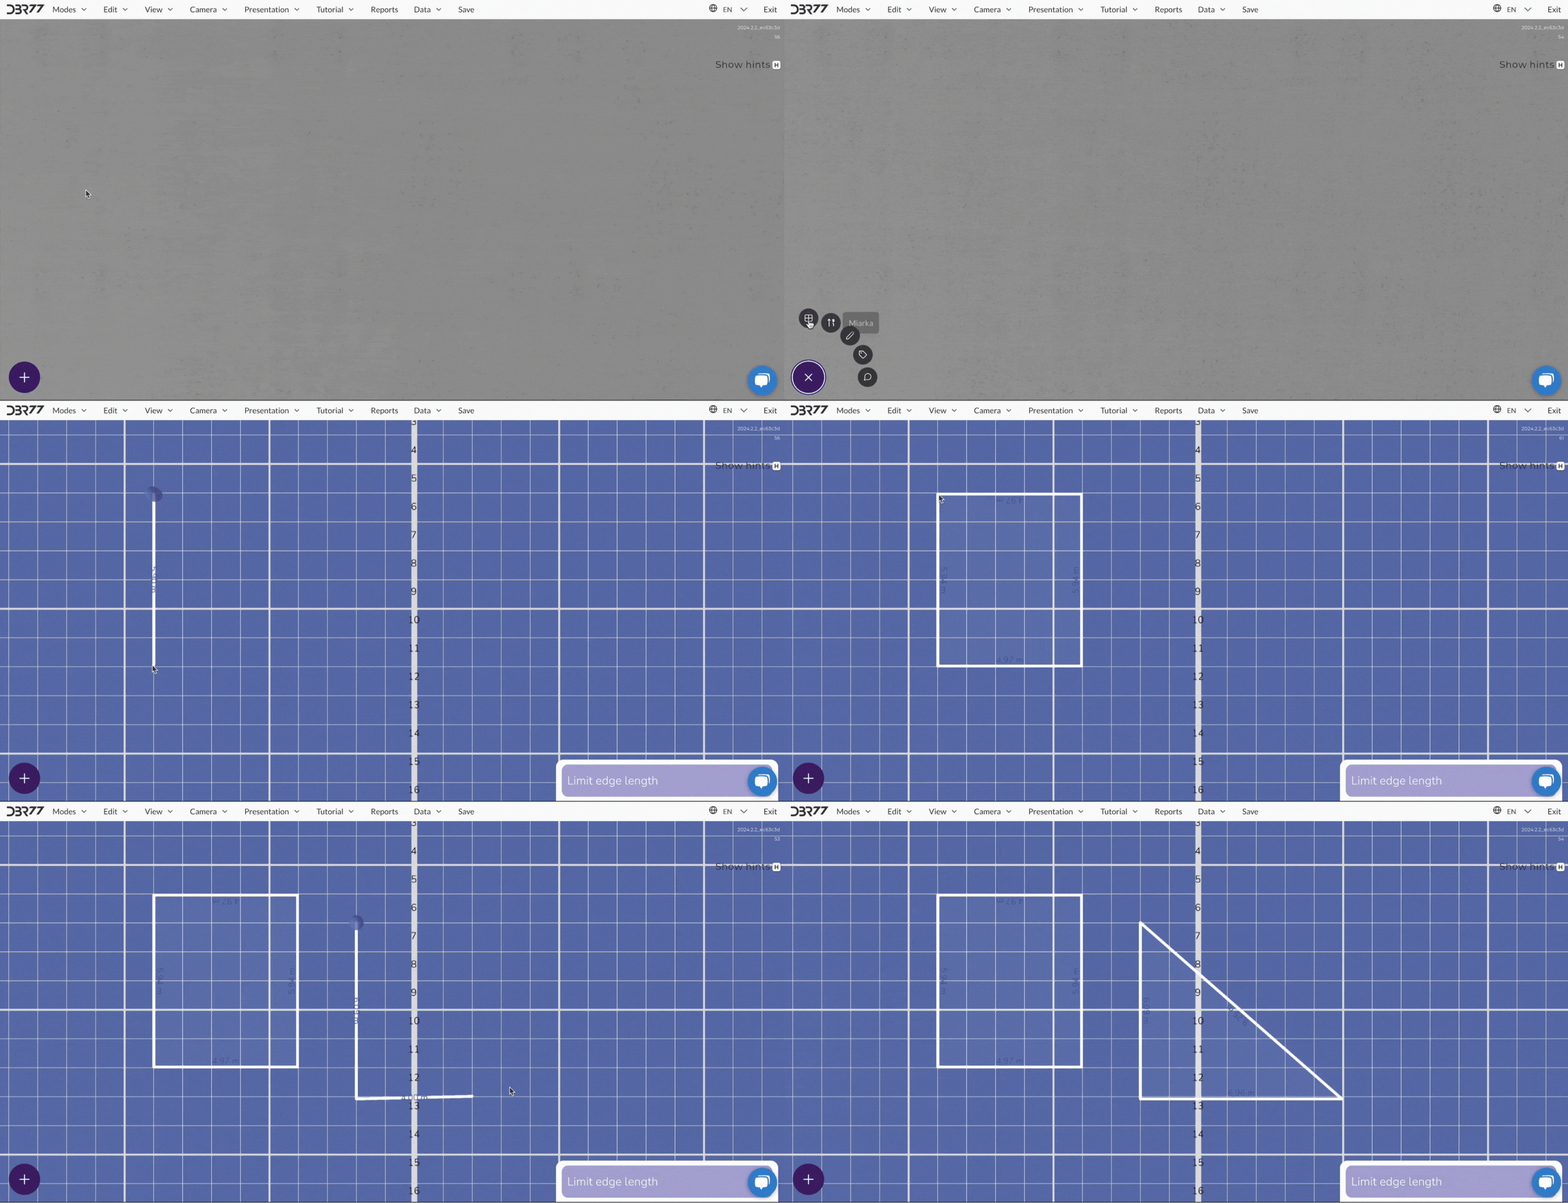
- Select the "Add Area" option from the menu that appears.
-
Draw the Area
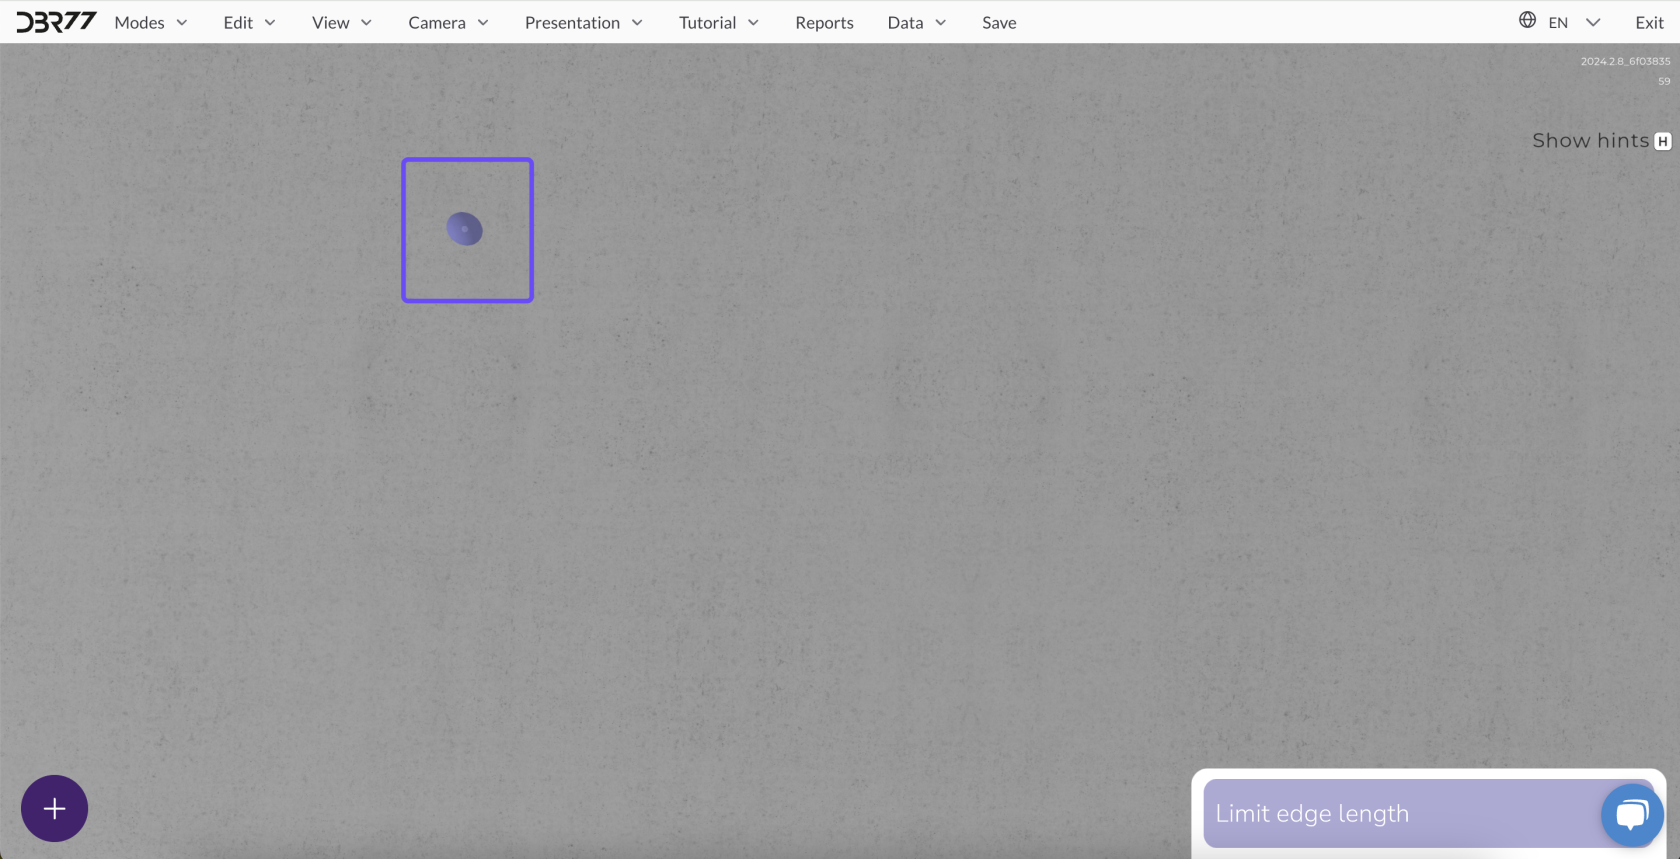
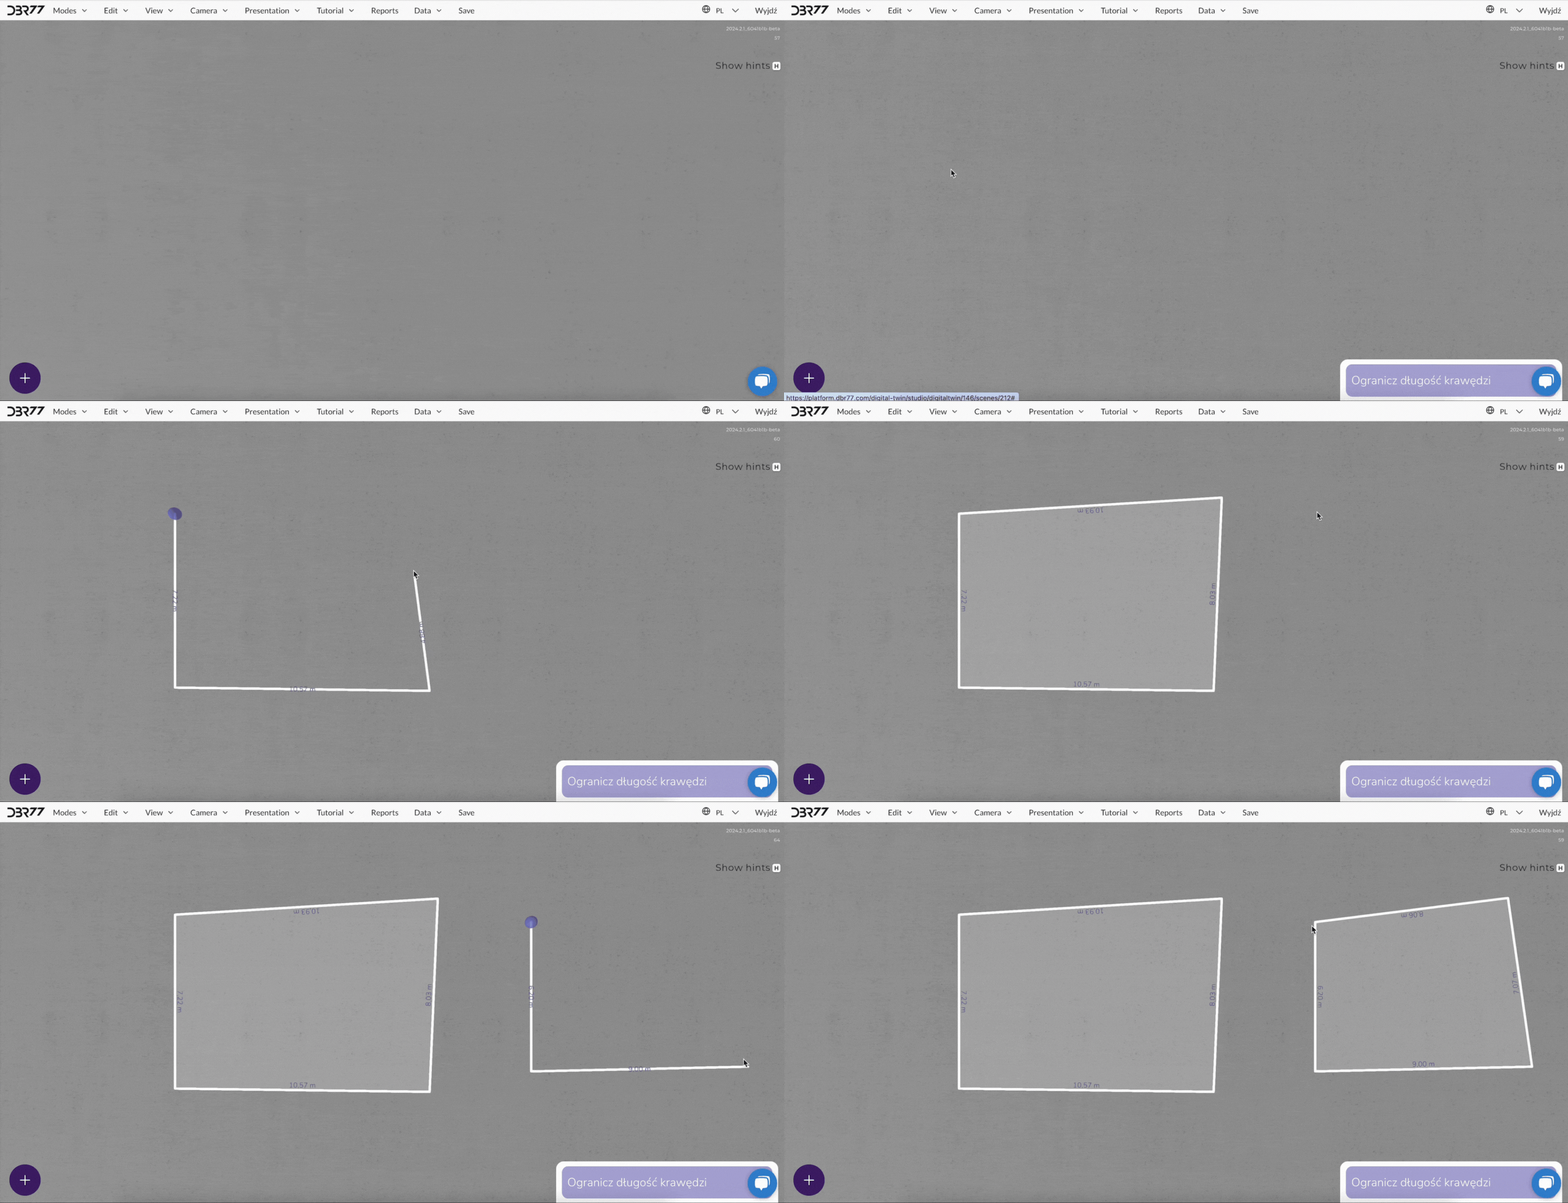
- Set the First Corner: Choose any point on the floor of the scene and click with the left mouse button to define the first corner of the layout.
-
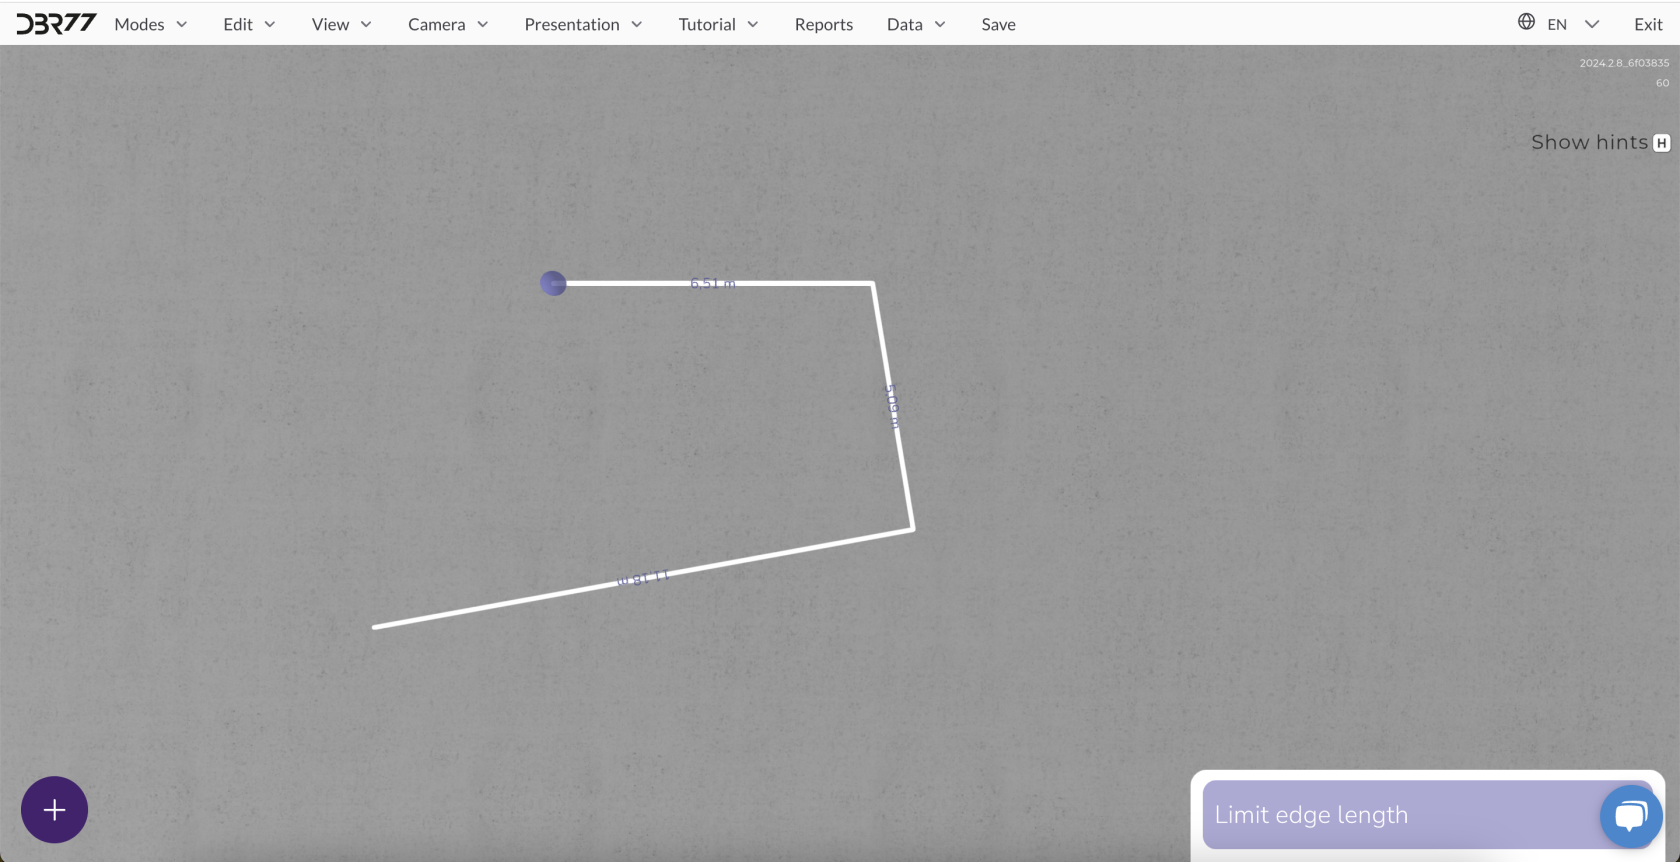
Add More Points: Continue drawing the area by clicking additional points to define the other corners. Each click adds a new corner, connected to the previous one by a line.
-
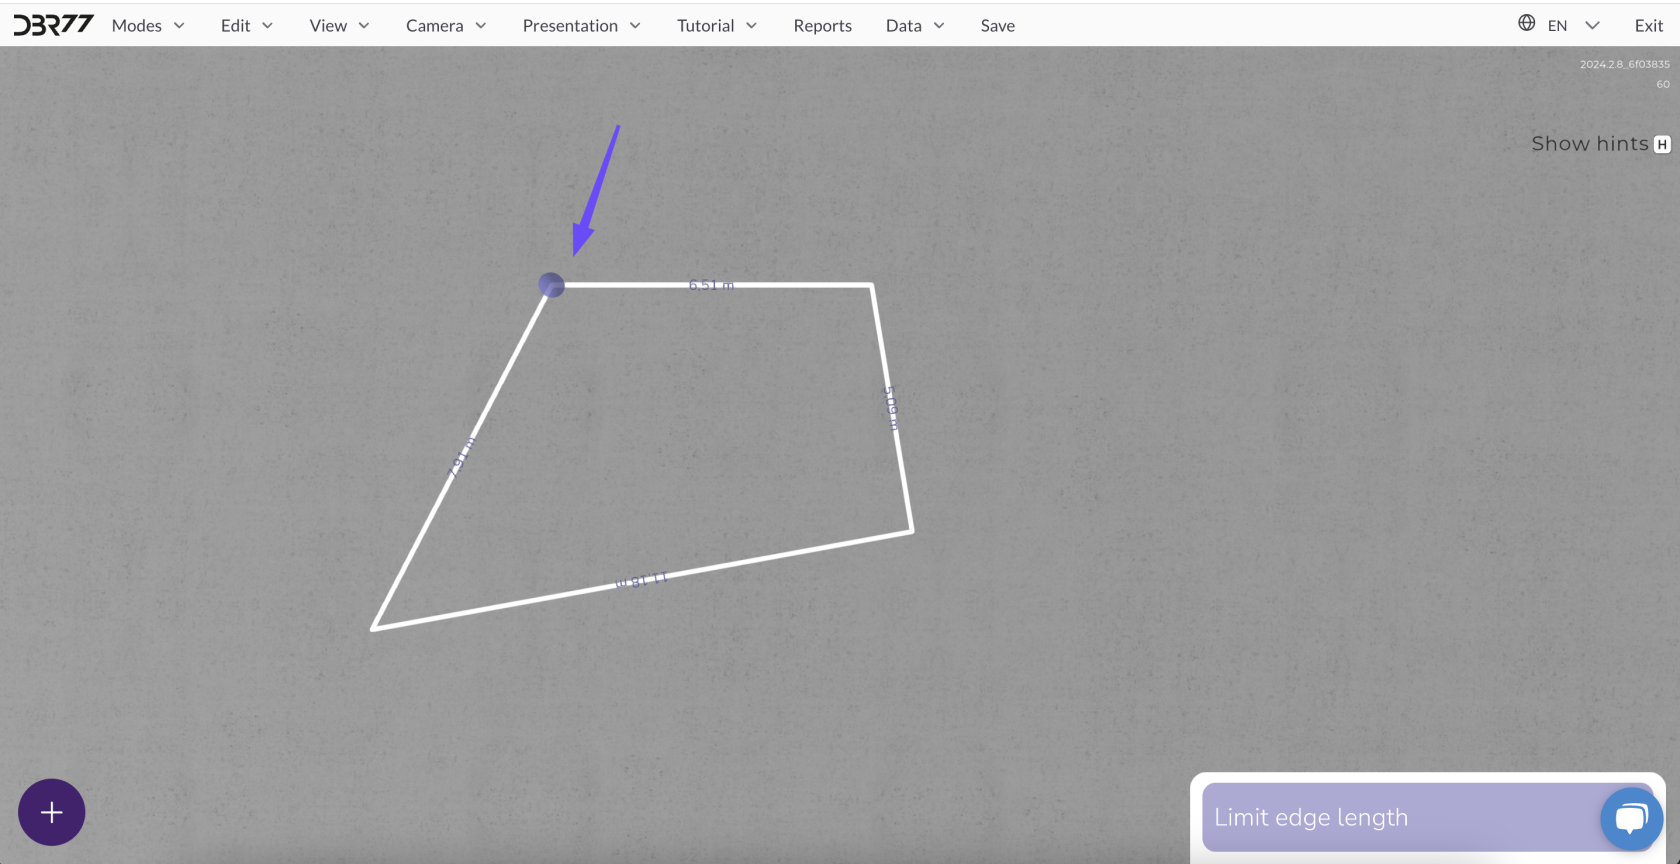
Important: The starting and ending points must meet to close the area. The 3D Studio will not allow the drawing process to finish if the area is not closed.
Using the Grid for Precision
-
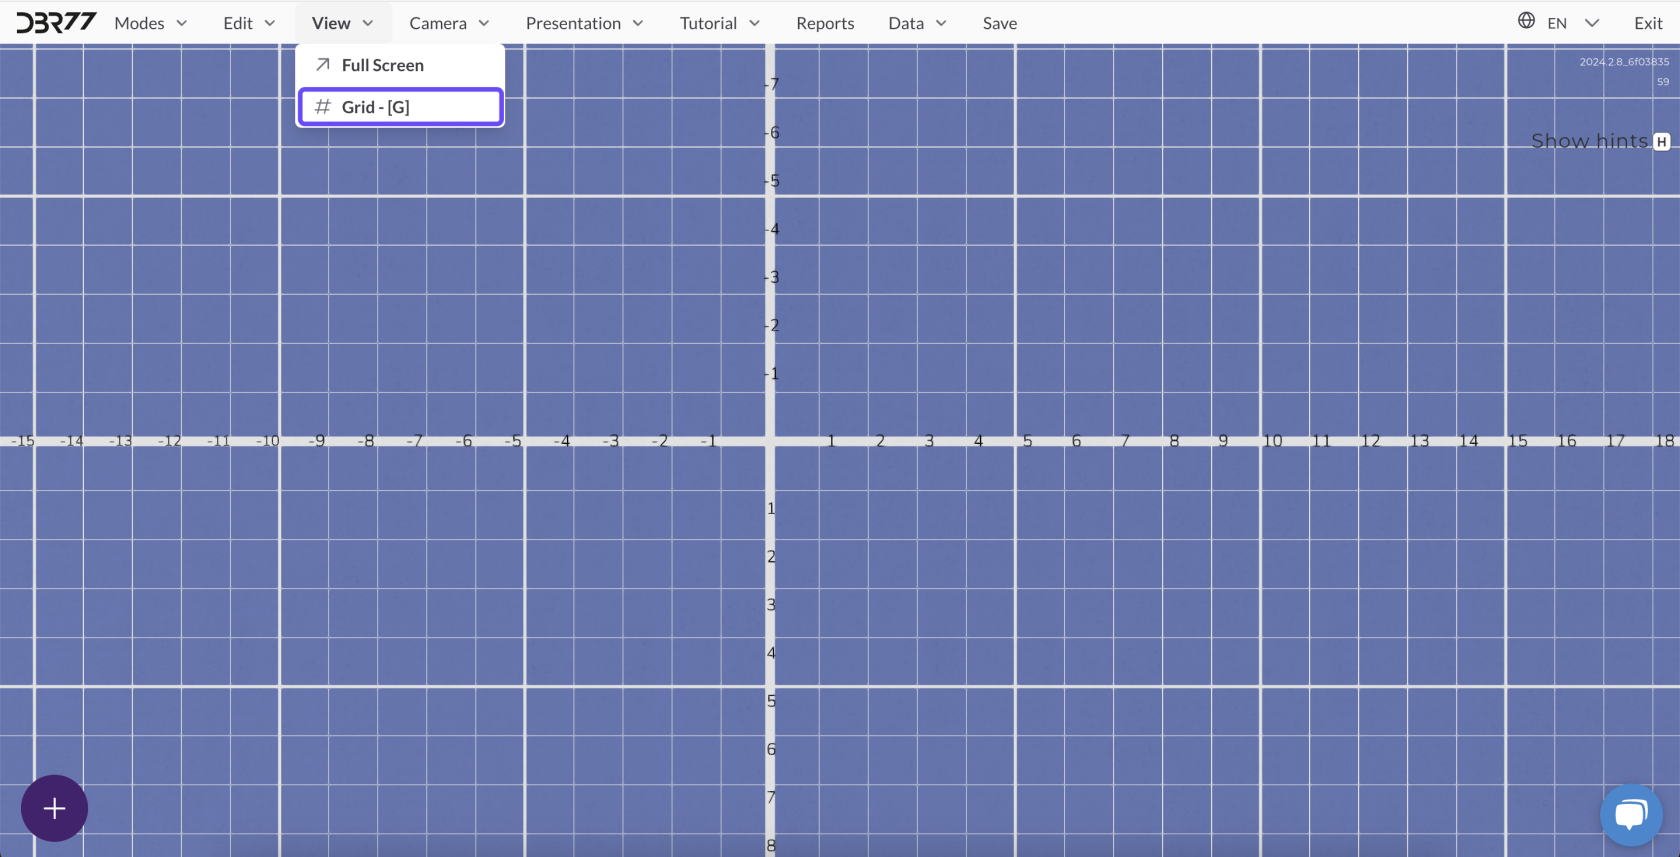
- Snap to Grid: Hold the left Shift key while clicking to snap points to the nearest grid intersection. This ensures precise placement of corner points.
Restricting Edge Length
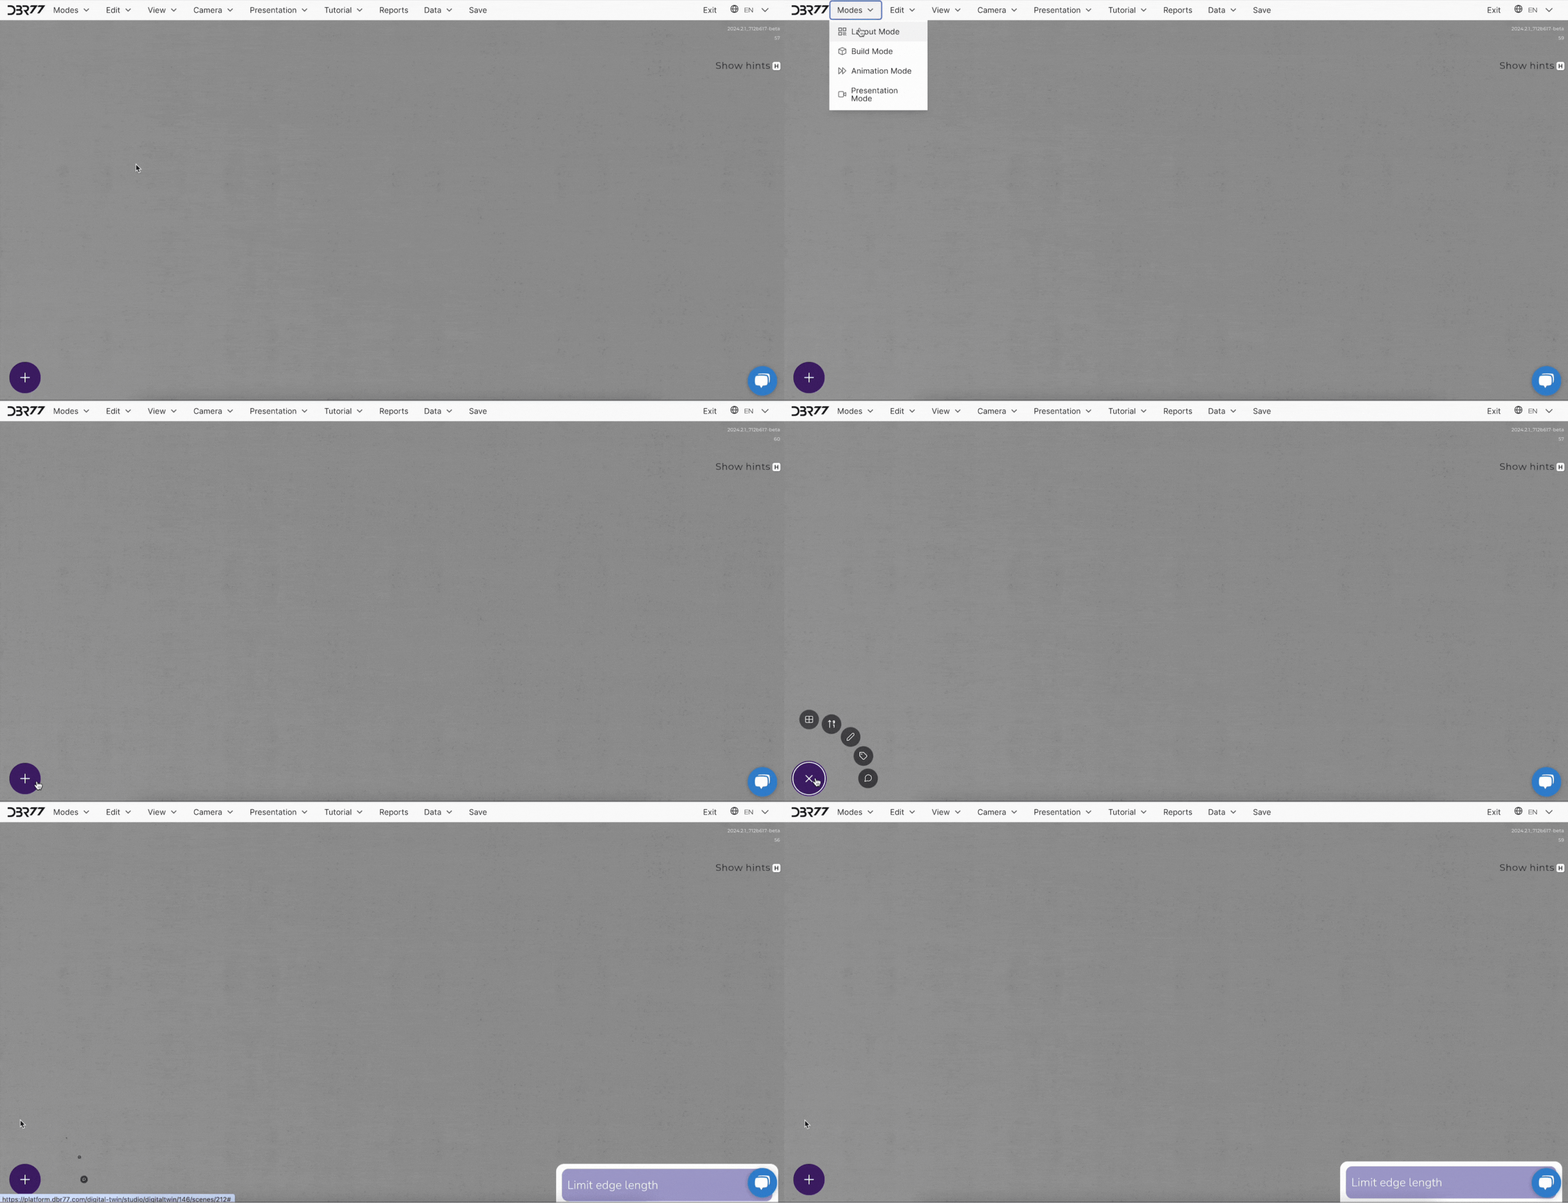
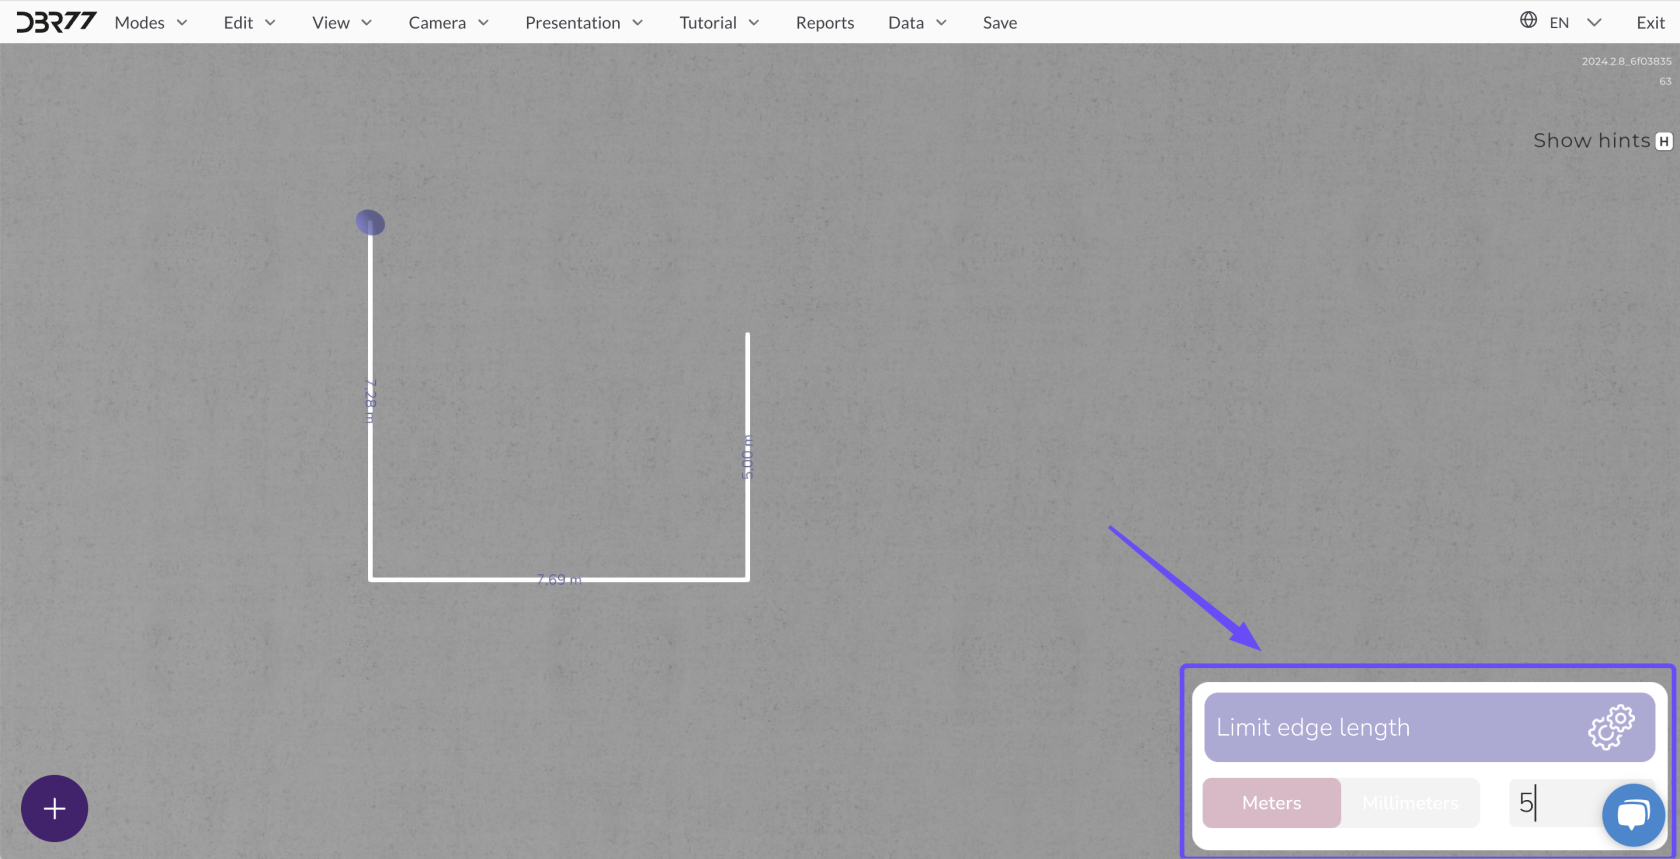
- A window in the bottom-right corner of the screen allows you to set the edge length.
- Specify Length: Choose a unit (meters or millimeters) and enter the desired edge length. The edge will automatically adjust to this value.
- Modify or Remove Restriction: To change the length, update the value. To remove the restriction, clear the value or close the window.
By following these steps, you can accurately add and customize areas in Layout Mode for precise project planning.

No Comments