User
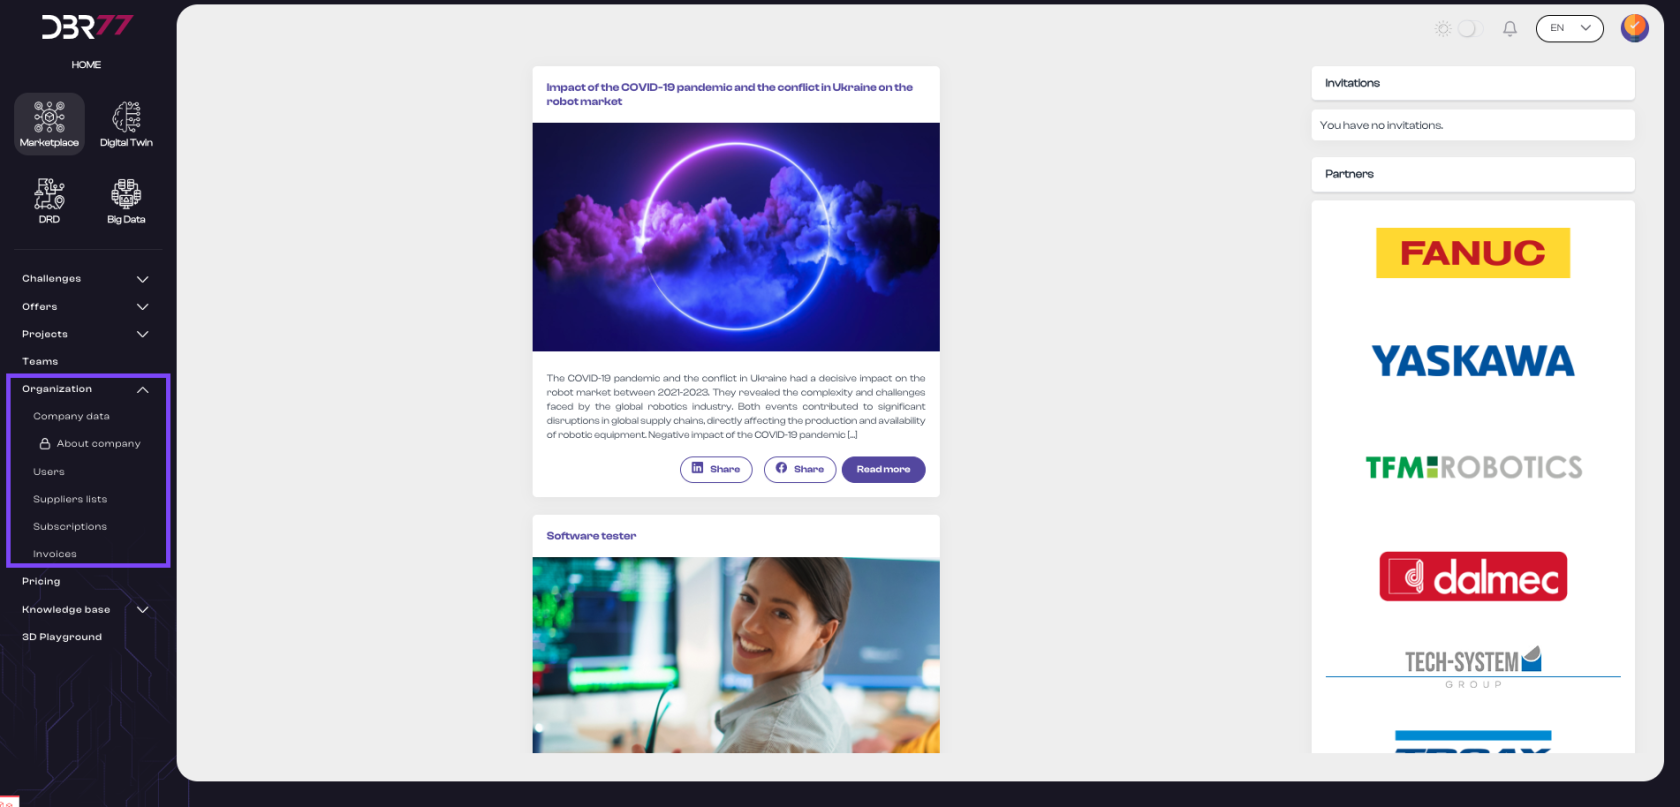
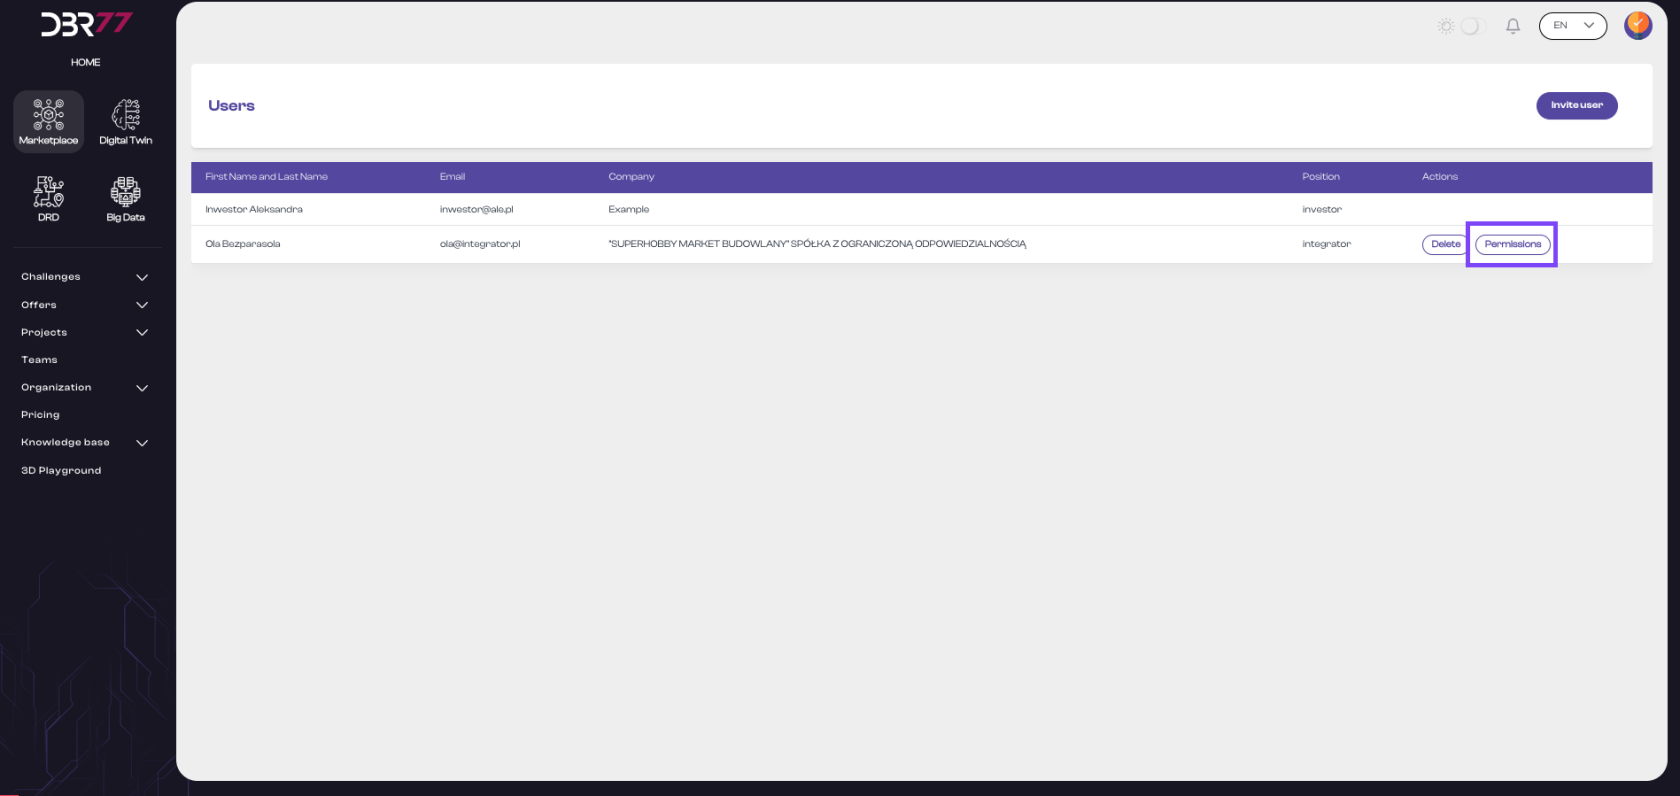
Go to the User List.
The user list view on the DBR77 platform is a central tool for managing organization members. It allows administrators to efficiently manage user data, control their permissions, and ensure that each organization member has appropriate access to the platform's resources.
Elements of the User List View:
List Header:
- Column "First and Last Name": Displays the full name of each user registered in the organization.
- Column "Email Address": Shows the email address under which the user is registered on the platform.
- Column "Company": Displays the name of the company the user represents.
- Column "Account Type": Indicates the user's account type, such as "Investor," "Integrator," or "Supplier."
- Column "Actions": Allows two types of actions for each individual user:
- Delete: Enables the removal of the user from the organization.
- Permissions: Provides access to the user’s permissions.
User Management Options in the List View:
Adding a New User:
- Click the "Add User" button.
- A form will appear to enter the new user's email address.
Enter Email Address:
- Enter the new user’s email address in the corresponding field.
- Ensure the user is already registered on the DBR77 platform.
Send Invitation:
- Click the "Confirm" button.
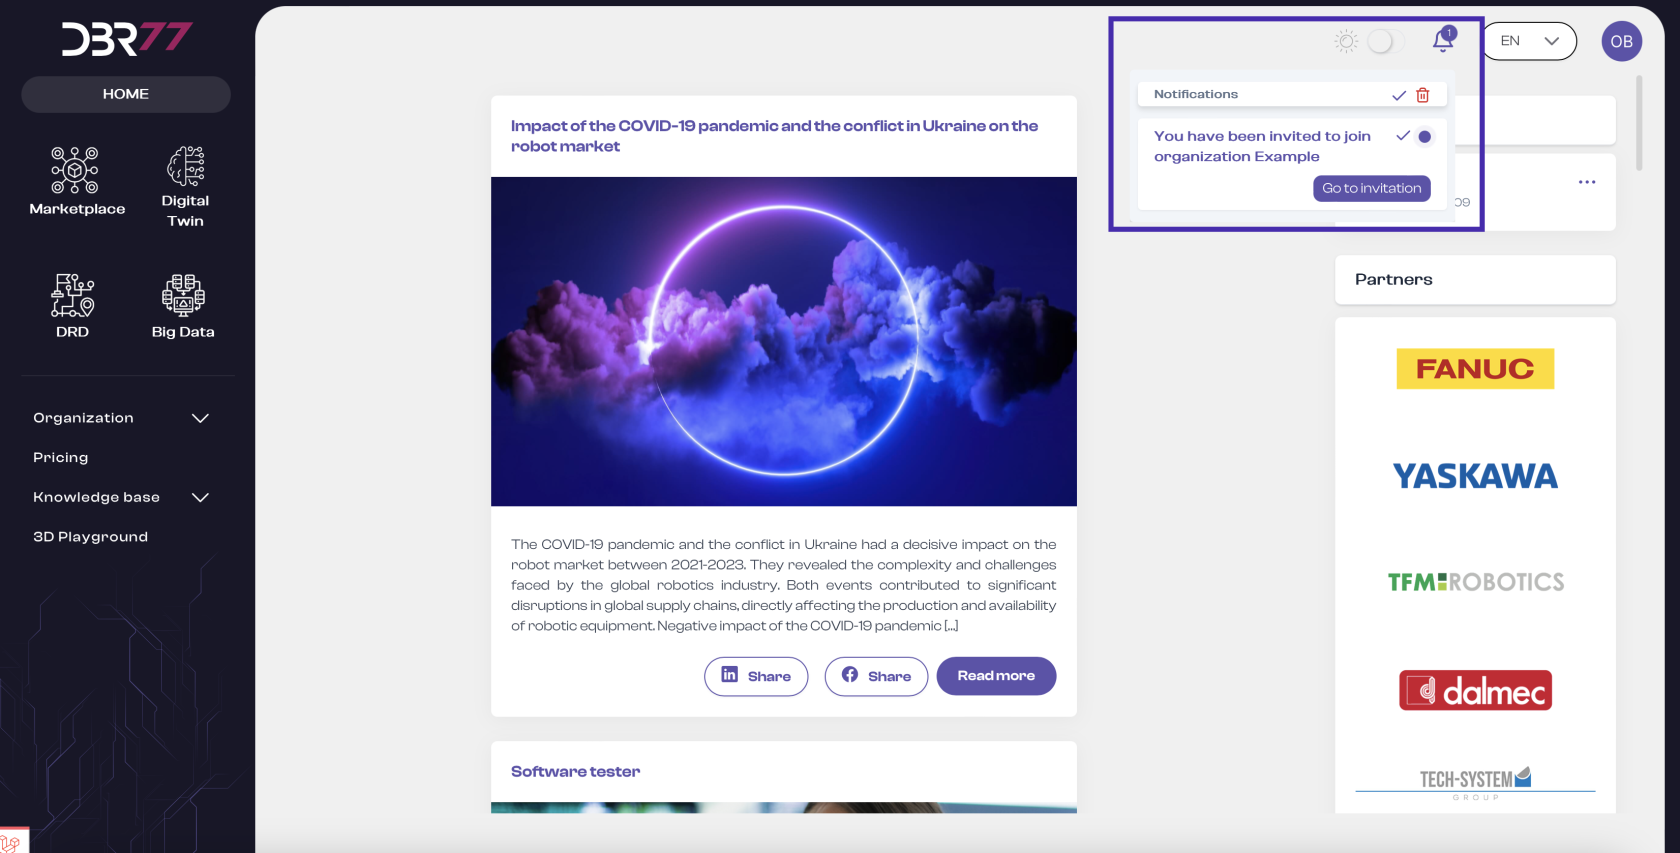
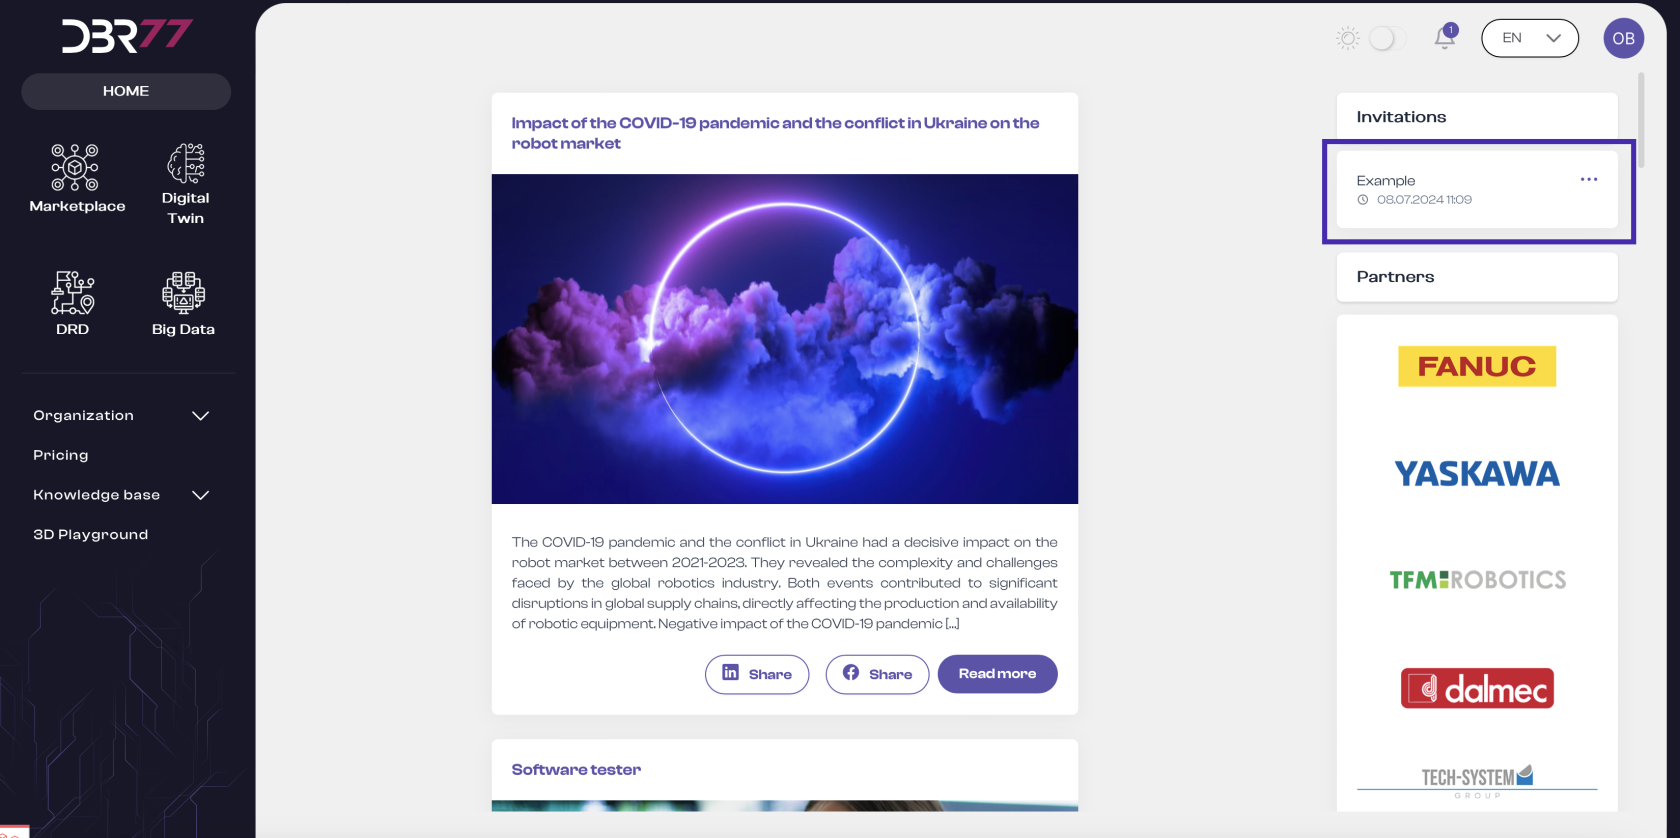
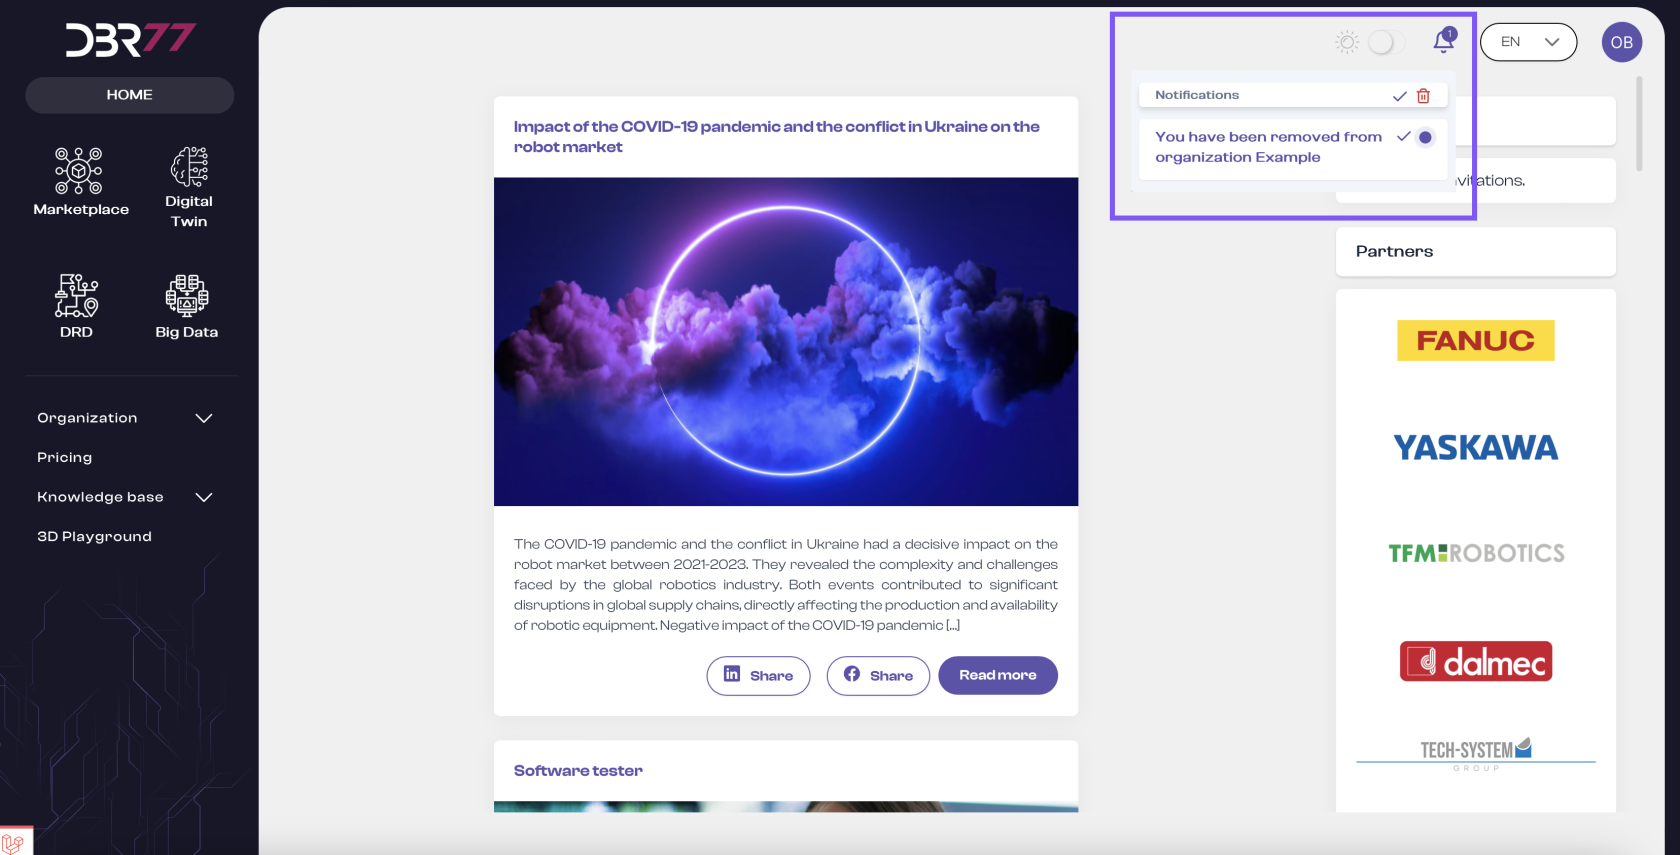
- The new user will receive a notification with an invitation to join the organization. This invitation will also be displayed in the top right corner of the dashboard.
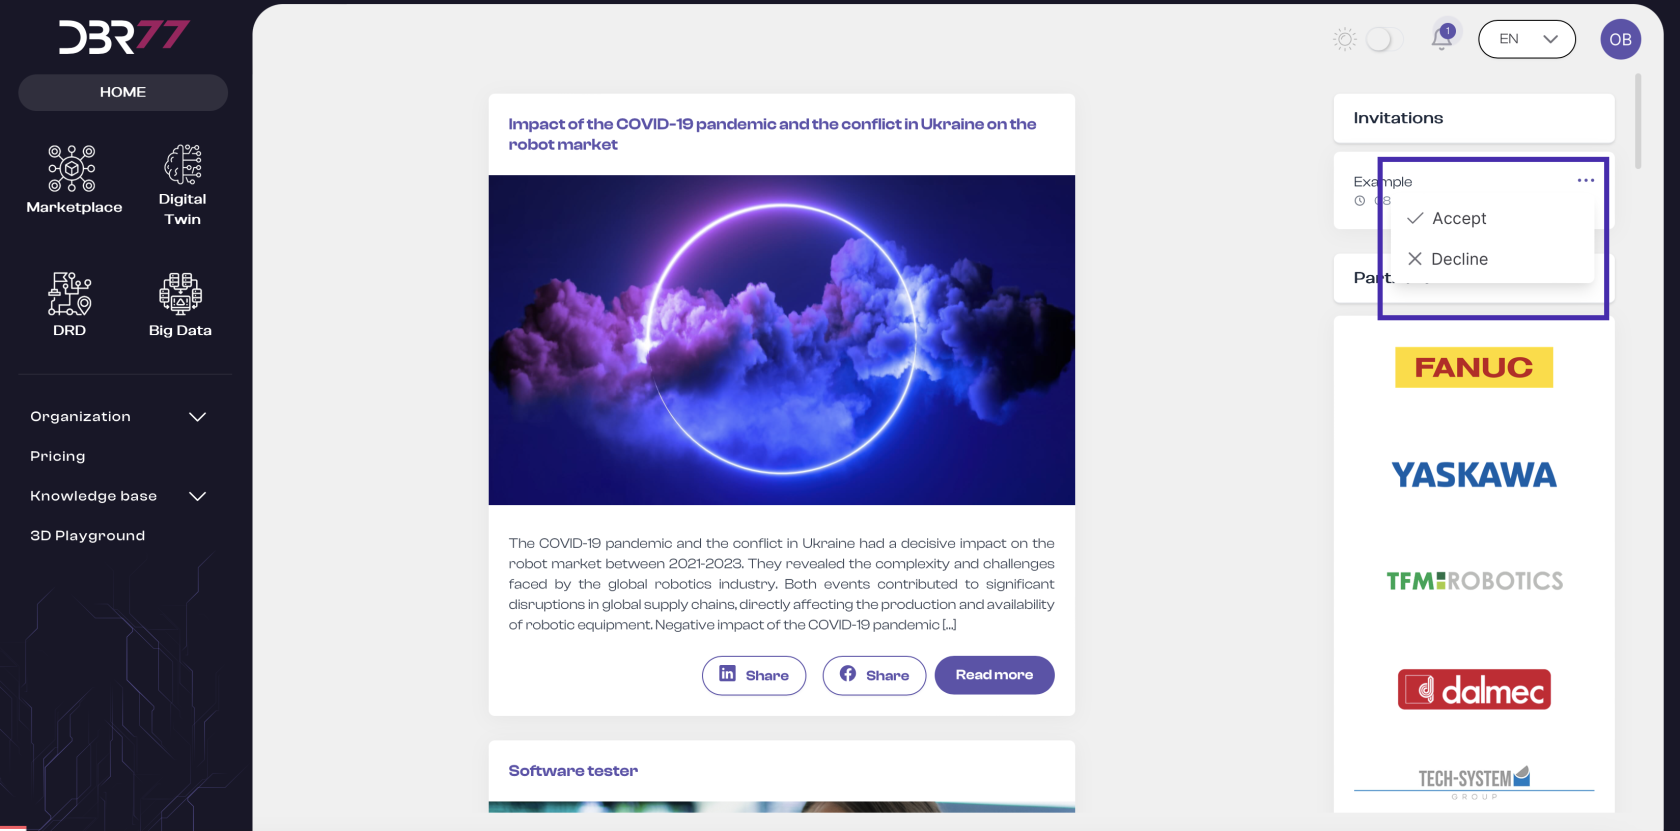
Accept Invitation:
- The new user must accept the invitation to the organization within 7 calendar days.
- Once the invitation is accepted, the user will be added to the organization.
Important Information
- Platform Registration: The new user must already be registered on the DBR77 platform to receive and accept an invitation.
Notification: After accepting the invitation, the new user receives confirmation of joining the organization. If there are issues with acceptance, the user should contact the organization administrator. - This process ensures that adding new users to the organization is secure and effective, maintaining data integrity and authorization for new members on the DBR77 platform.
Assigning Permissions
- The permissions assignment view on the DBR77 platform enables administrators to manage access levels for organization members. Below is the process for assigning permissions:
User Selection:
- Locate the user to whom you wish to assign permissions by browsing the user list.
- Click the "Permissions" button next to the selected user.
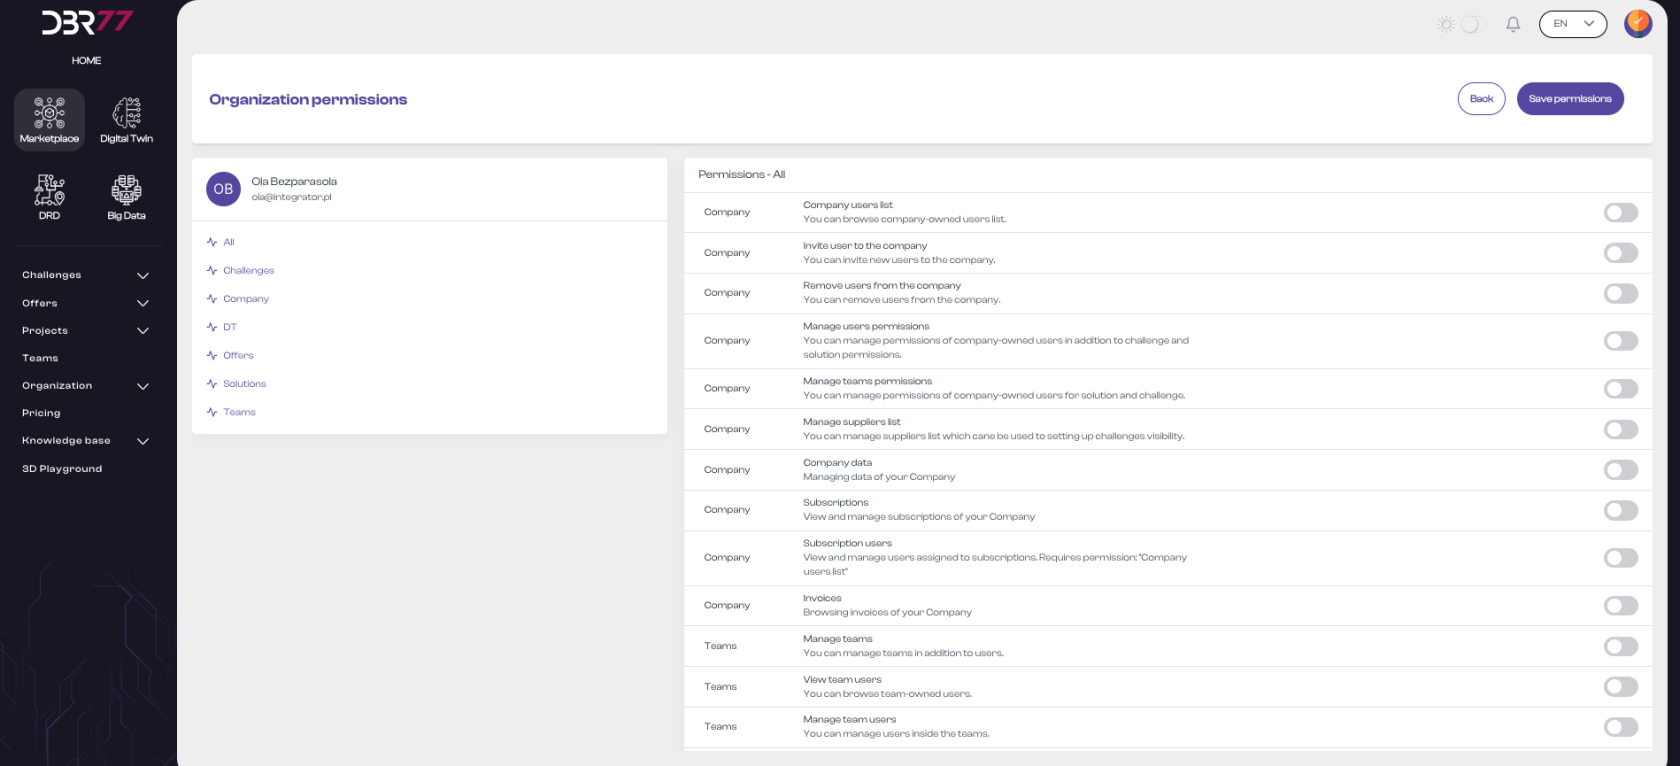
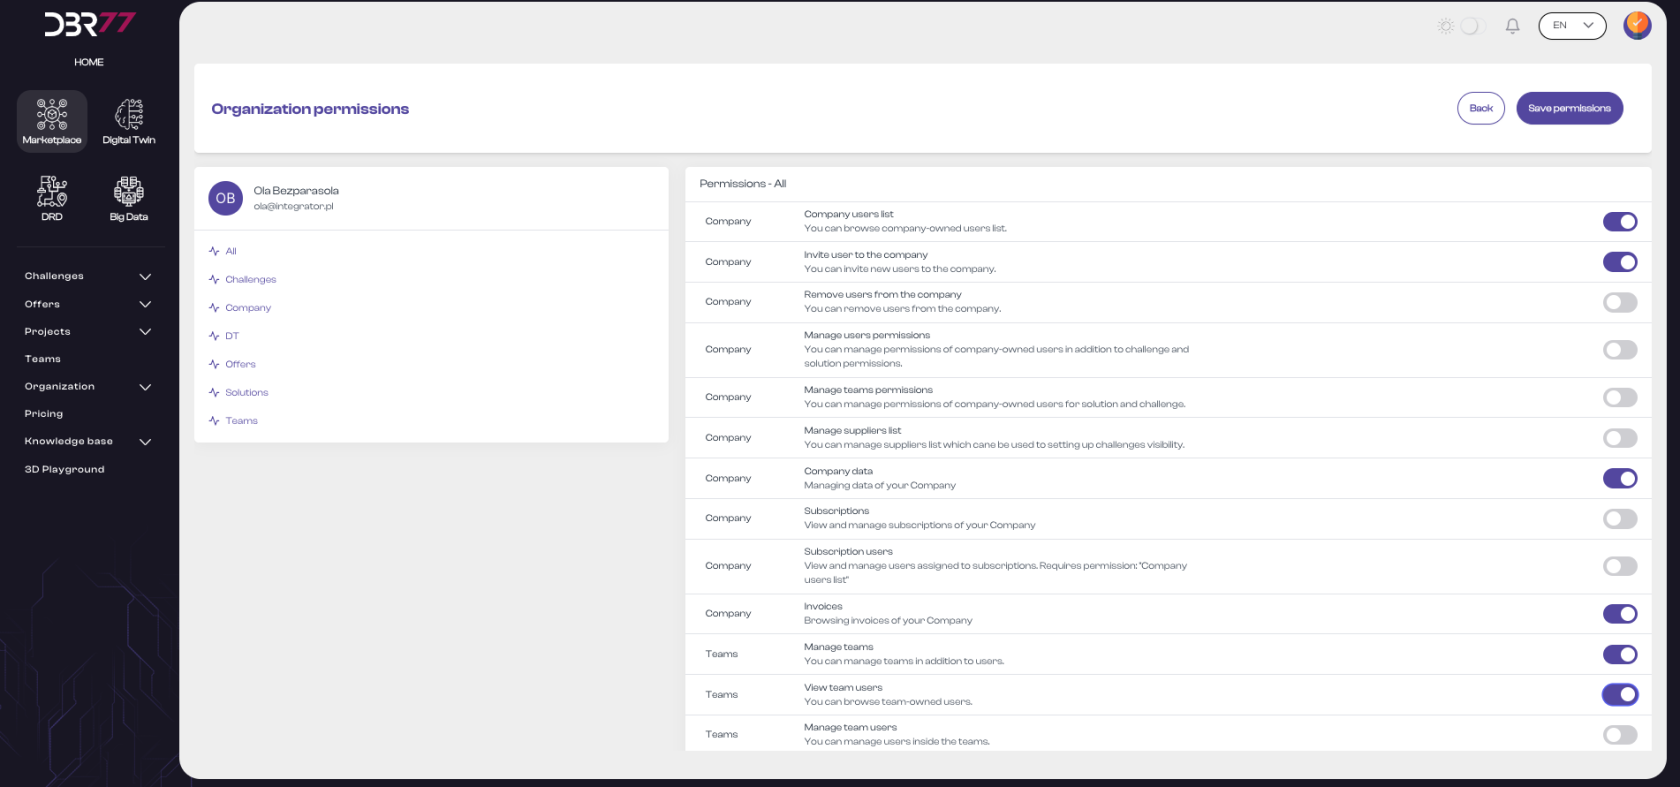
- A new window will display a list of permissions for the selected user.
Elements of the Permissions View:
- Header: At the top of the screen is the title "Permissions in the Organization," indicating the current platform section.
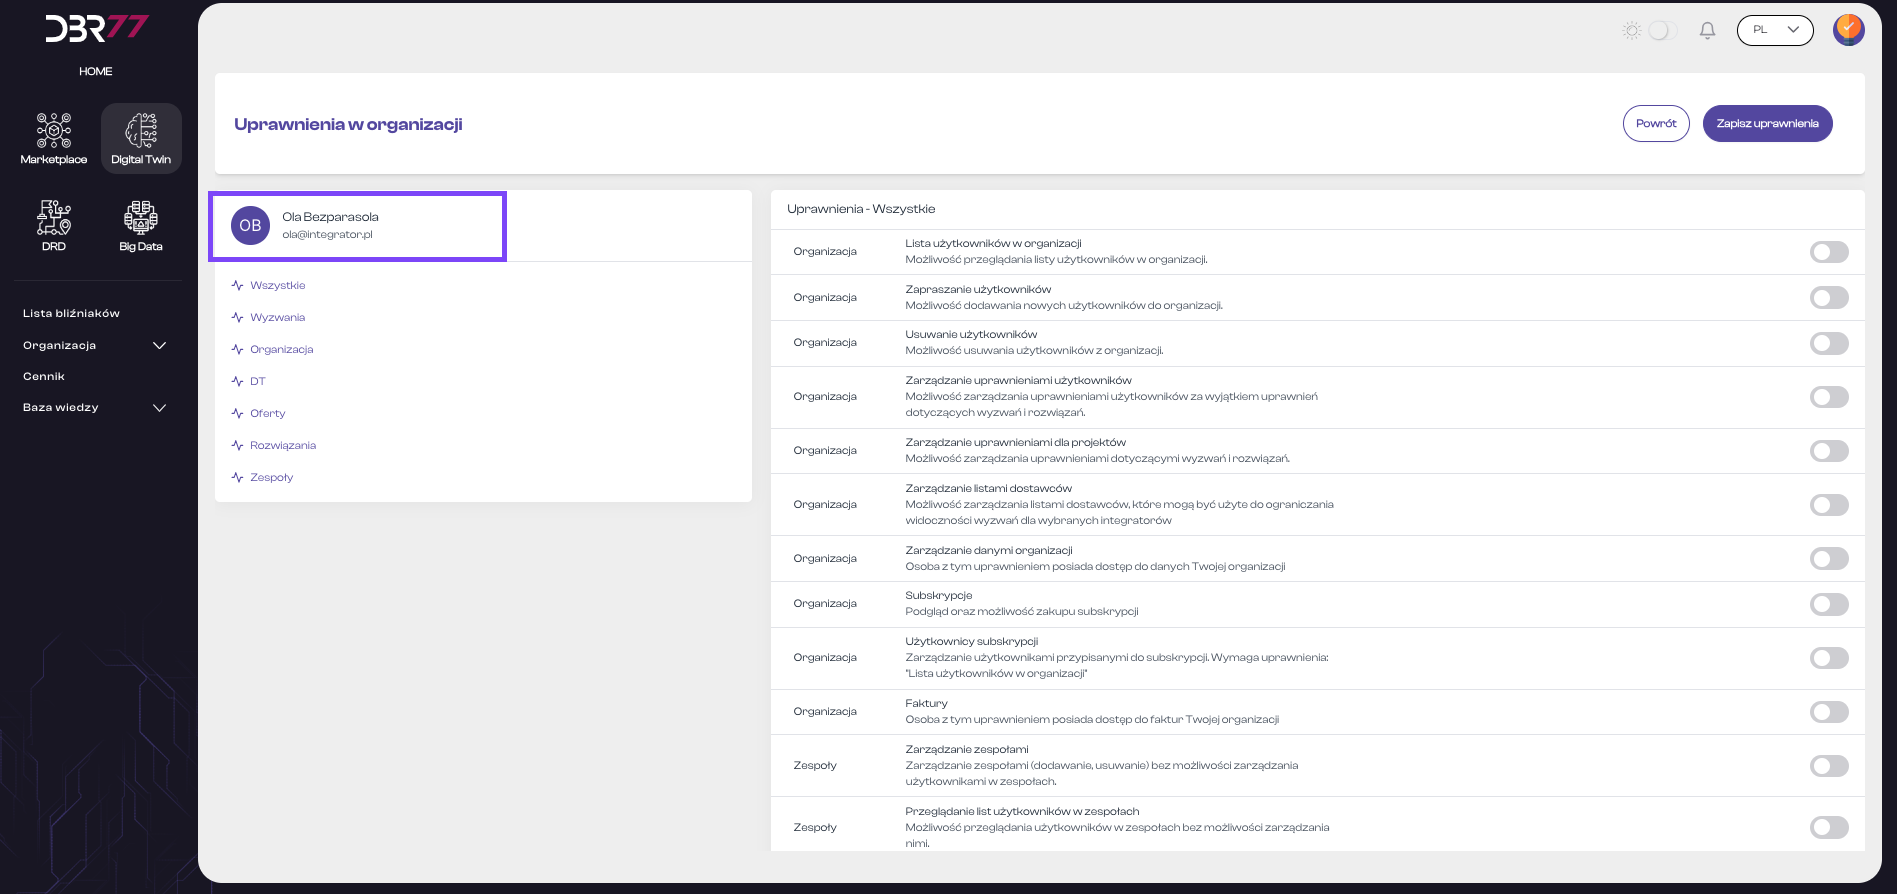
User Information:
- User avatar (initials or photo).
- User’s first and last name.
- User’s email address.
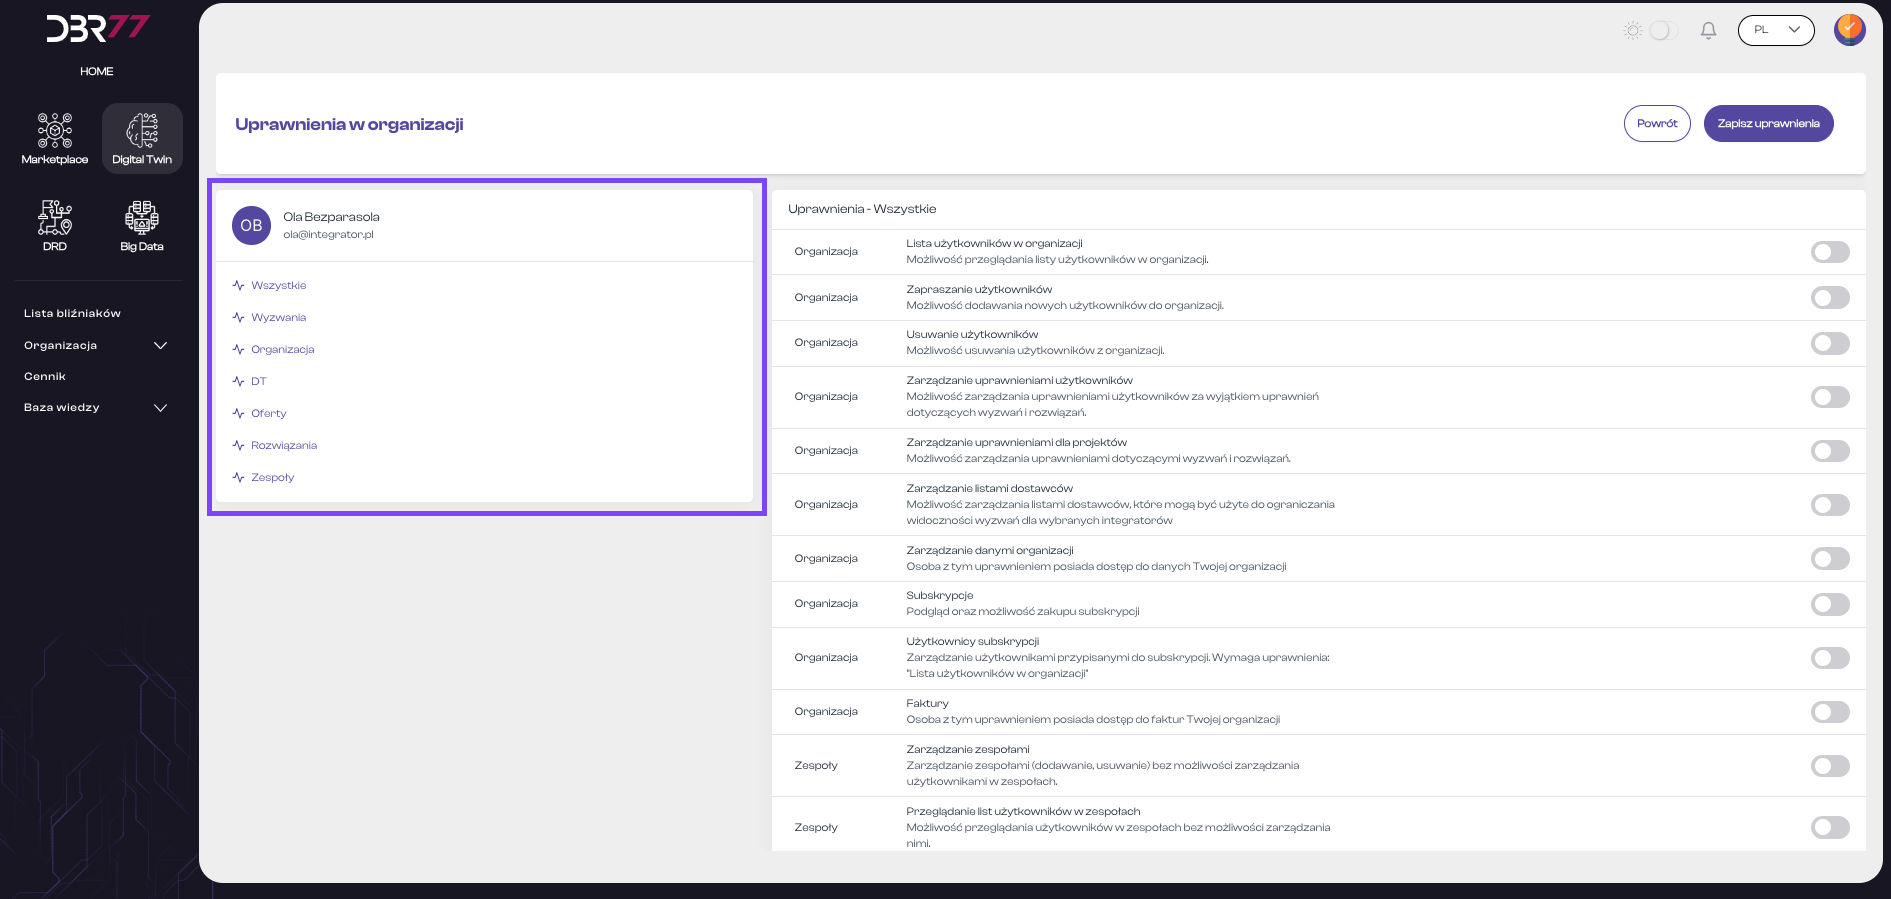
Below this information is a list of permission categories, such as:
- All
- Challenges
- Organization
- DT (Digital Twin)
- Offers
- Solutions
- Teams
Permissions List:
Detailed Permissions List:
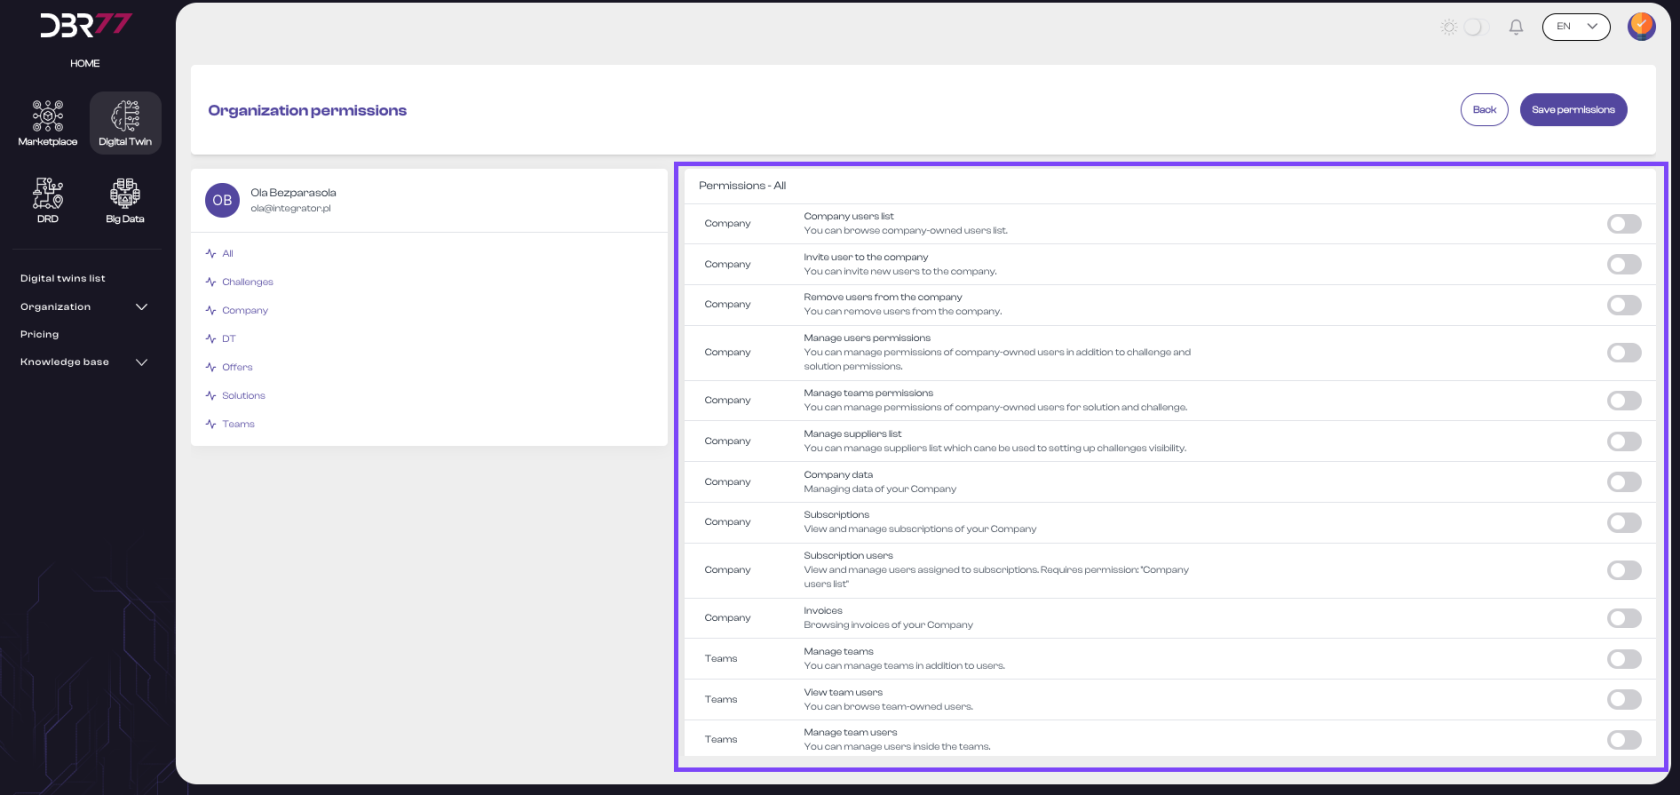
On the right side of the screen, there is a detailed list of permissions divided into categories. Each category contains specific rights that can be granted or removed for a user. Example permissions include:
- View Organization User List: Ability to view the user list in the organization.
- Invite Users: Ability to add new users to the organization.
- Remove Users: Ability to remove users from the organization.
- Manage User Permissions: Ability to manage user permissions, excluding permissions for Challenges and Solutions.
- Manage Project Permissions: Ability to manage permissions related to Challenges and Solutions.
- Manage Supplier Lists: Ability to manage supplier lists to limit the visibility of challenges for selected integrators.
- Manage Organization Data: Access to the organization’s data.
- Subscriptions: View and manage subscriptions, including subscription purchases.
- Subscription Users: Manage users assigned to subscriptions.
- Invoices: Access the organization’s invoices.
- Manage Teams: Manage teams (add and remove), without managing users within teams.
- View Team User Lists: Ability to view users in teams without managing them.
- Manage Users in Teams: Ability to add or remove users in teams.
Permission Toggles:
Next to each permission, there is a toggle switch that can be activated or deactivated to grant or revoke the corresponding permission for the user.
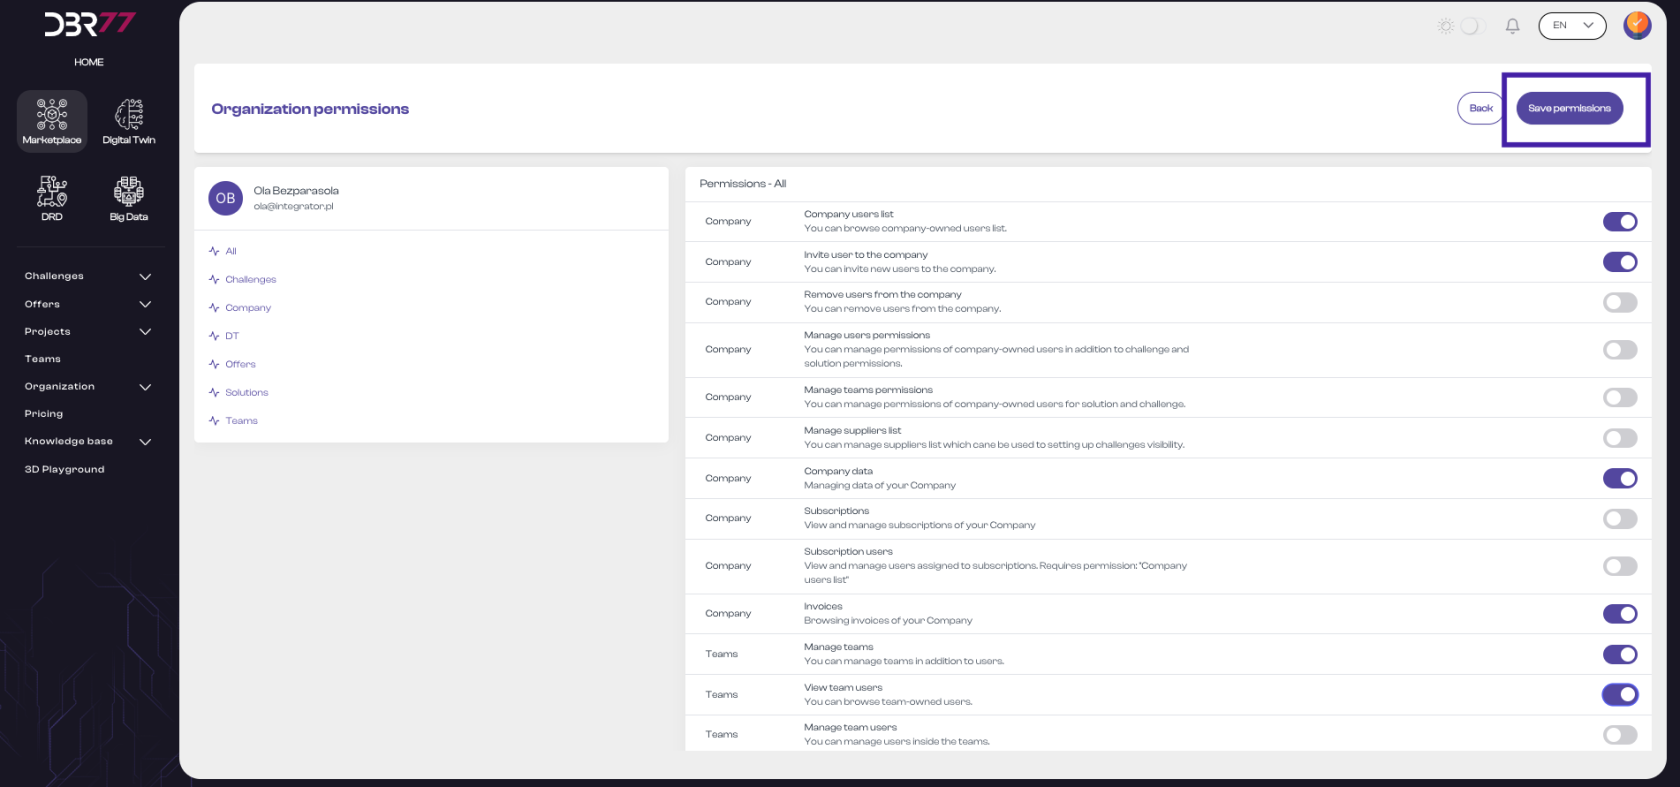
Action Buttons:
In the top right corner of the screen, there are two action buttons:
- Back: Returns to the previous view.
- Save Permissions: Saves the changes made to the user’s permissions.
The permissions view mode on the DBR77 platform is user-friendly, allowing administrators to efficiently manage user access rights within the organization. With detailed options and a clear interface, administrators can easily assign appropriate permissions so each user has access to the relevant platform functions and resources.
Removing a User
Steps to Remove a User:
- Locate the user you wish to remove in the list, then click the management icon next to their details.





No Comments