Menu
Modes
In the "Modes" tab of the 3D Studio, you can choose one of four operating modes that allow you to create, edit, and present your projects. Each mode offers specific functions and applications.

Layout Mode
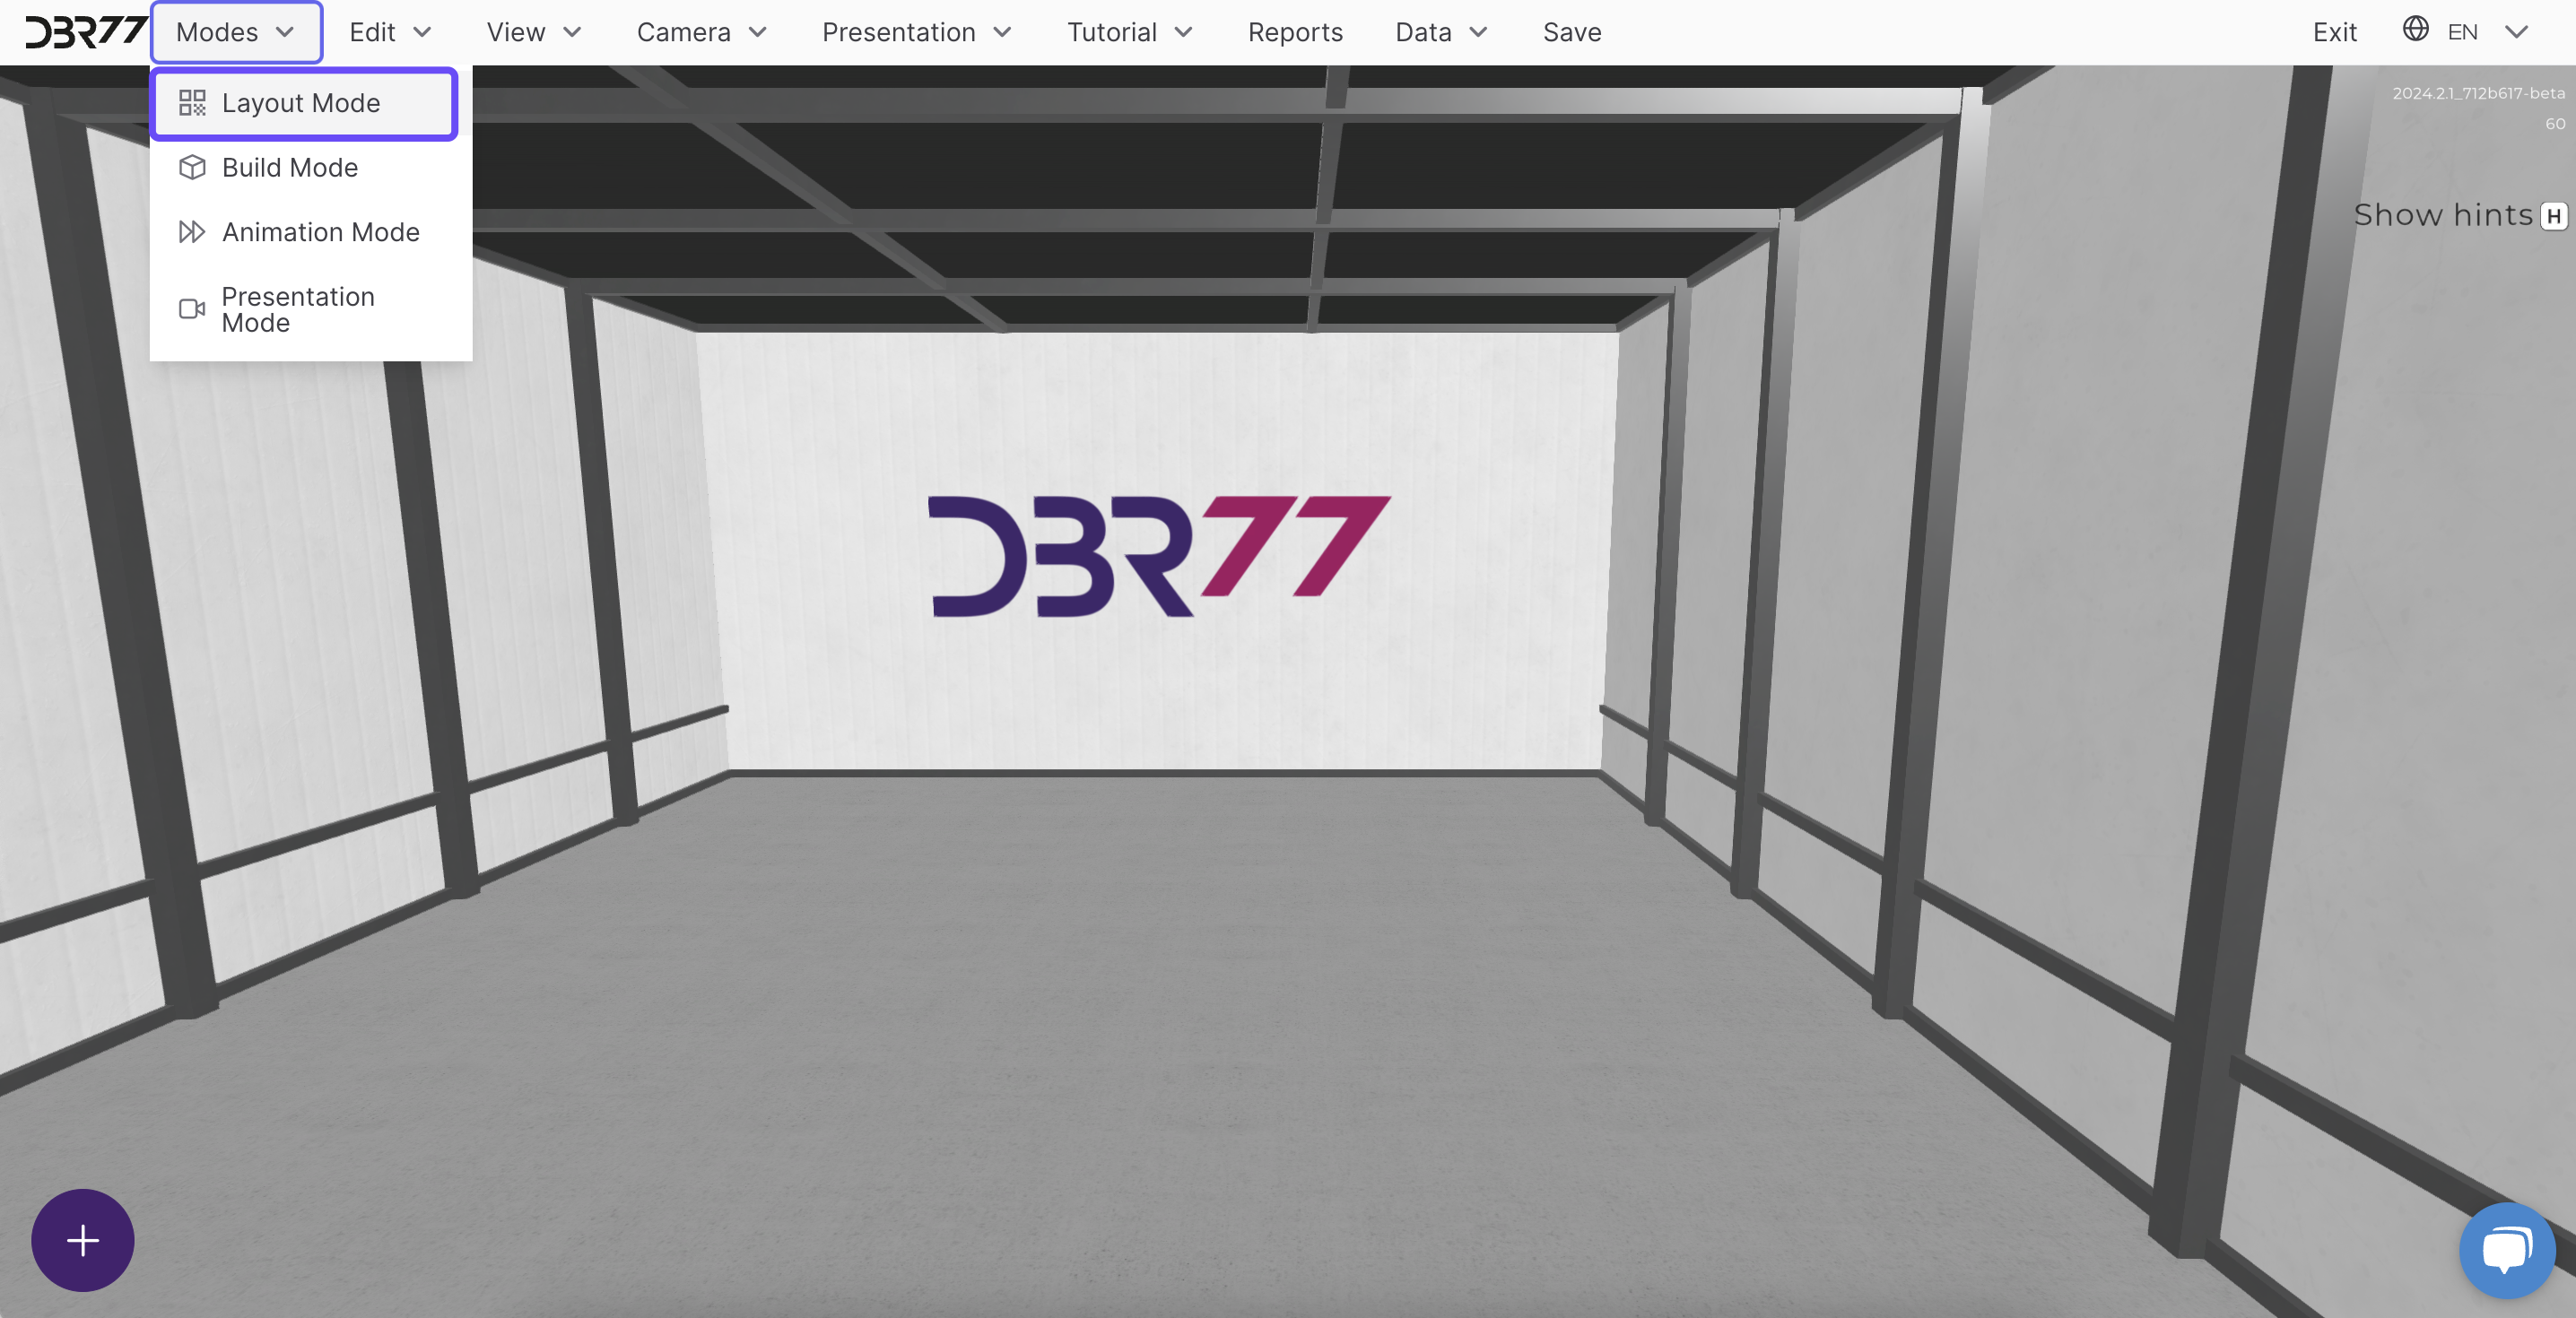
Layout Mode allows you to create and edit layouts directly “on the floor.” In this mode, you can:
- Design spatial projects for production halls.
- Define work areas, storage zones, transport routes, and other layout elements.
- Add descriptions to each area, providing other project participants with comprehensive information about the respective space.
Construction Mode
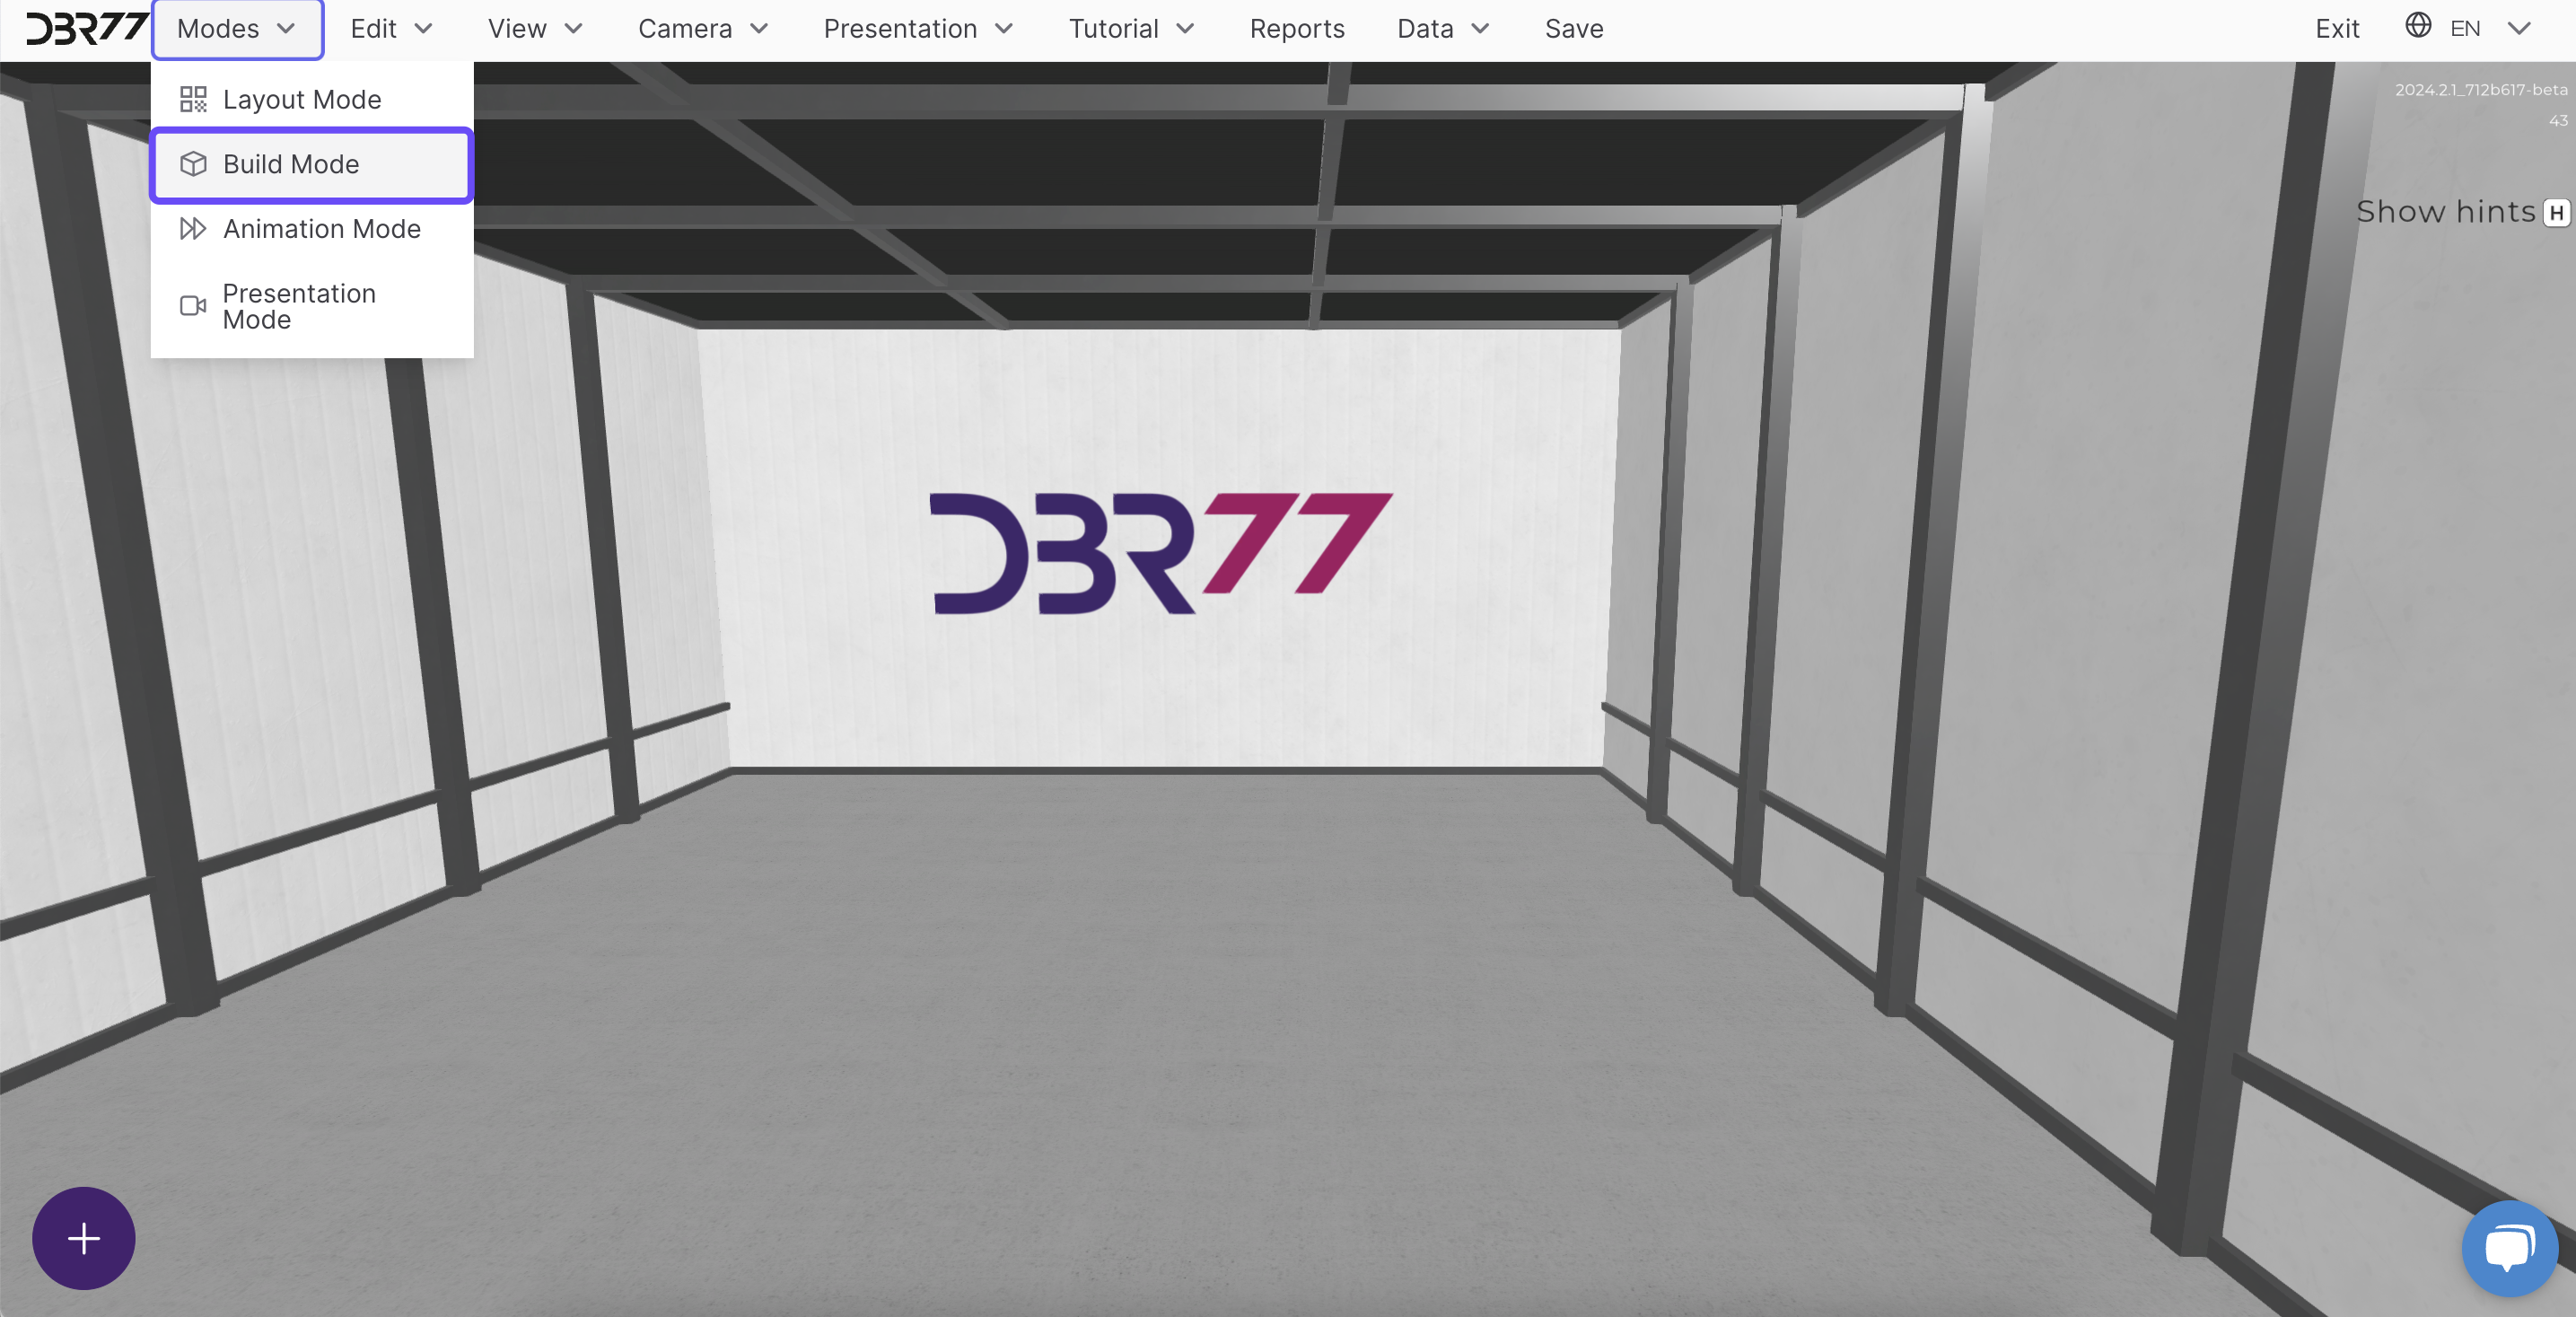
Build Mode enables the creation of detailed 3D visualizations of your production areas. In this mode, you can:
- Place 3D models of machines, robots, production lines, and human operators within the scene.
- Create virtual representations of your facility to enhance understanding and planning of processes.
- Adjust the appearance and settings of objects to closely replicate real-world conditions.
Animation Mode
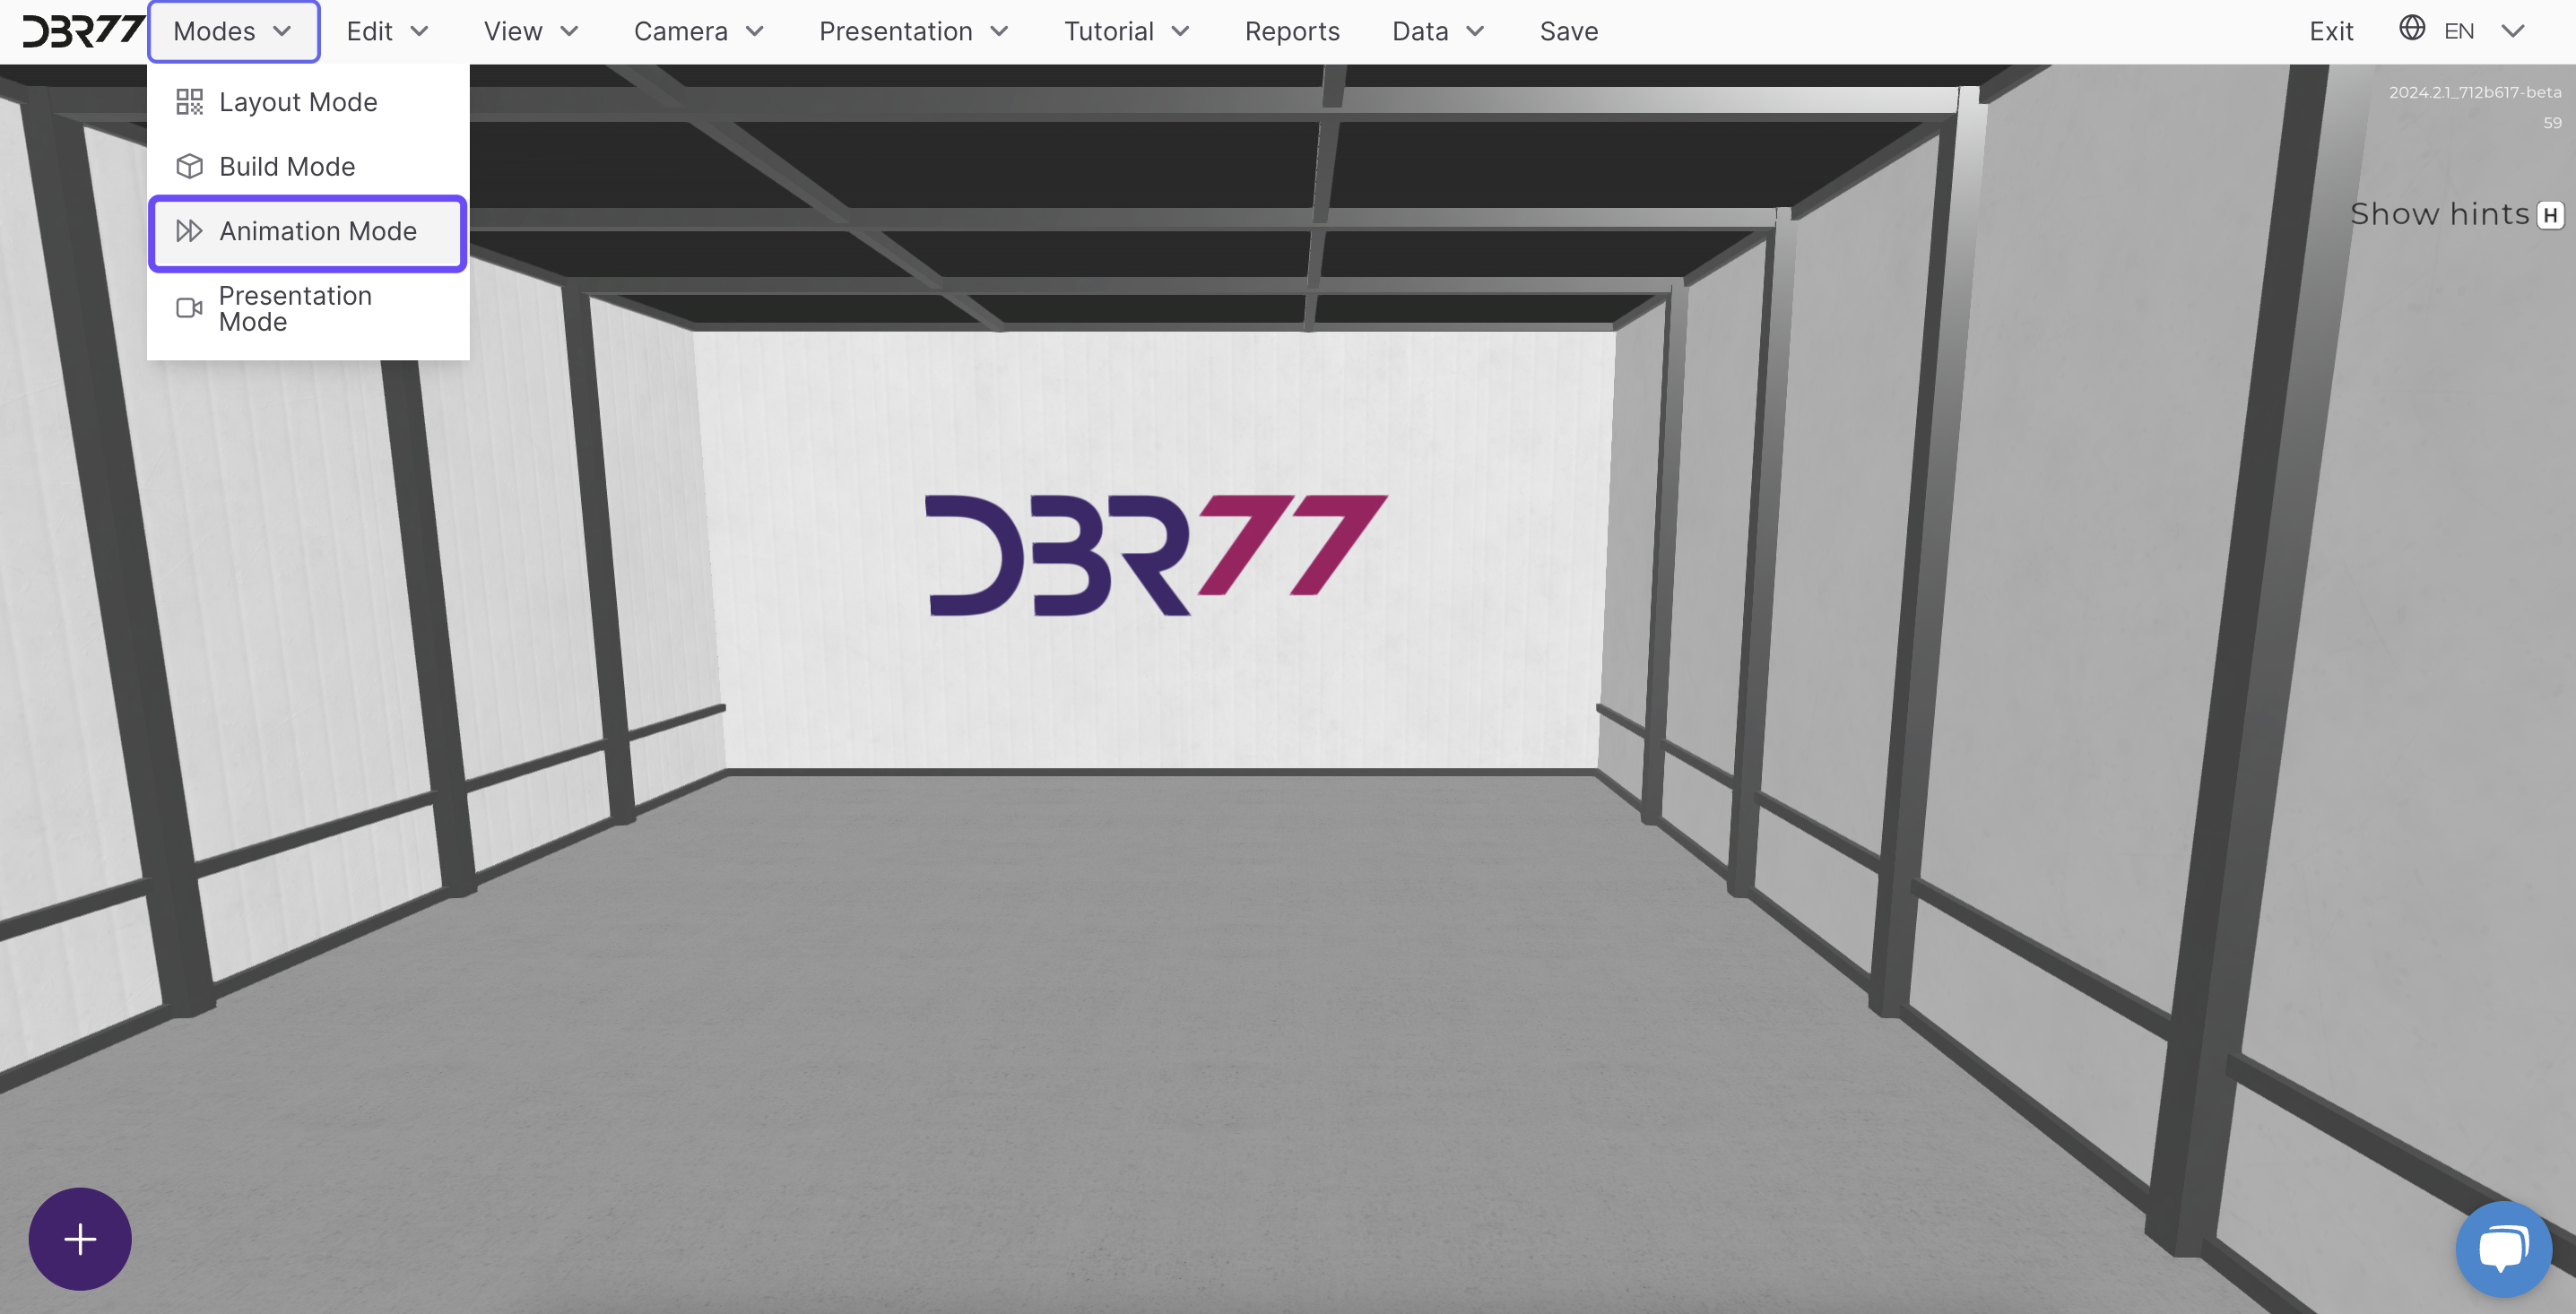
Animation Mode brings your workstations and production lines to life through movement. In this mode, you can:
- Create motion animations for machines, robots, and operators.
- Simulate production processes and interactions between different system components.
- Test and optimize movement sequences to improve production efficiency.
Presentation Mode
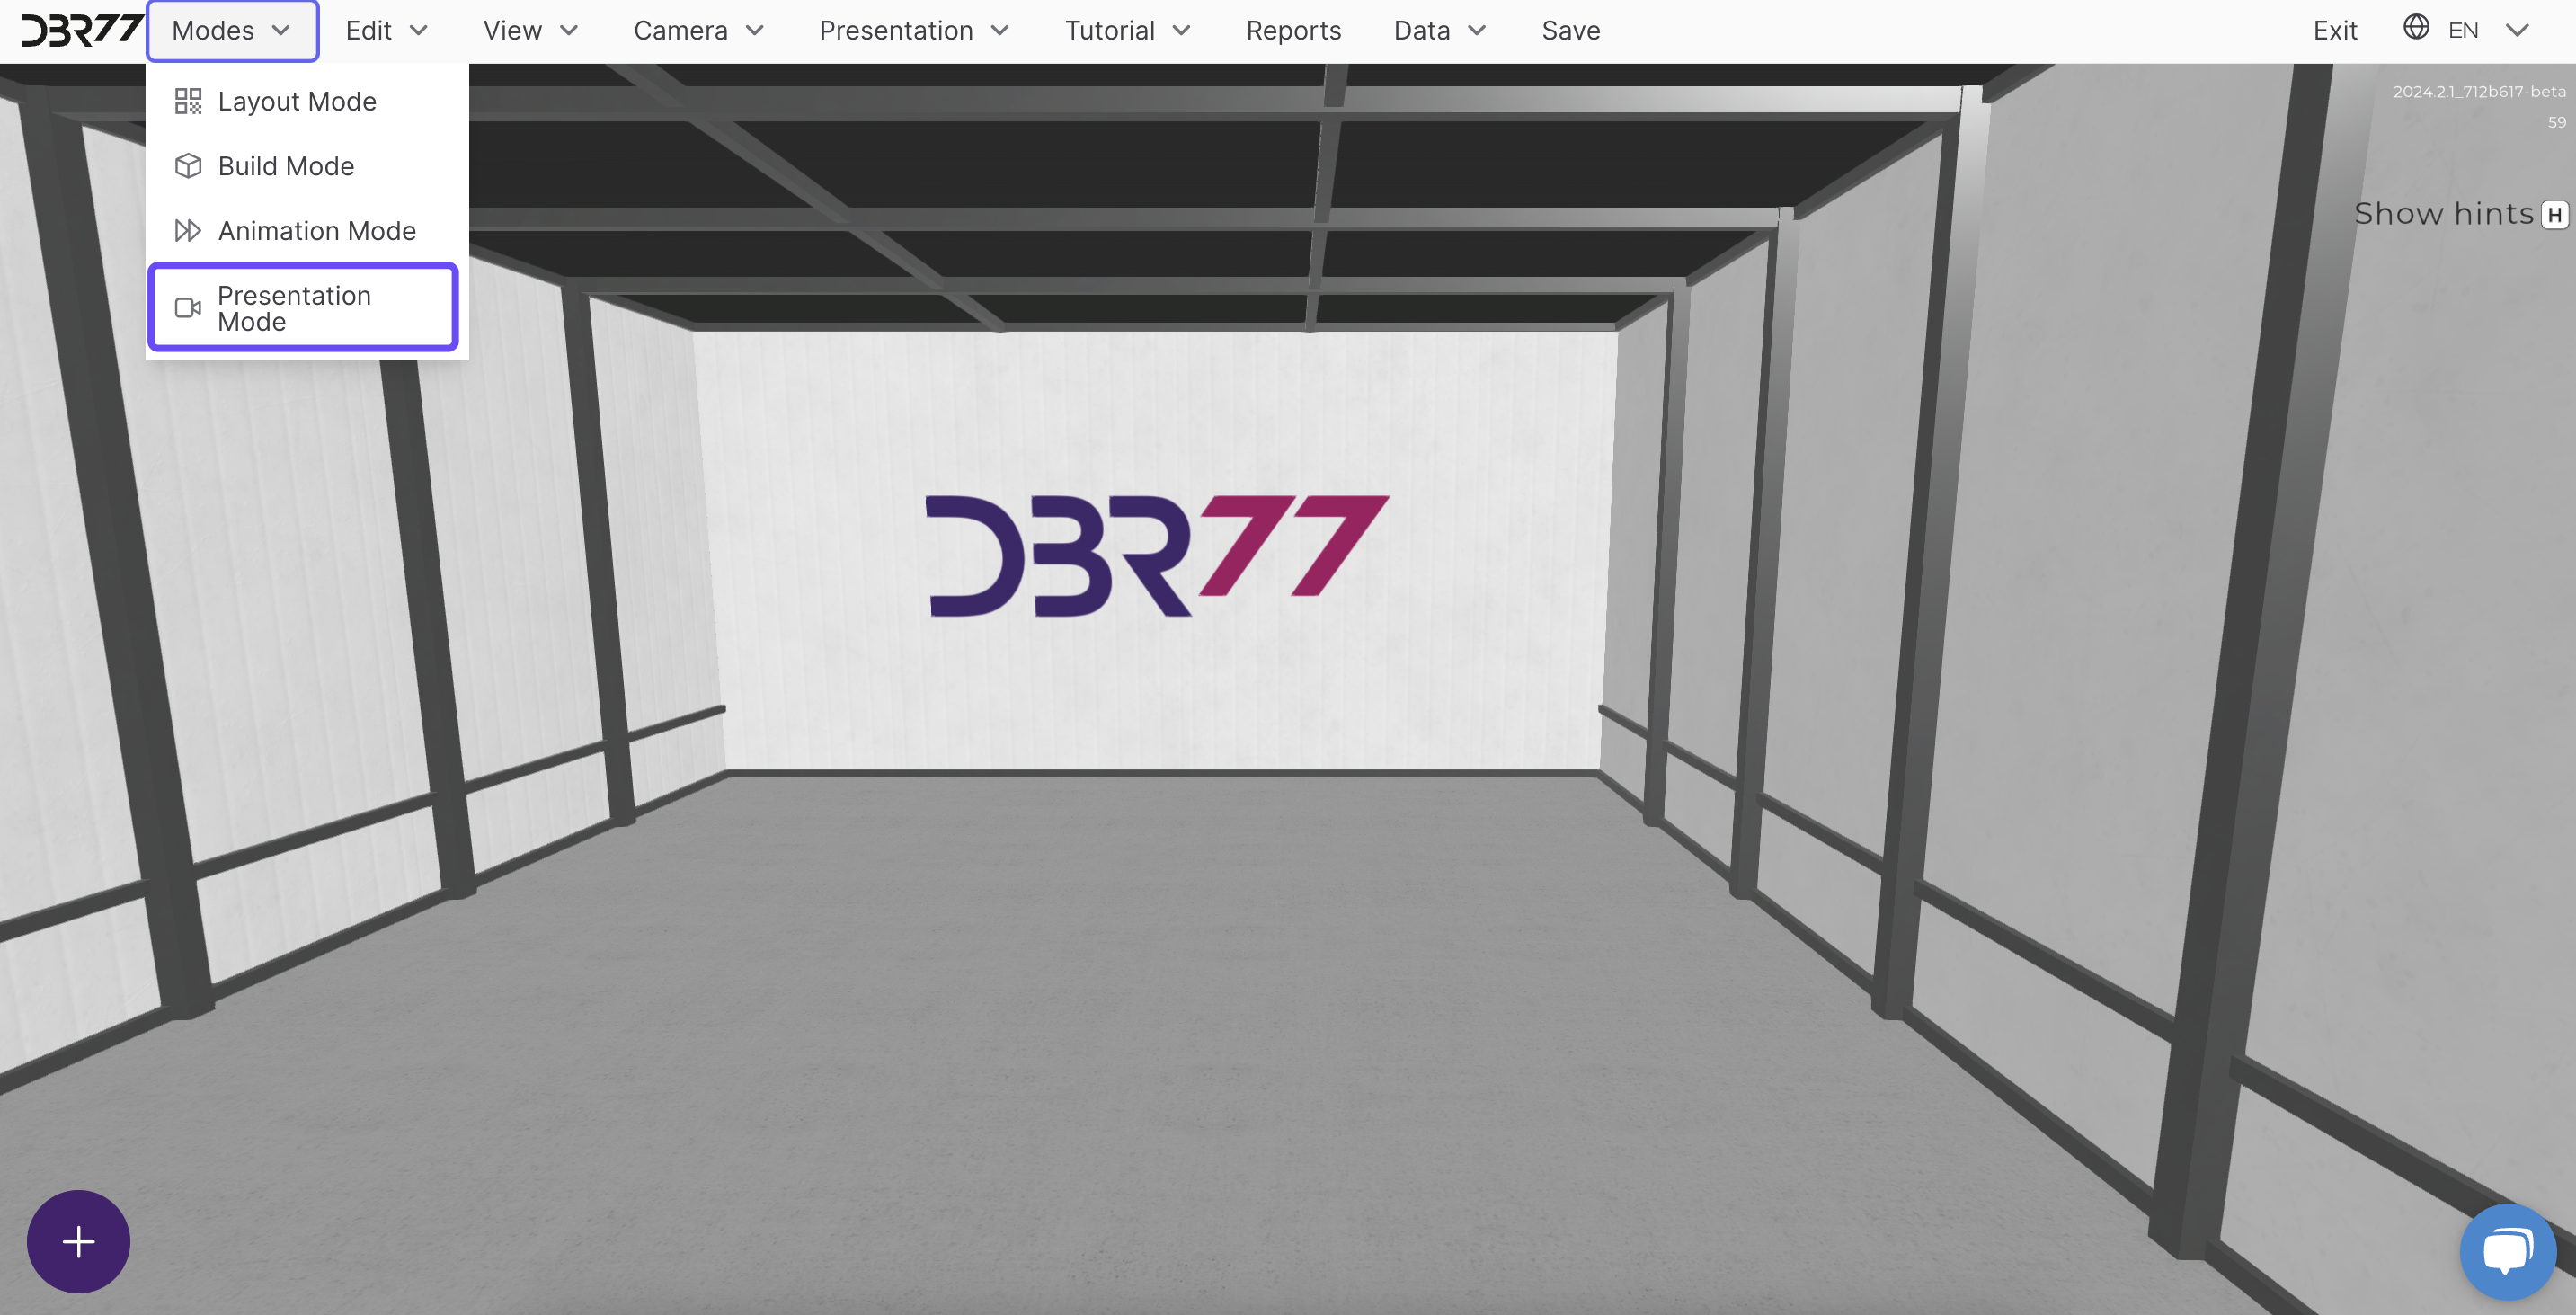
Presentation Mode allows you to set up desired camera perspectives for optimal visualization of operations and production processes. In this mode, you can:
- Position cameras at various locations and angles or for specific timeframes to achieve ideal views.
- Create multimedia presentation materials that clearly illustrate operations and production processes.
- Record your screen during the presentation to easily share it with your team and stakeholders.
Editing
In the "Edit" tab, you will find two options designed to simplify your work in the 3D Studio. Below is an explanation of how to use the available functions.

Option to Select Locked Elements
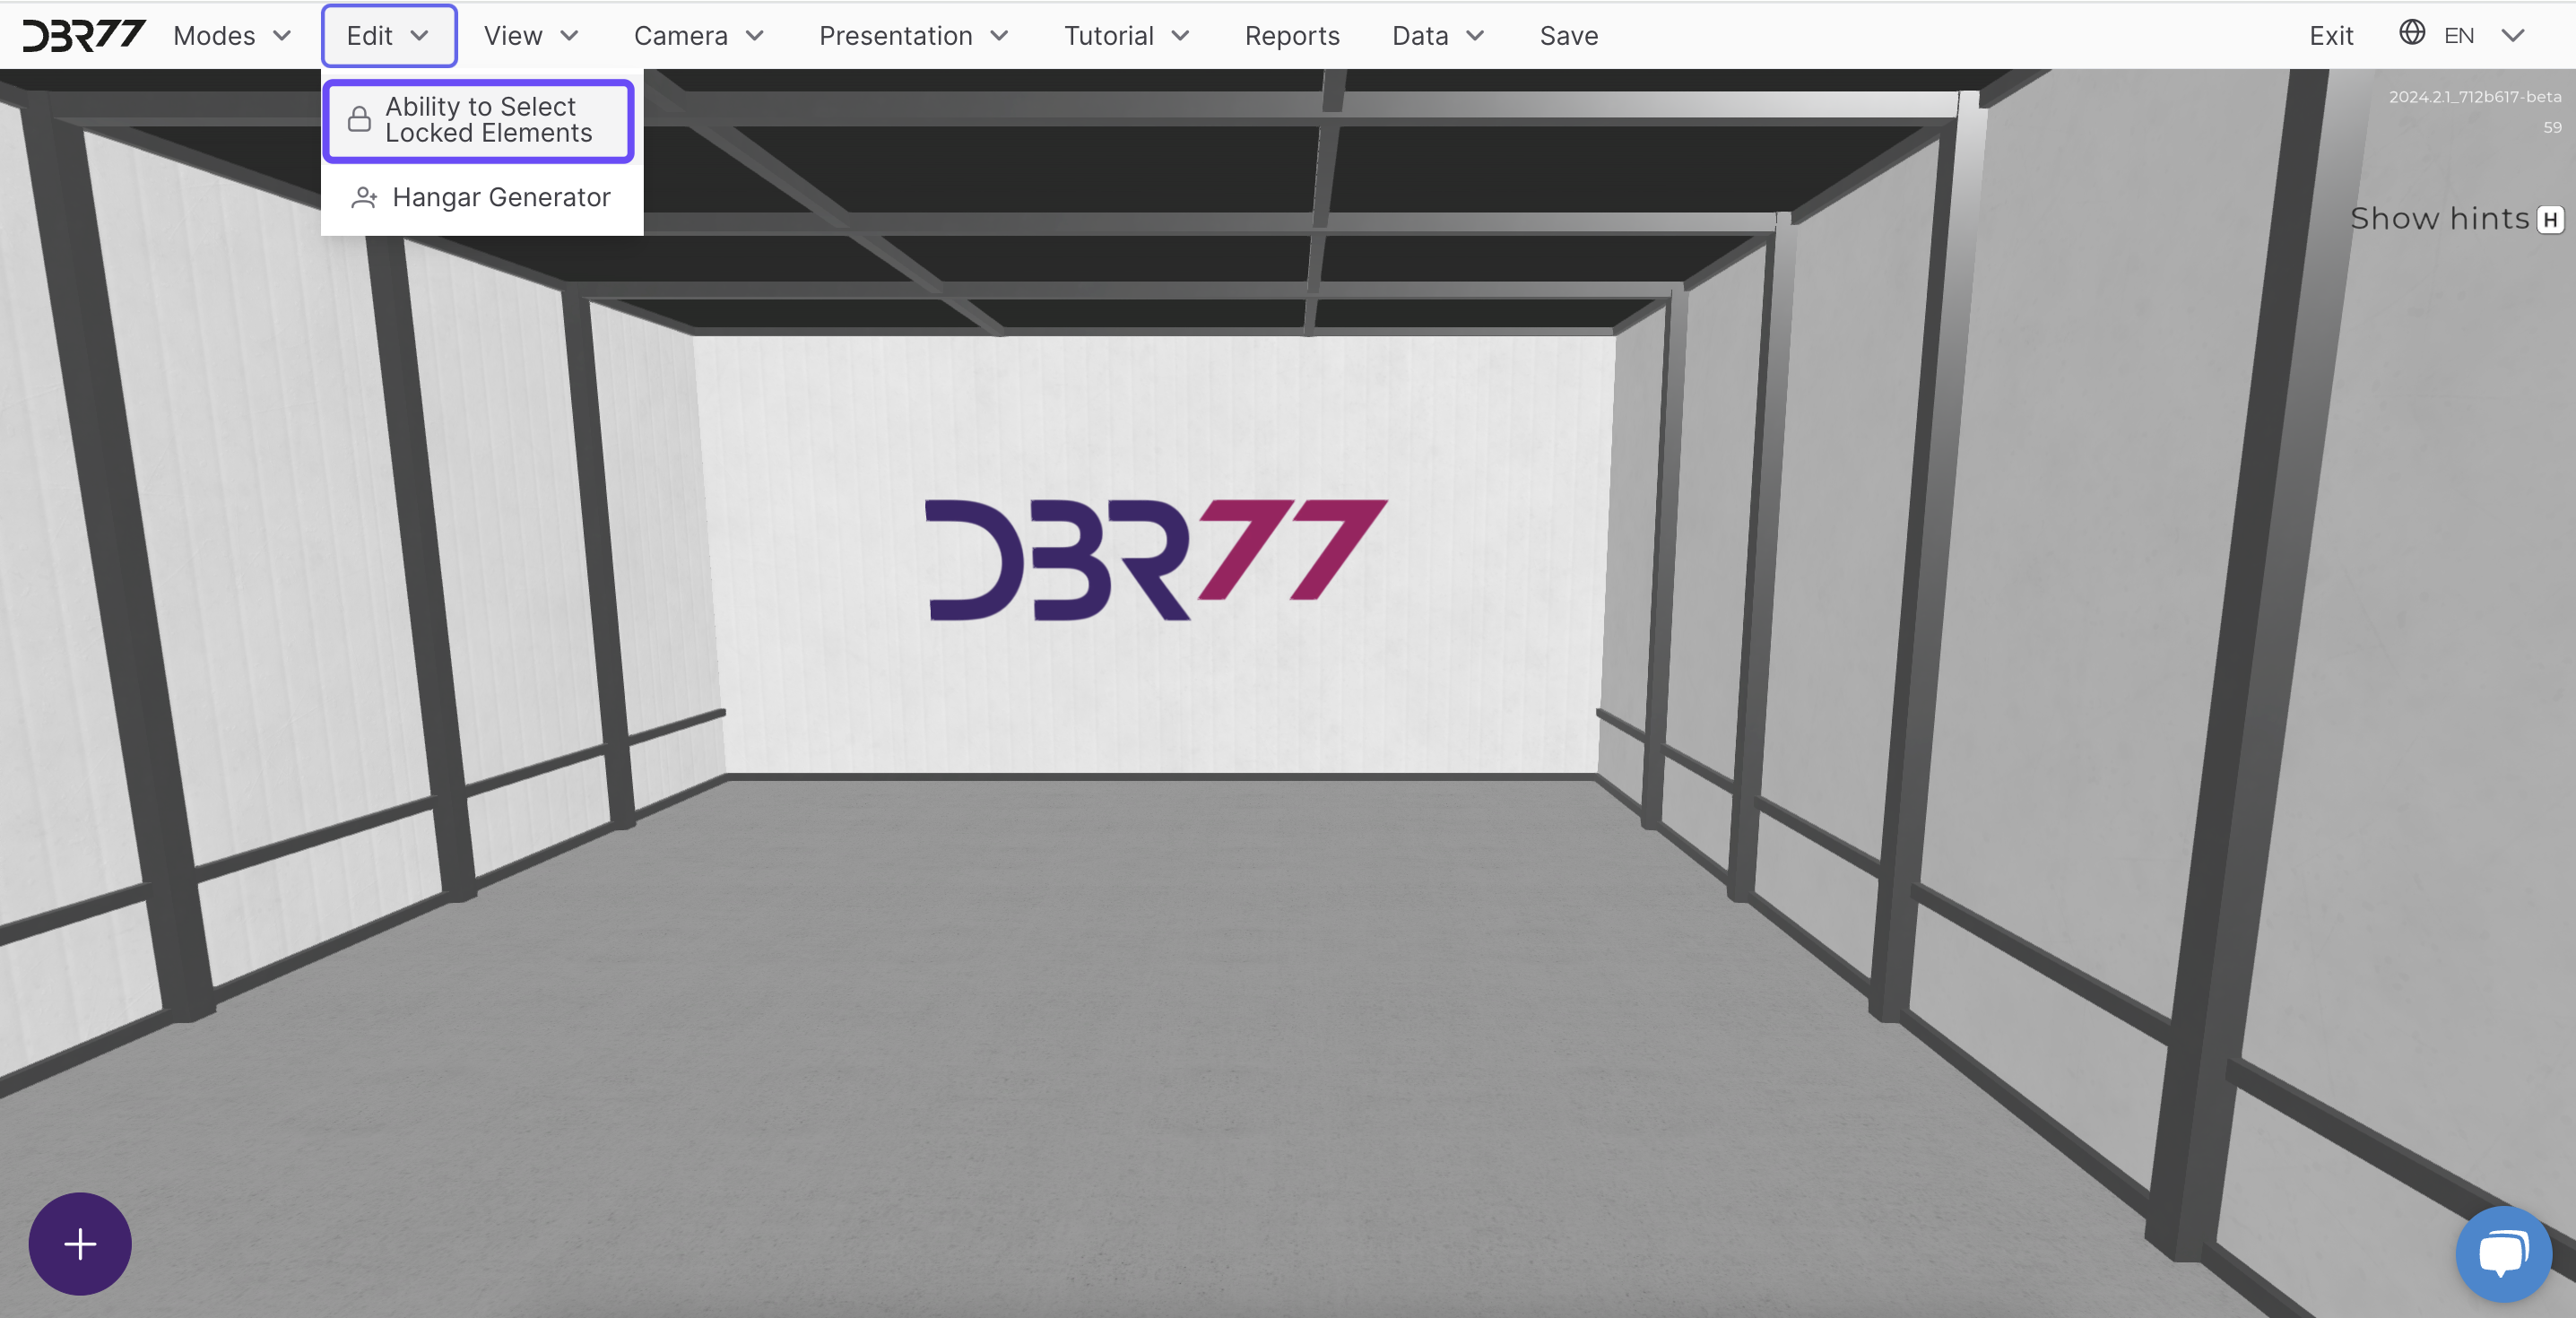
An element can be locked after its creation via the detail panel.

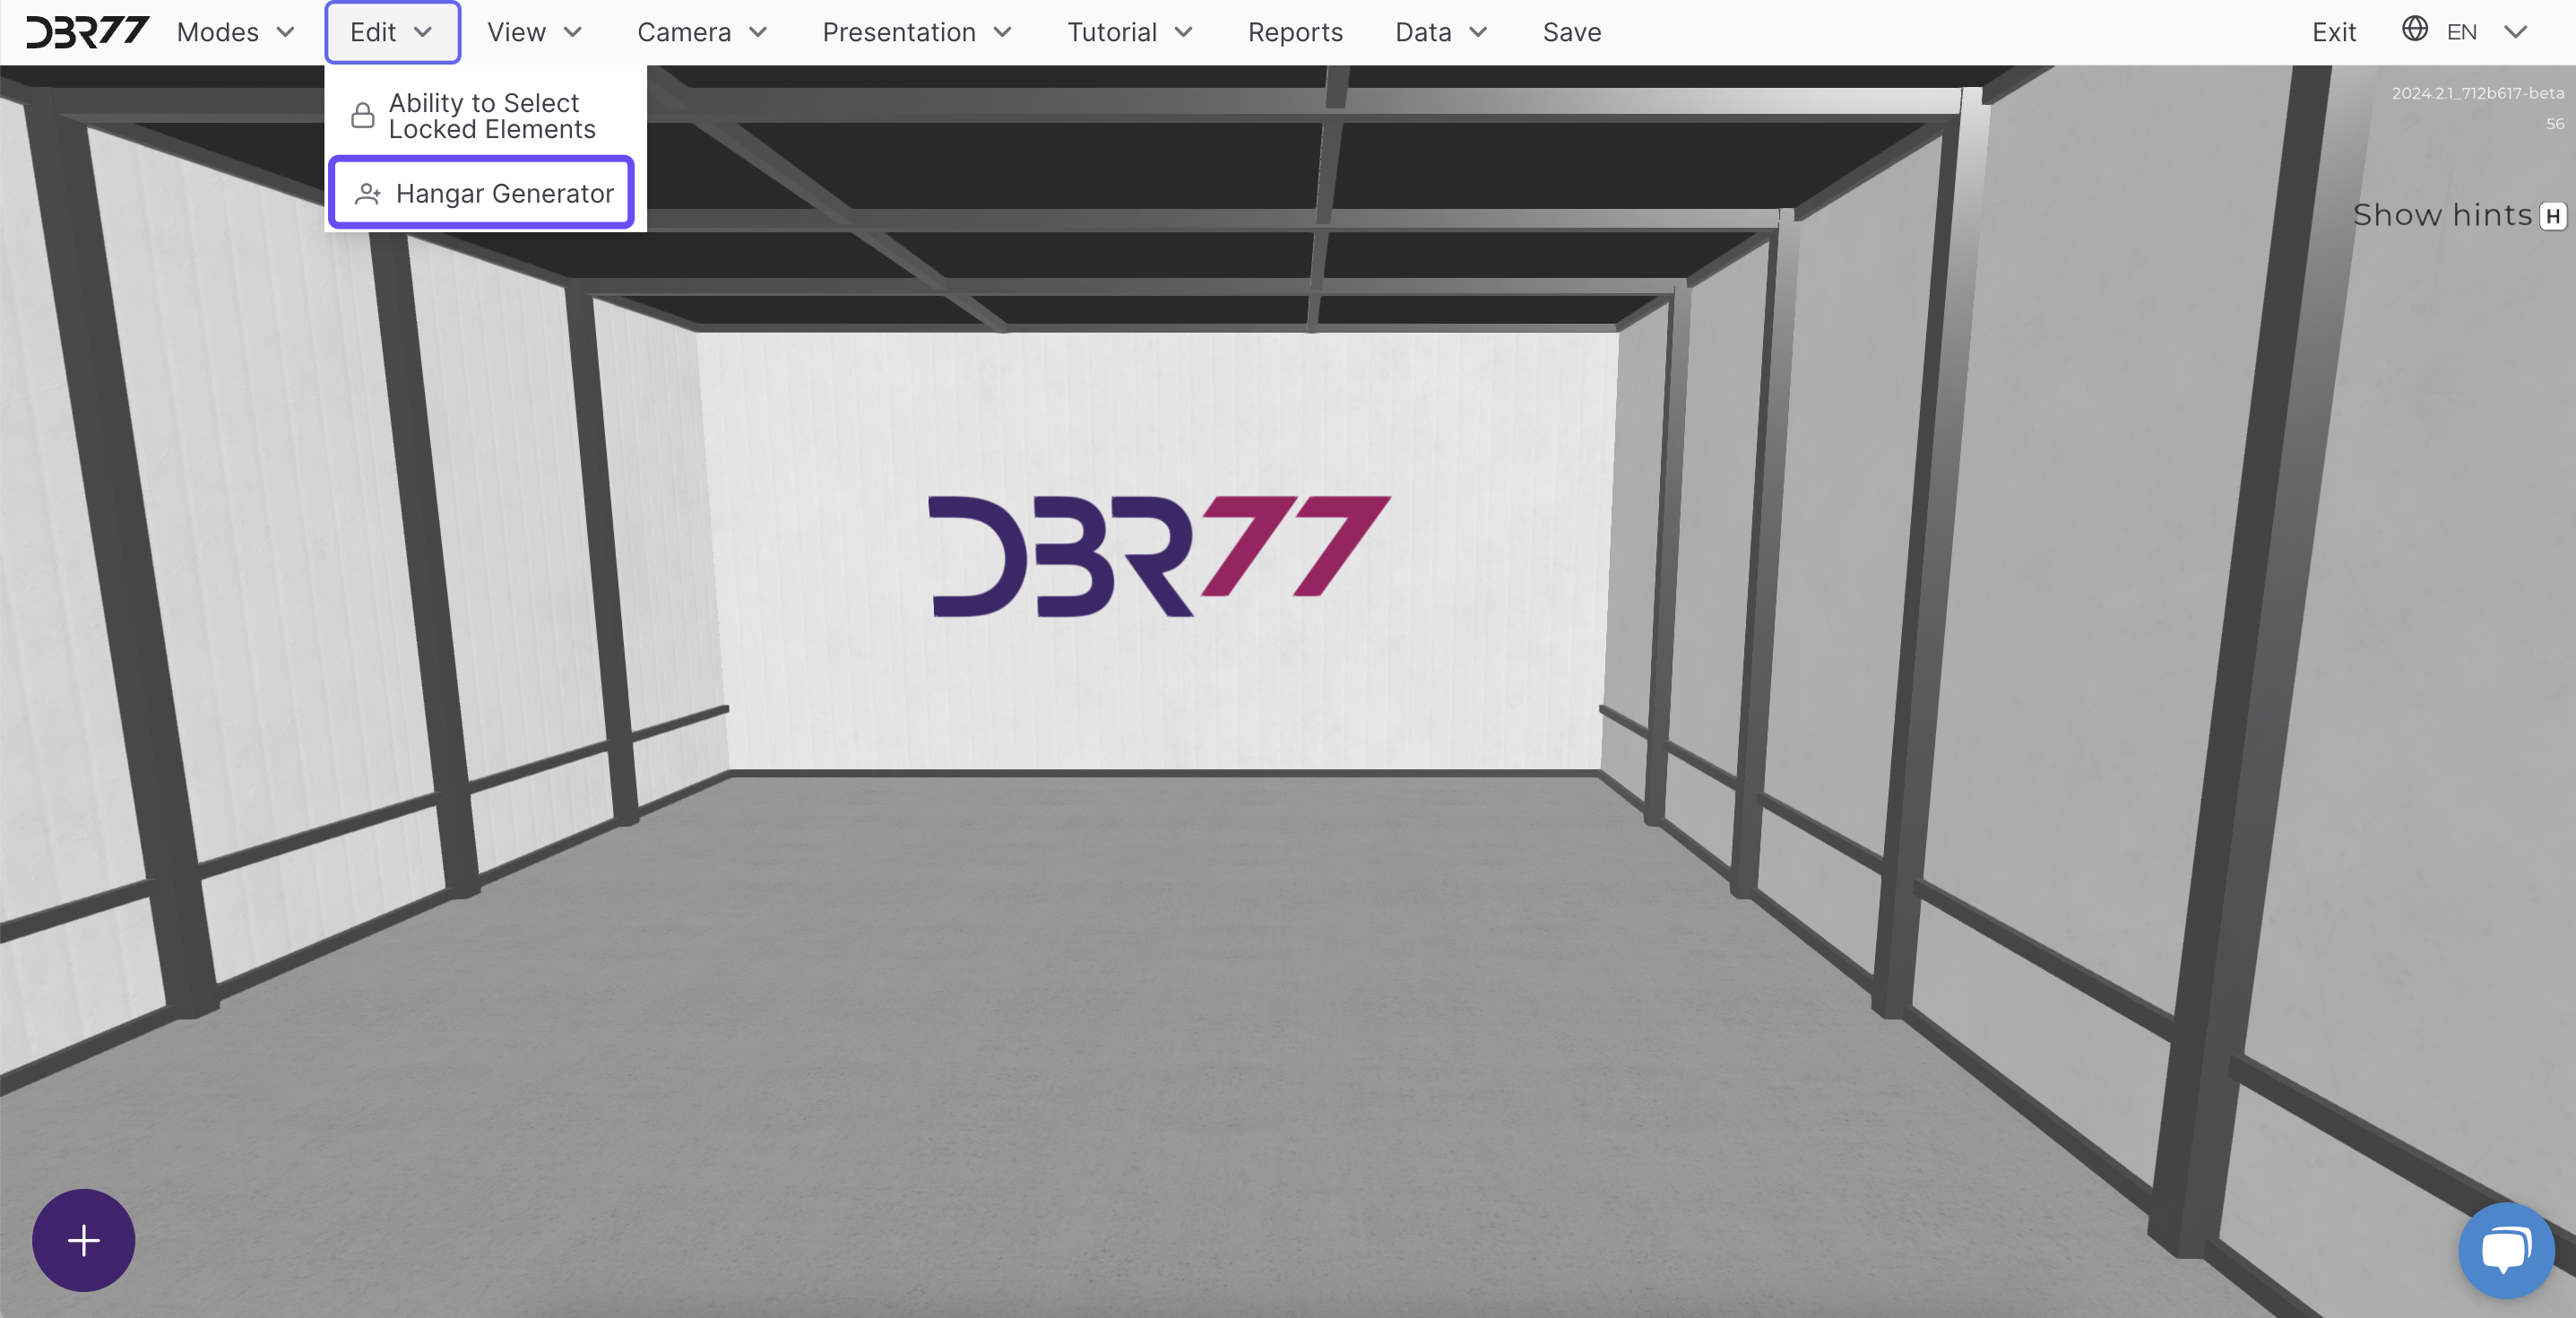
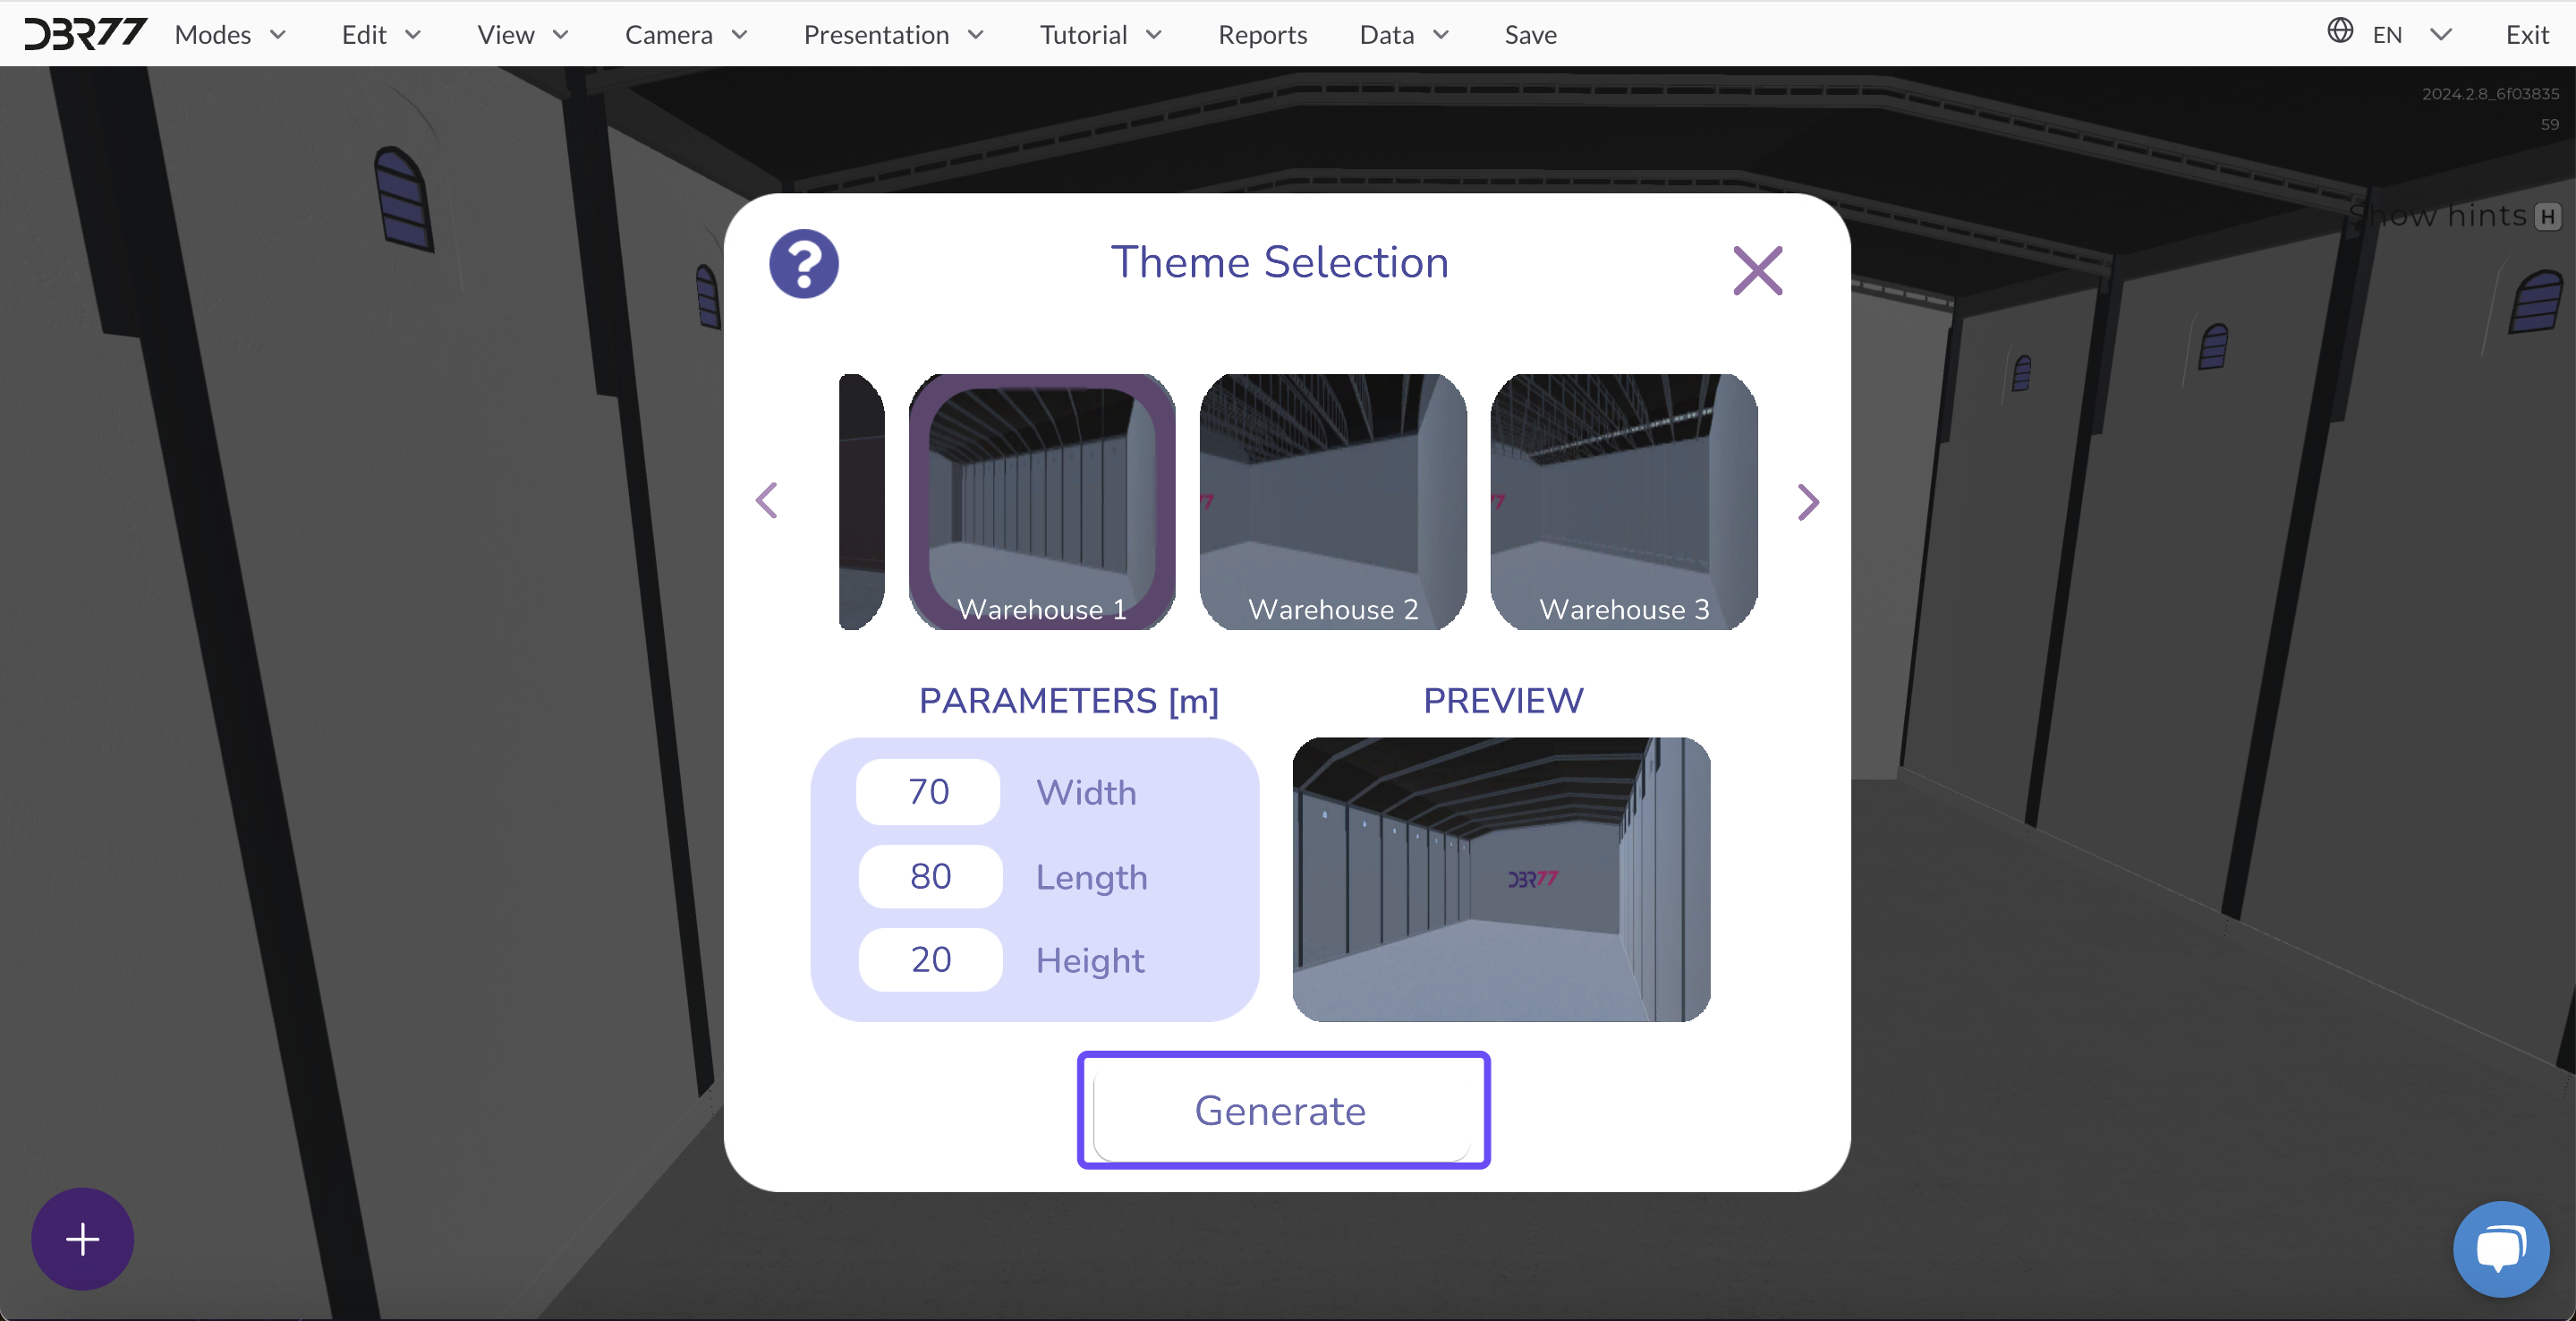
Hangar Generator
The Hangar Generator is a tool that allows you to adjust the appearance and dimensions of the workspace in the 3D Studio DBR77, where you create and edit your projects.
Using the Hangar Generator
-
Accessing the Hangar Generator
To use the generator, go to the "Edit" tab and select the "Hangar Generator" option.
2. Setting Parameters - Once the generator is opened, a window will appear where you can adjust the hangar parameters. Select the appearance and specify the desired length, width, and height.

3. Generating the Hangar - After configuring the parameters and making any necessary adjustments, click the "Generate" button. The hangar will be created according to the specified settings.
View
The "View" tab in the 3D Studio allows you to adjust the scene display to facilitate your work on the project. It consists of two main elements: Fullscreen Mode and Grid.
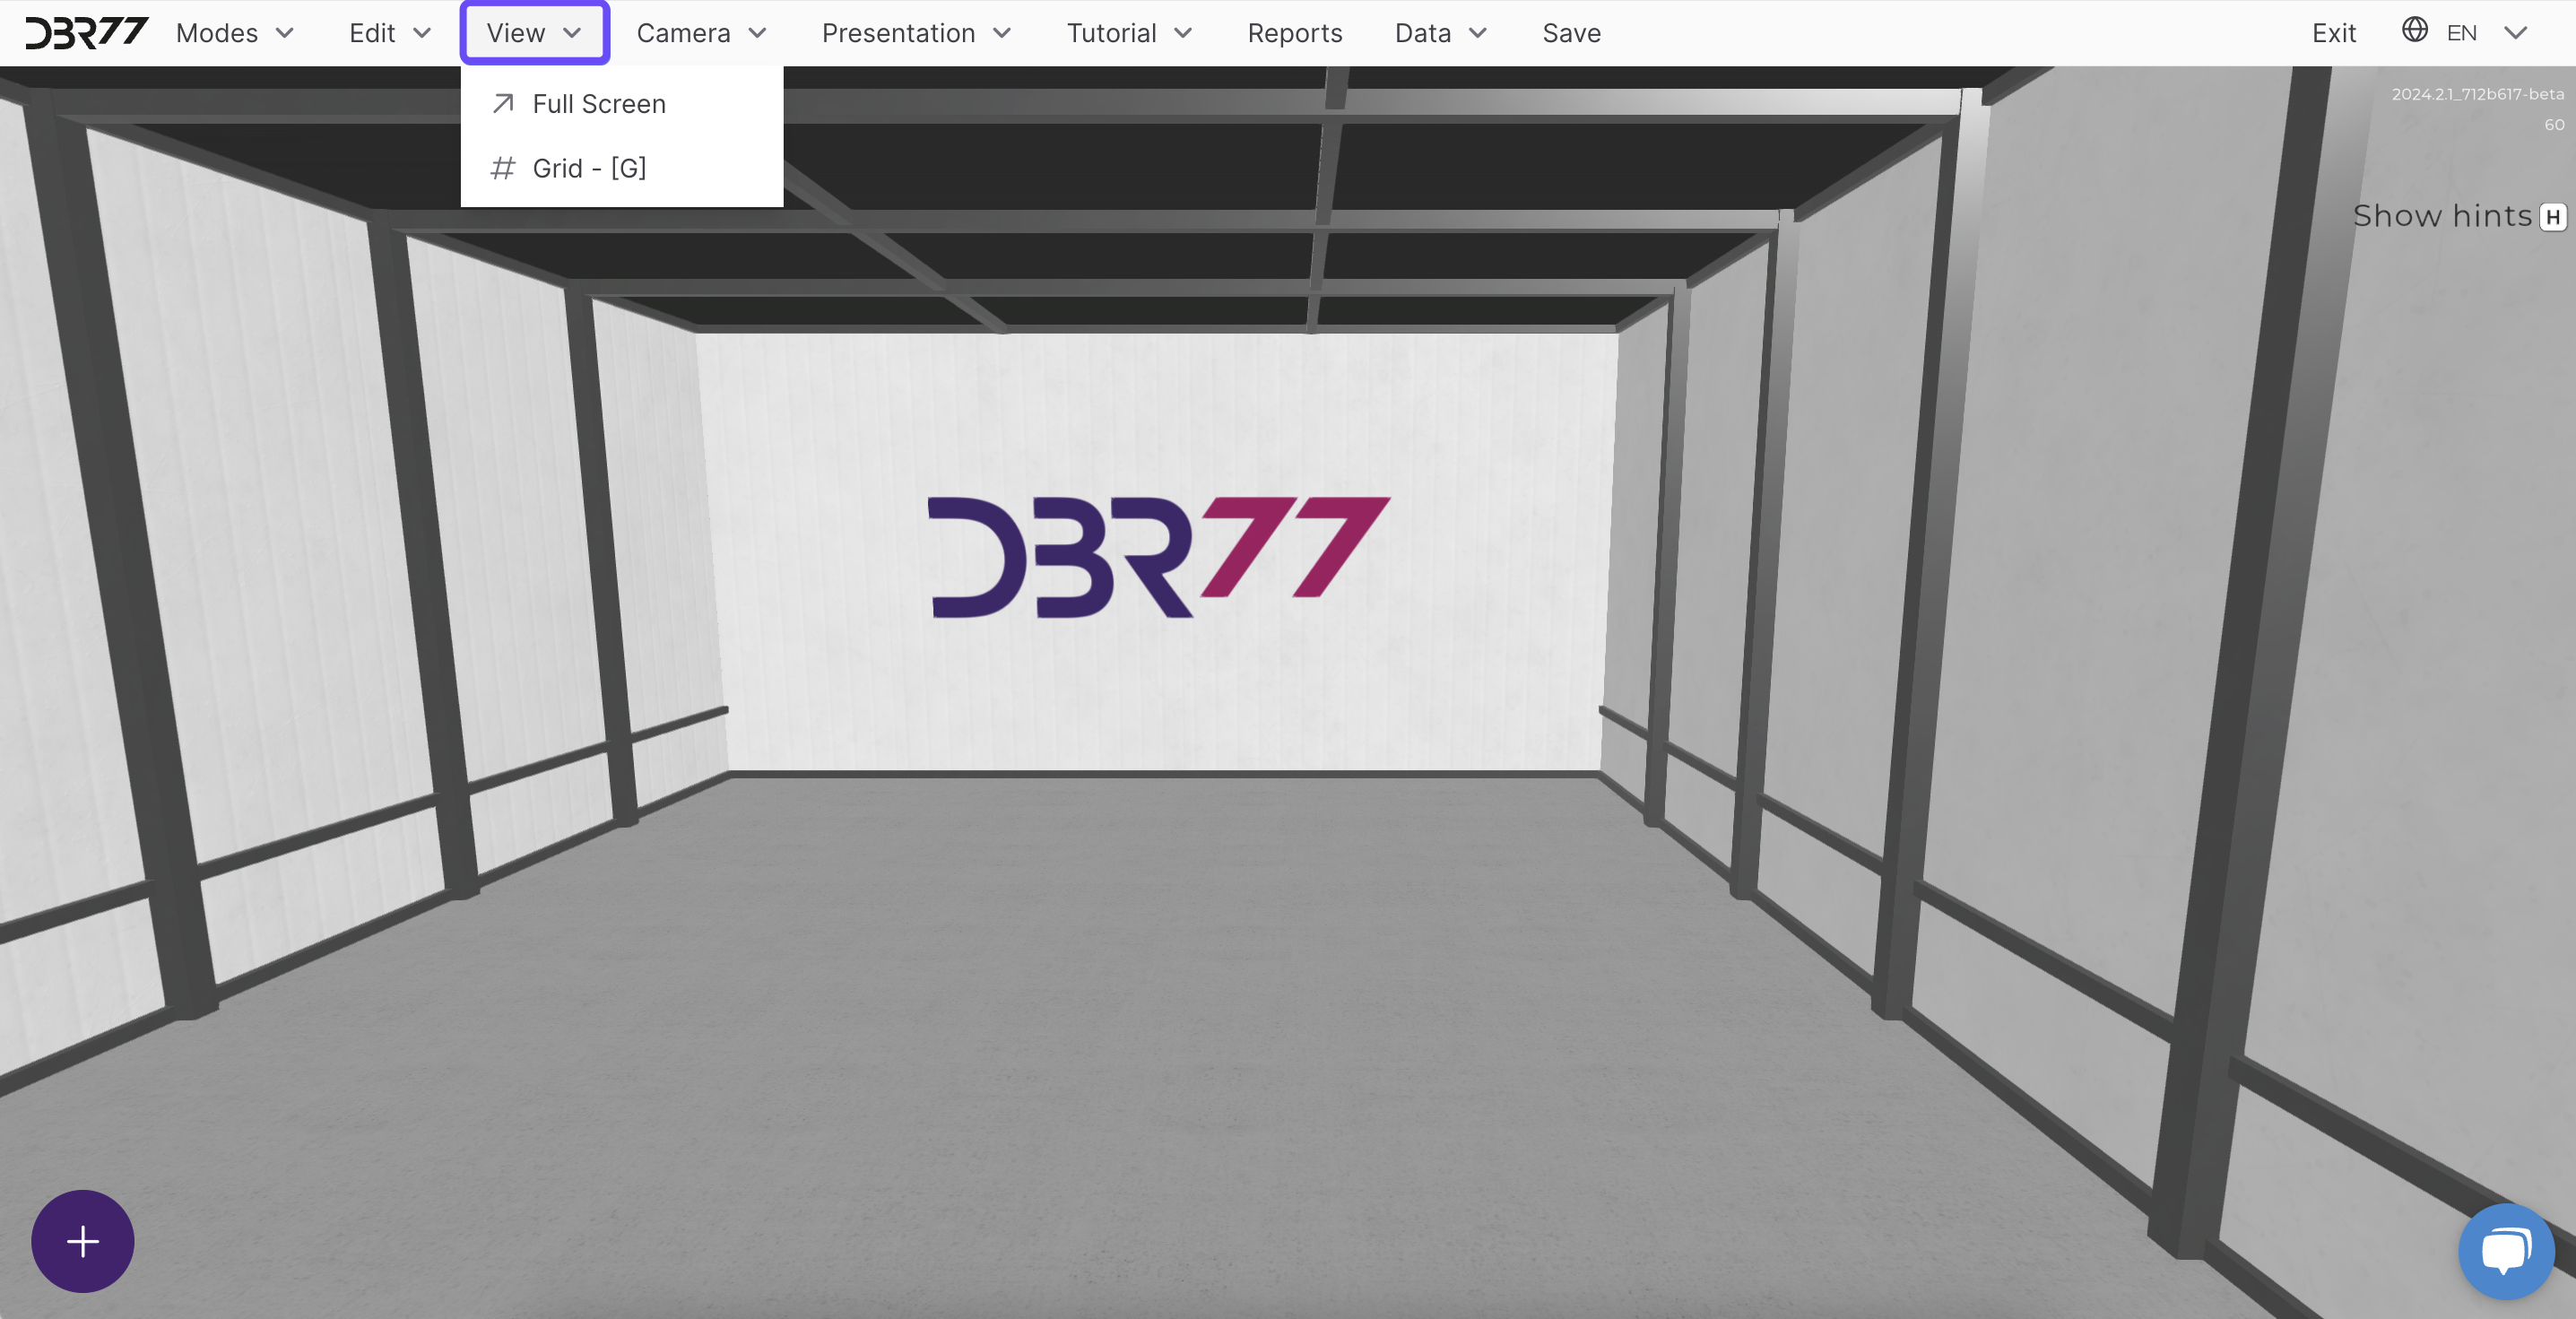
Fullscreen
The Fullscreen feature expands the 3D Studio to occupy the entire screen, allowing you to focus completely on the project without any distracting interface elements.
- To activate Fullscreen Mode: Click the "Fullscreen" button in the "View" menu.
- To exit Fullscreen Mode: Press the "Esc" key on your keyboard. This will return you to the standard display with the user interface.
Grid
The Grid feature aids in spatial planning and positioning elements within the scene by displaying a metric grid on the hangar floor. This ensures more accurate and precise placement of objects in your project.
- To display the grid: Enable the grid via the "View" -> "Grid" menu or by pressing the "G" key on your keyboard. The grid will appear on the floor to assist with precise object placement.
- To hide the grid: Click the grid option again in the "View" -> "Grid" menu or press the "G" key again to turn off the grid.
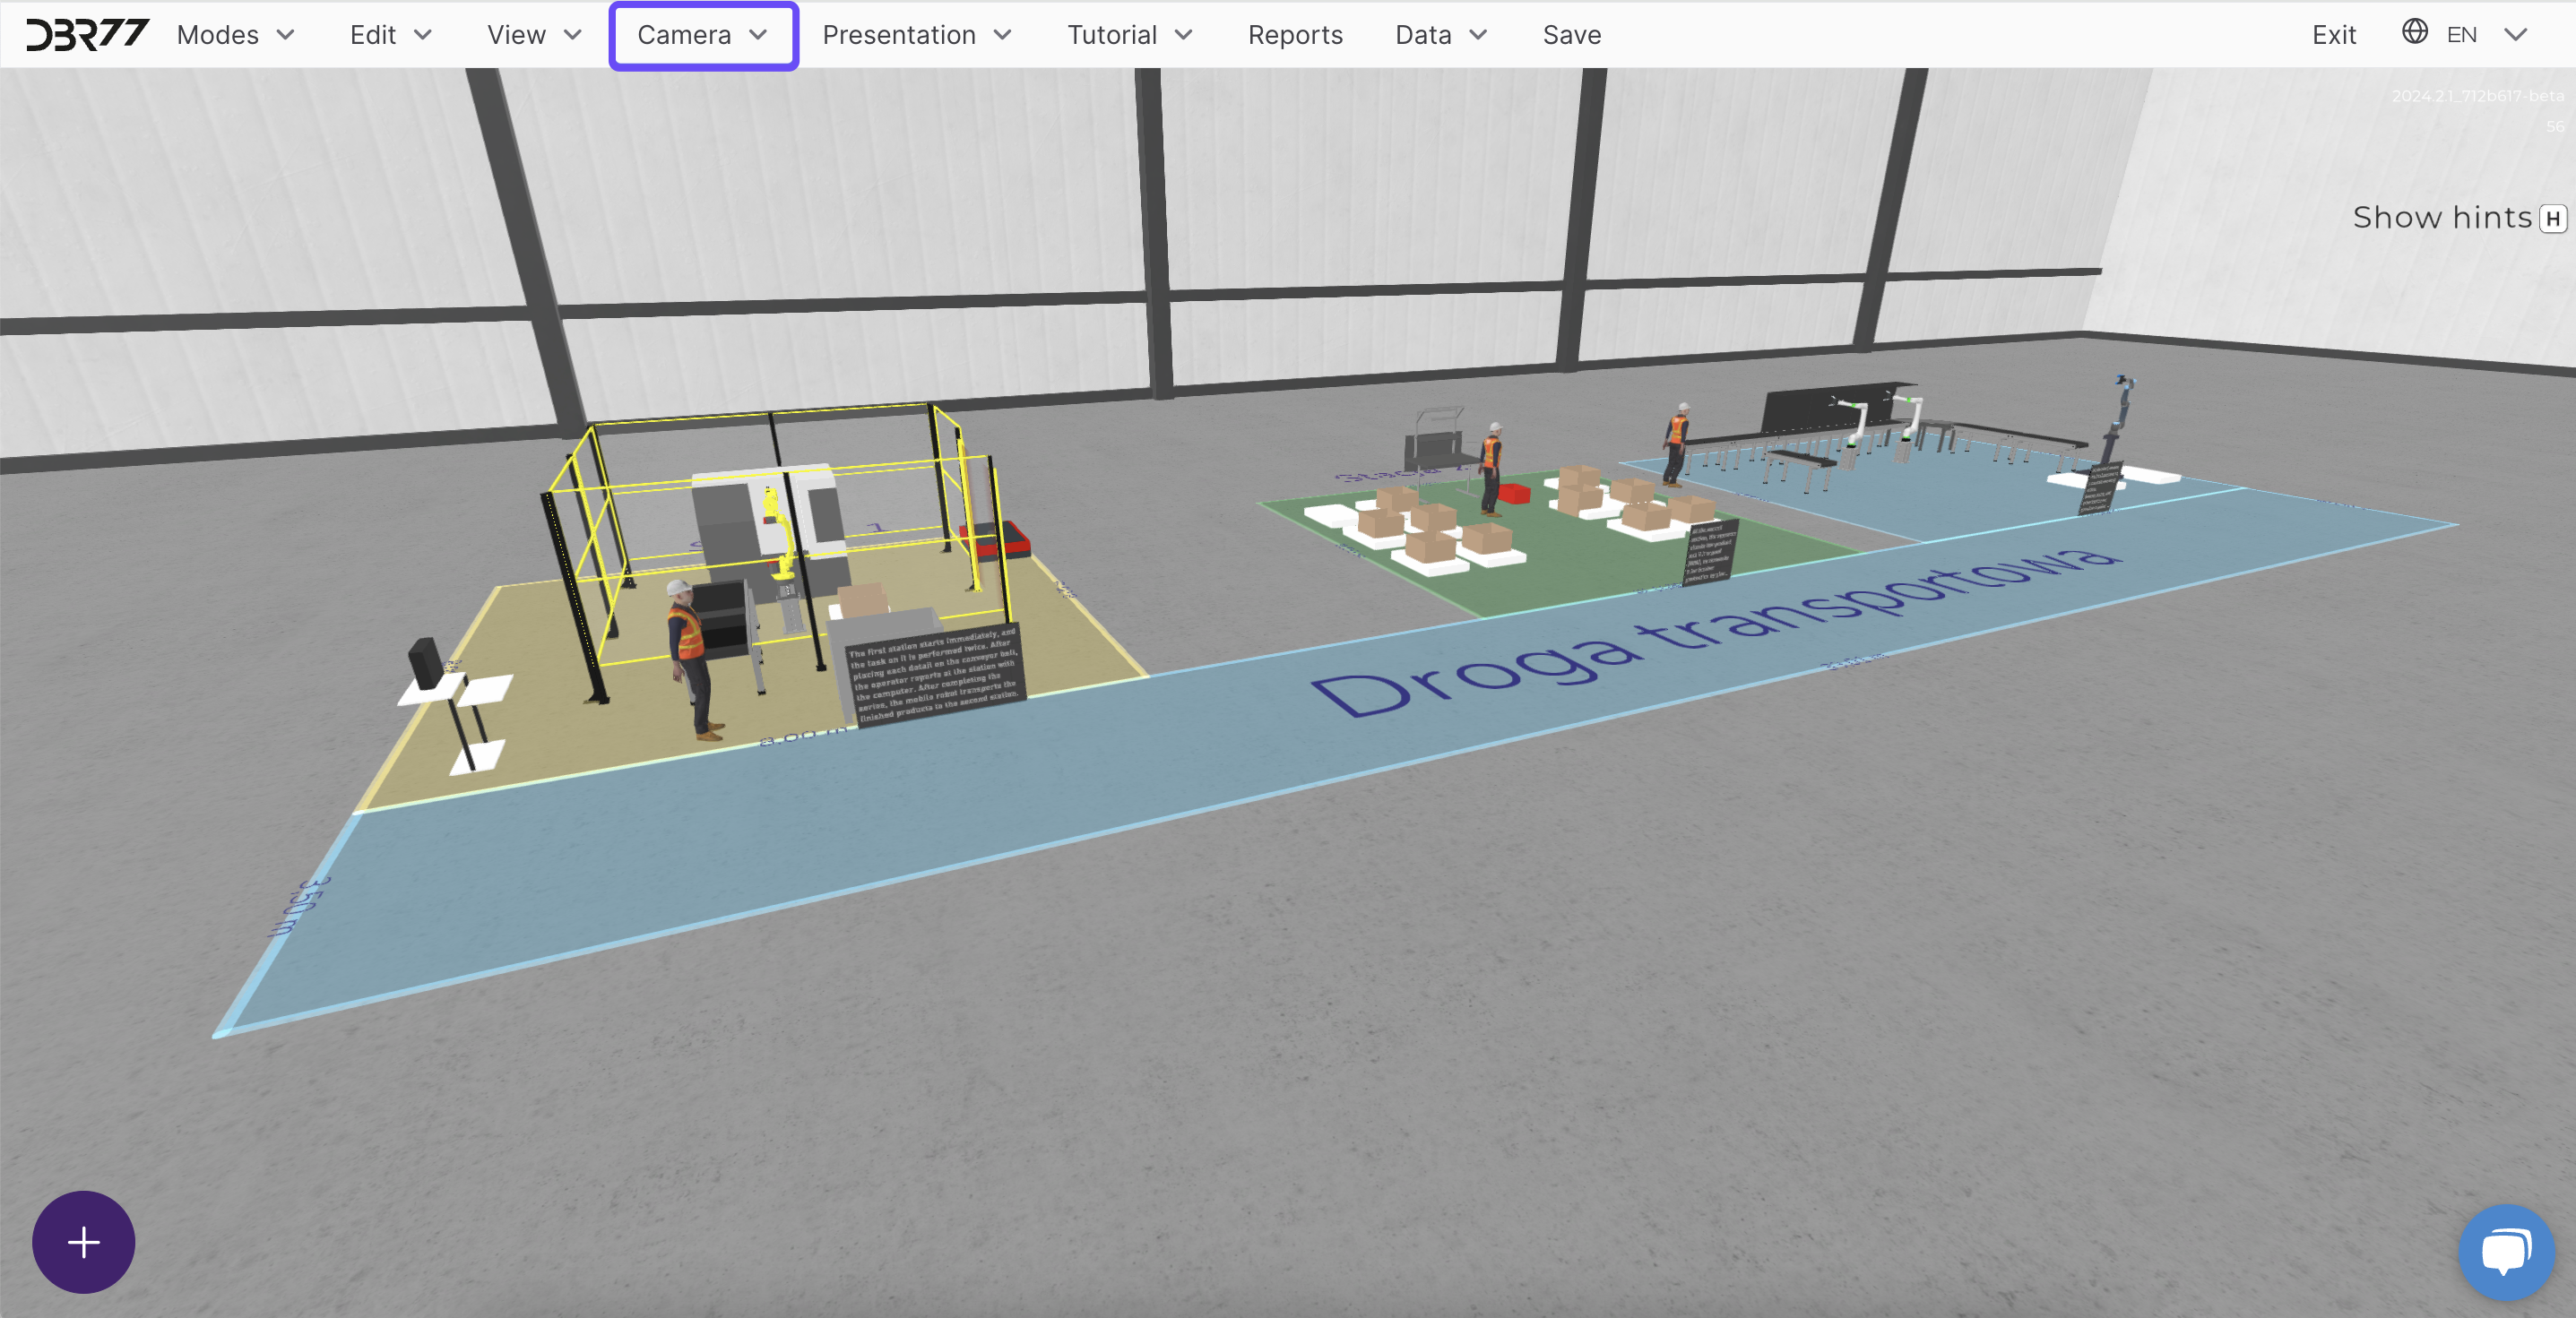
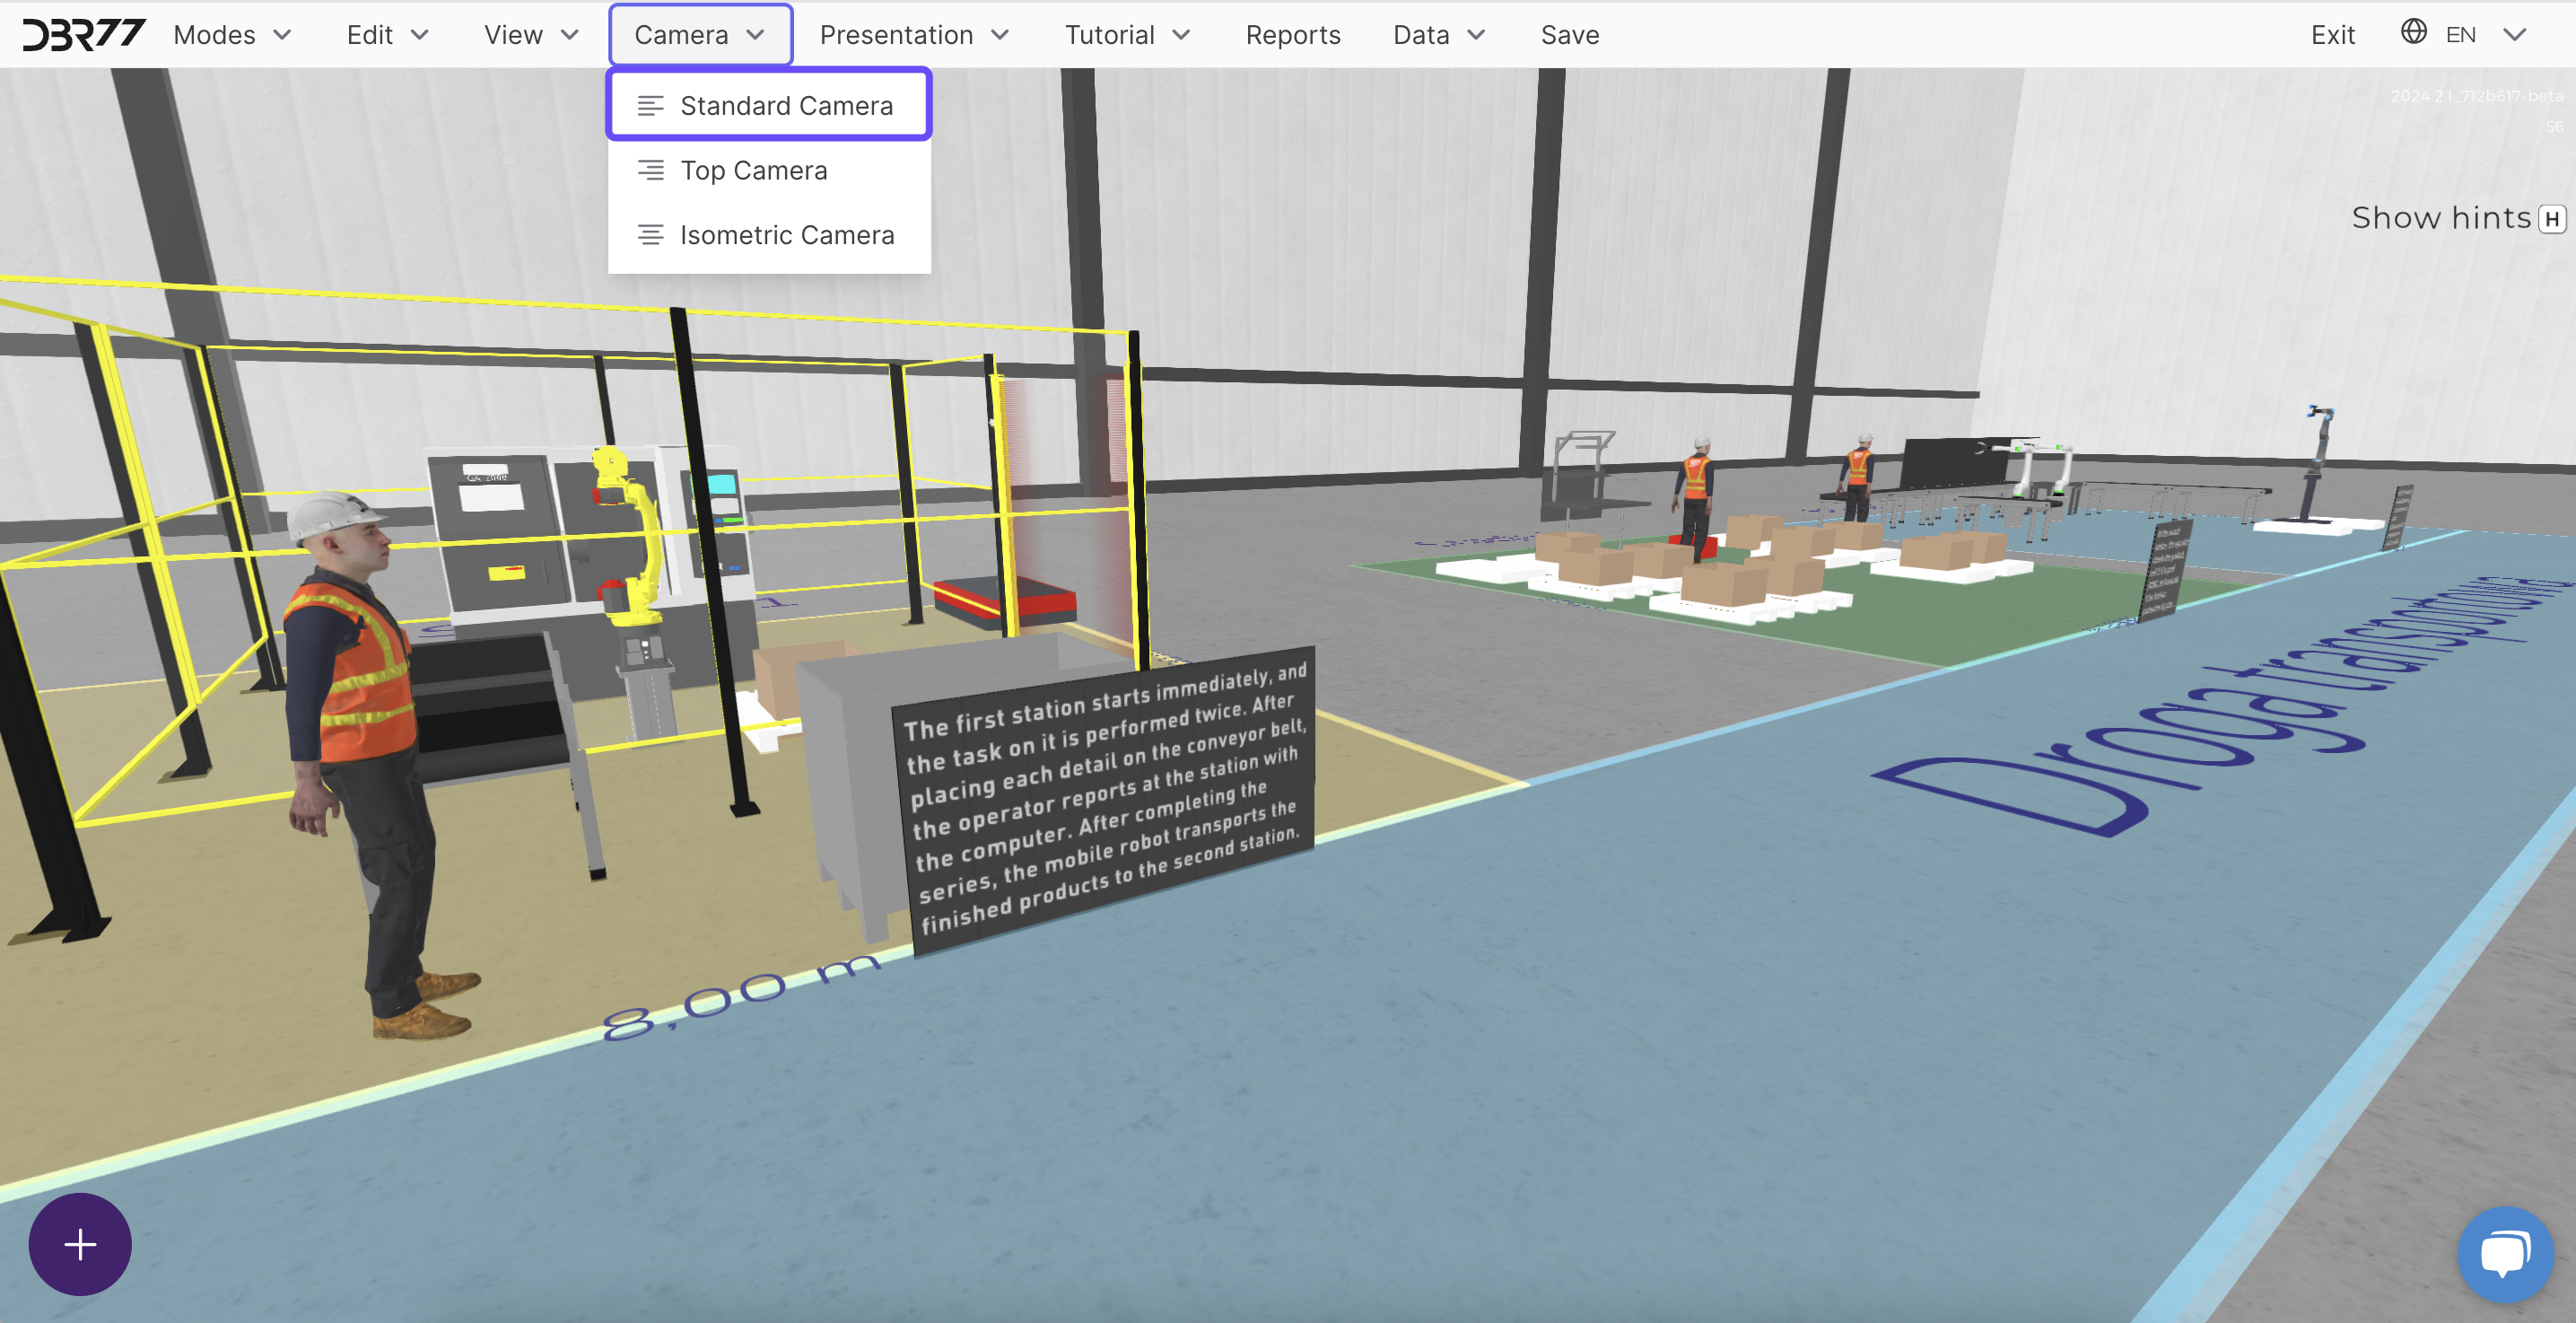
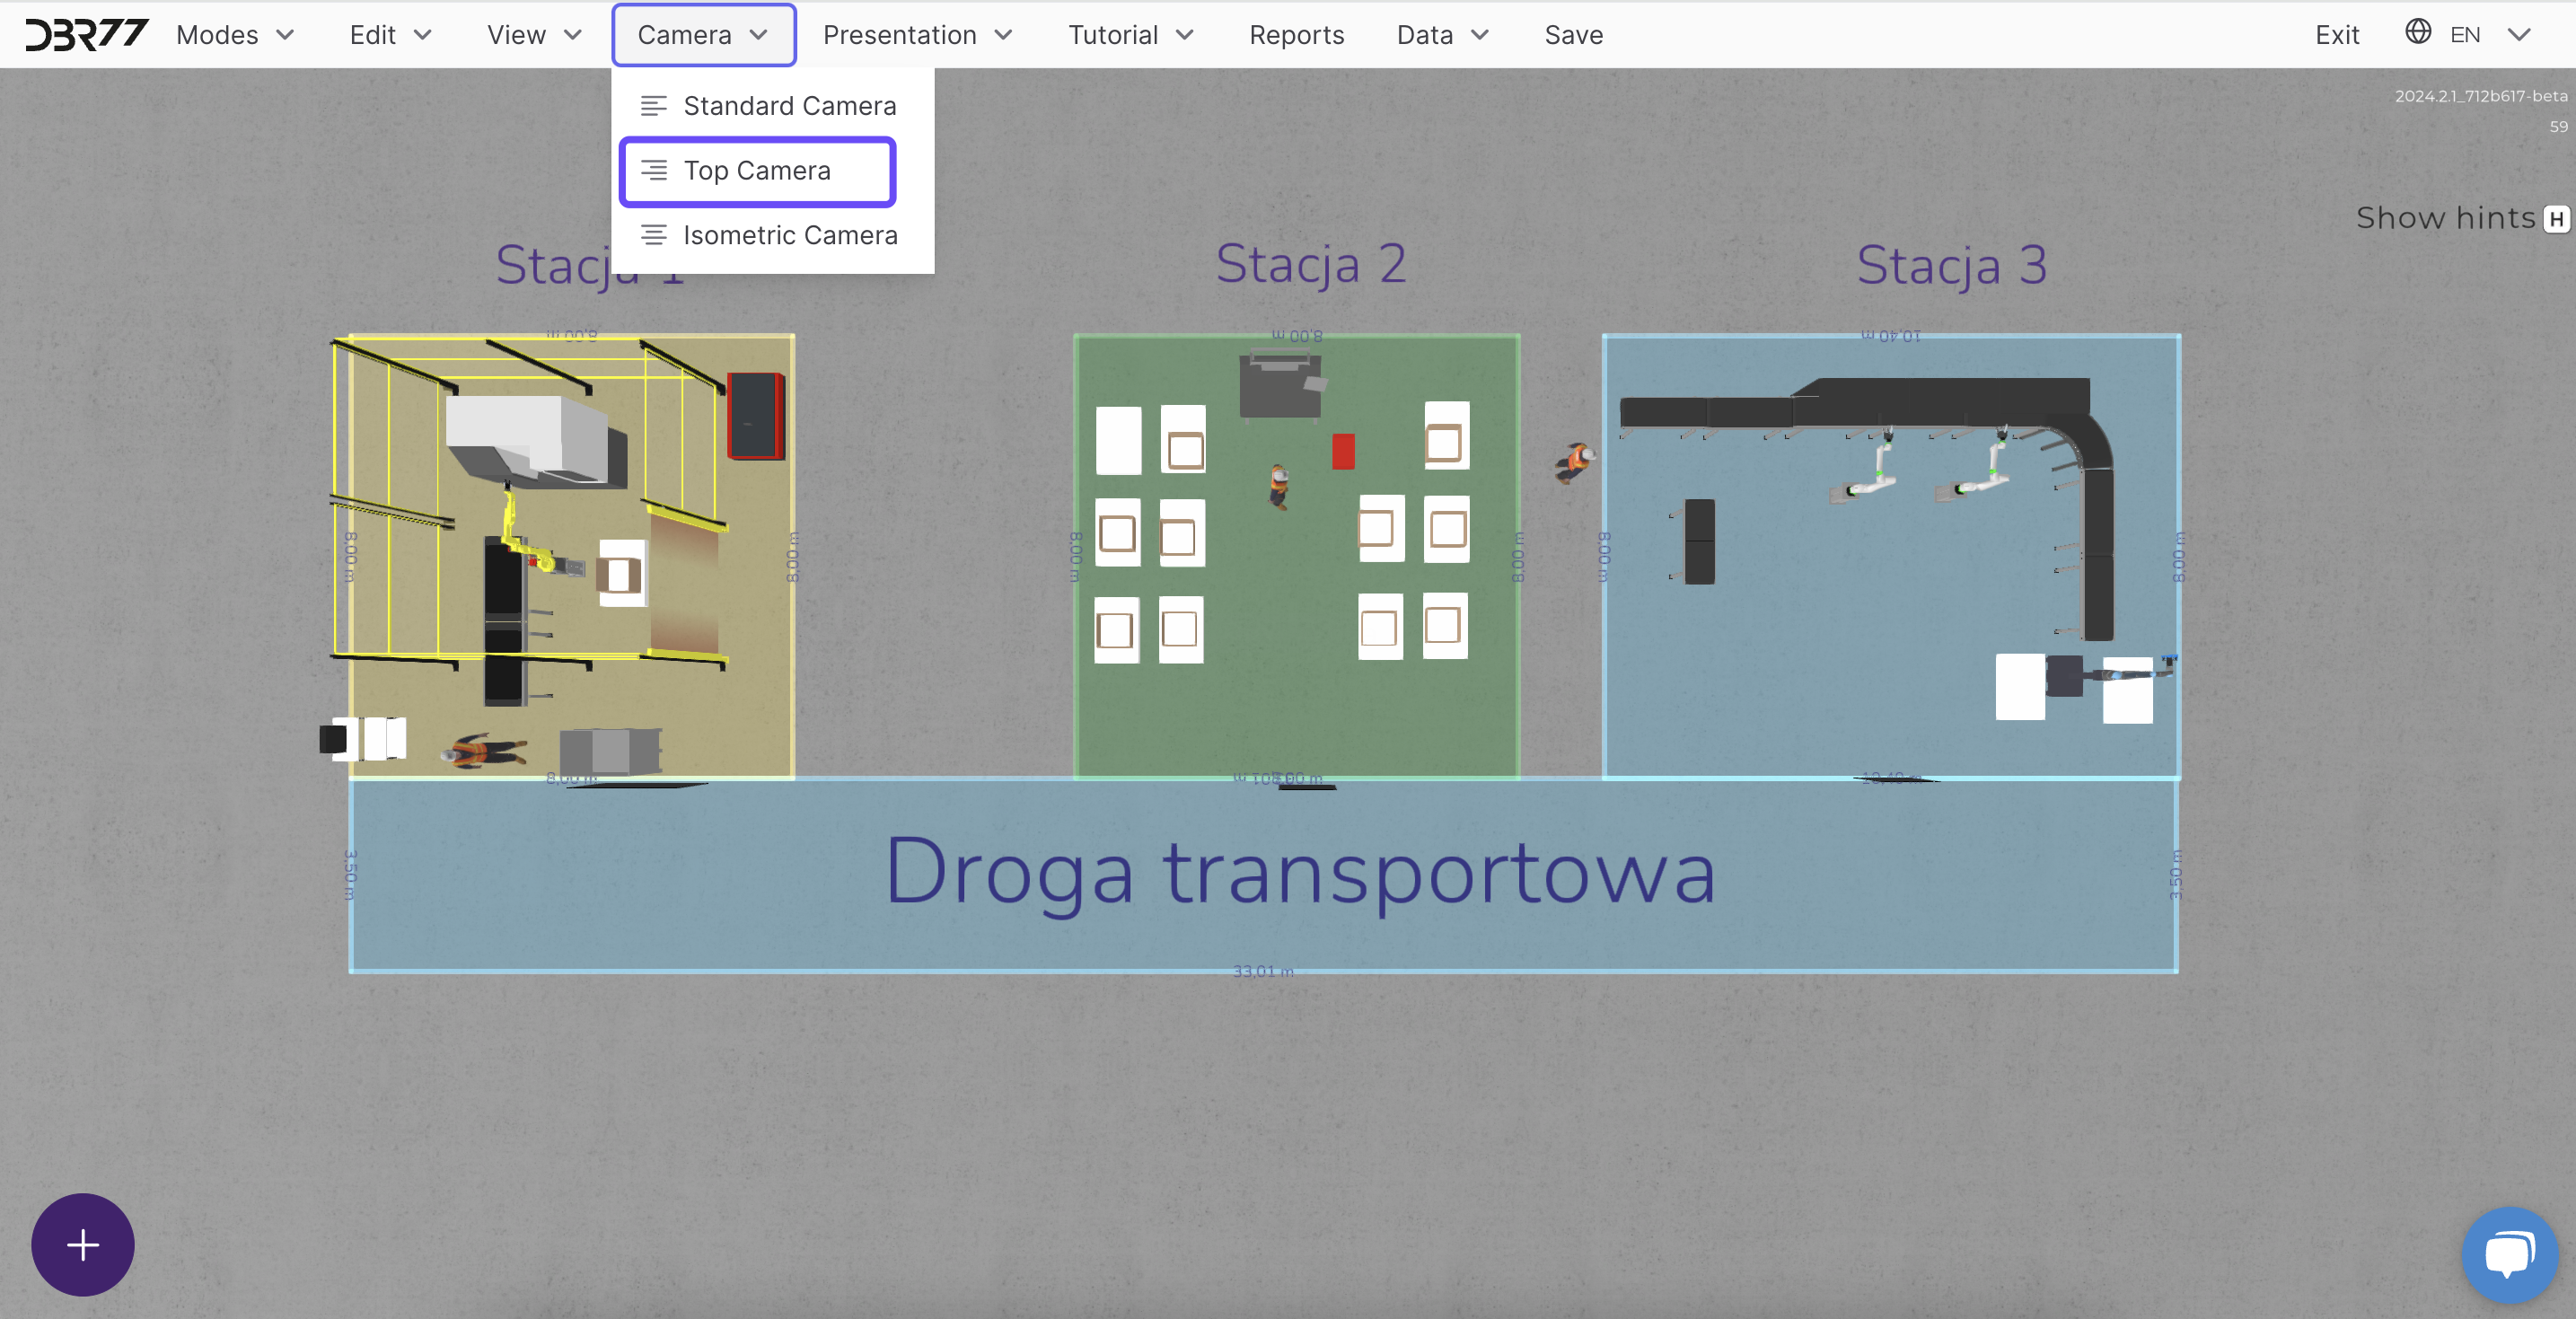
Camera
The "Camera" tab in the 3D Studio allows you to select different view modes to gain better understanding and control over your project. Three types of cameras are available: Standard, Top View, and Isometric.
Standard Camera
The Standard Camera provides a first-person perspective, enabling you to navigate the project environment as if you were physically present. This intuitive view is ideal for exploring the scene and offers:
Top View Camera
The Top View Camera offers a bird's-eye perspective of the entire project. This mode is particularly useful for layout planning and managing large areas, as it allows:
- Comprehensive Overview: Quickly and easily grasp the entire space layout.
- Precise Placement: Accurately position objects and elements within the production area.
Isometric Camera
The Isometric Camera provides a fixed-angle view, ensuring that object proportions remain undistorted. This mode is especially suited for technical and design tasks, as it enables:
- Fixed Angle: Objects retain their proportions regardless of their distance from the camera.
- Layout Clarity: Ideal for analyzing structure and relationships between objects.

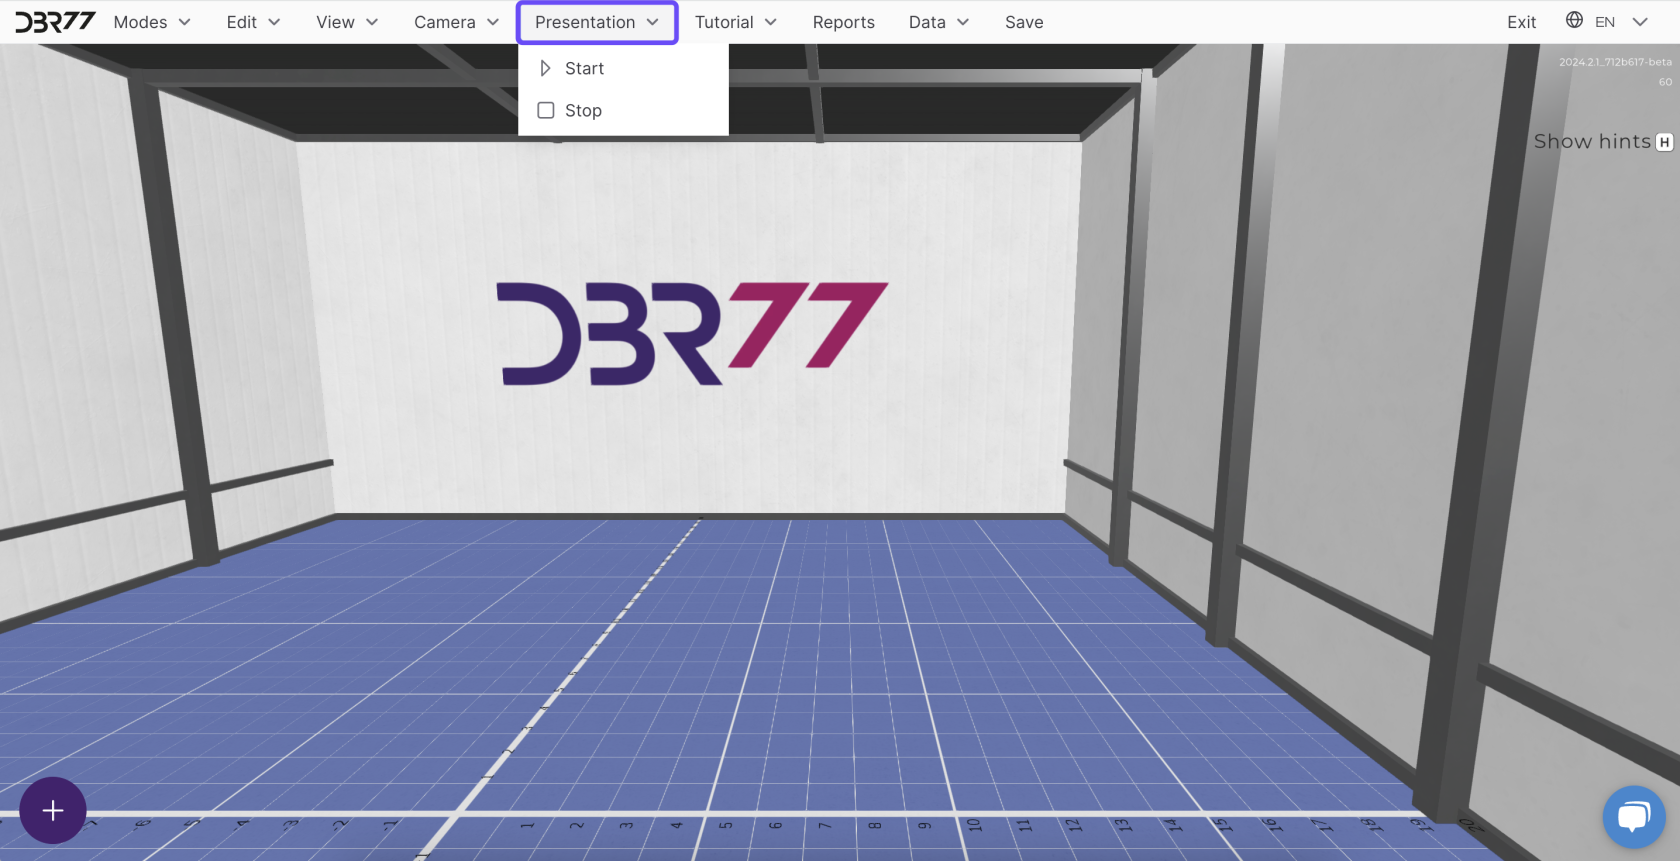
Presentation
The "Presentation" tab in the 3D Studio is designed for playing presentations prepared in Presentation Mode. This tab offers two simple options: Start and Stop, which allow you to play or pause the finalized presentations. Detailed instructions for editing presentations and setting camera positions can be found in the Presentation Mode tab.
Options in the Presentation Tab
- Start: Click the "Start" button to begin the presentation. It will play through all the previously configured camera angles and sequences.
- Stop: Click the "Stop" button to pause the presentation. The presentation will stop, and you will return to the previous working mode.
Advantages of the Presentation Tab
- Quick Access: The "Presentation" tab enables easy and fast playback of pre-prepared presentations.
- Simple Operation: Two intuitive options (Start and Stop) allow seamless control of the presentation without additional configuration.
- Professional Display: Prepared presentations enable you to showcase your project effectively and professionally.
The "Presentation" tab is a simple yet highly useful tool in the 3D Studio, allowing for quick playback and pausing of completed presentations.
Tutorial
The "Tutorial" tab in the 3D Studio helps users learn the various functions and modes of the tool through interactive guides. You can choose to go through the entire tutorial or focus on specific elements.
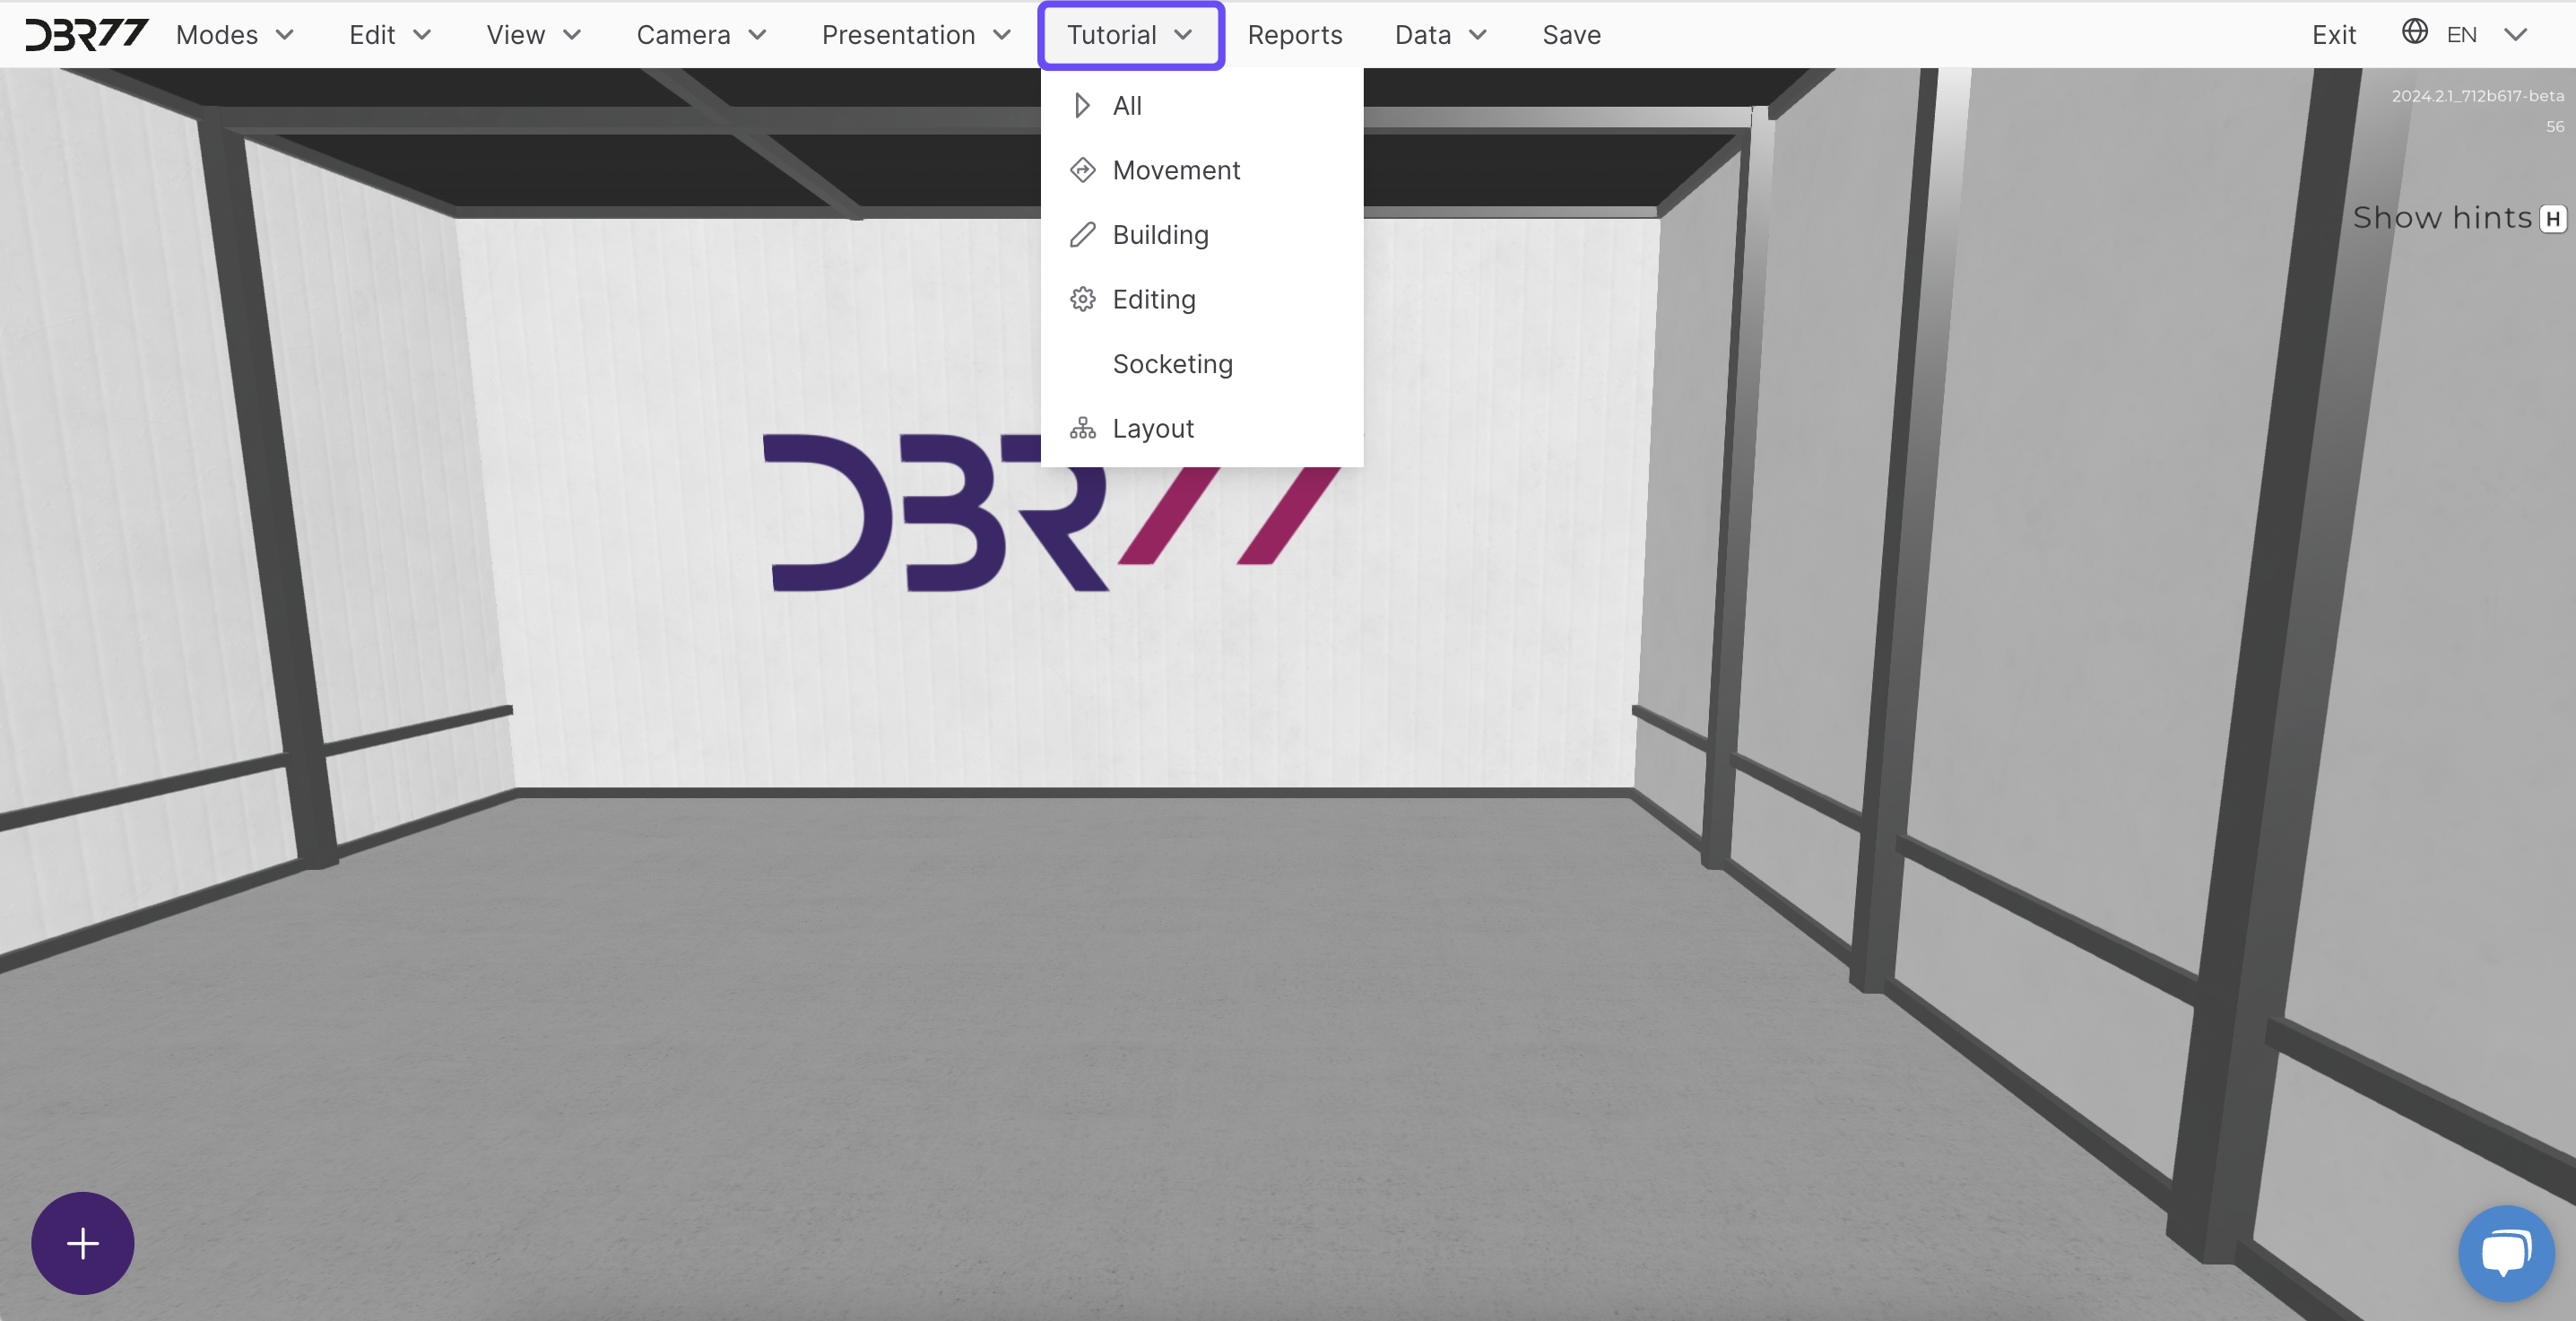
Options in the Tutorial Tab
-
All: Clicking the "All" button starts the full tutorial, guiding the user through all the functions and modes of the 3D Studio. This comprehensive guide is ideal for new users to familiarize themselves with the tool step by step.
-
Navigation: This tutorial demonstrates how to move around in the 3D Studio using the keyboard and mouse. It covers basic actions such as moving, rotating, and zooming.
-
Construction: The construction tutorial walks users through adding and placing 3D objects in the scene. Learn how to select, position, and configure models to create realistic visualizations of your project.
-
Editing: This tutorial shows how to modify existing objects in the scene. Learn how to adjust properties such as size, shape, and position to tailor the project to your specific needs.
-
Socketing: The socketing tutorial introduces users to connecting objects. Learn how to use sockets to precisely join elements, essential for creating complex arrangements.
-
Layout: This tutorial focuses on creating and customizing the layout on the floor. Learn how to plan and position different areas, work zones, and infrastructure elements to optimize the available space.
Advantages of the Tutorial Tab
- Interactive Learning: The "Tutorial" tab provides step-by-step interactive guides to introduce users to the functions of the 3D Studio.
- Flexible Selection: The option to choose between the full tutorial or specific elements allows for personalized learning at your own pace.
- Practical Skills: Users gain hands-on experience that they can immediately apply to their projects, improving their efficiency with the tool.
Reports
The "Reports" tab is where you can download reports of completed simulations.
For detailed information about the reports, refer to the "Reports" tab.
Keyboard Shortcuts
The 3D Studio provides a range of keyboard shortcuts to significantly speed up workflows and simplify the use of various features. To view the full list of available shortcuts, press the "H" key on your keyboard.
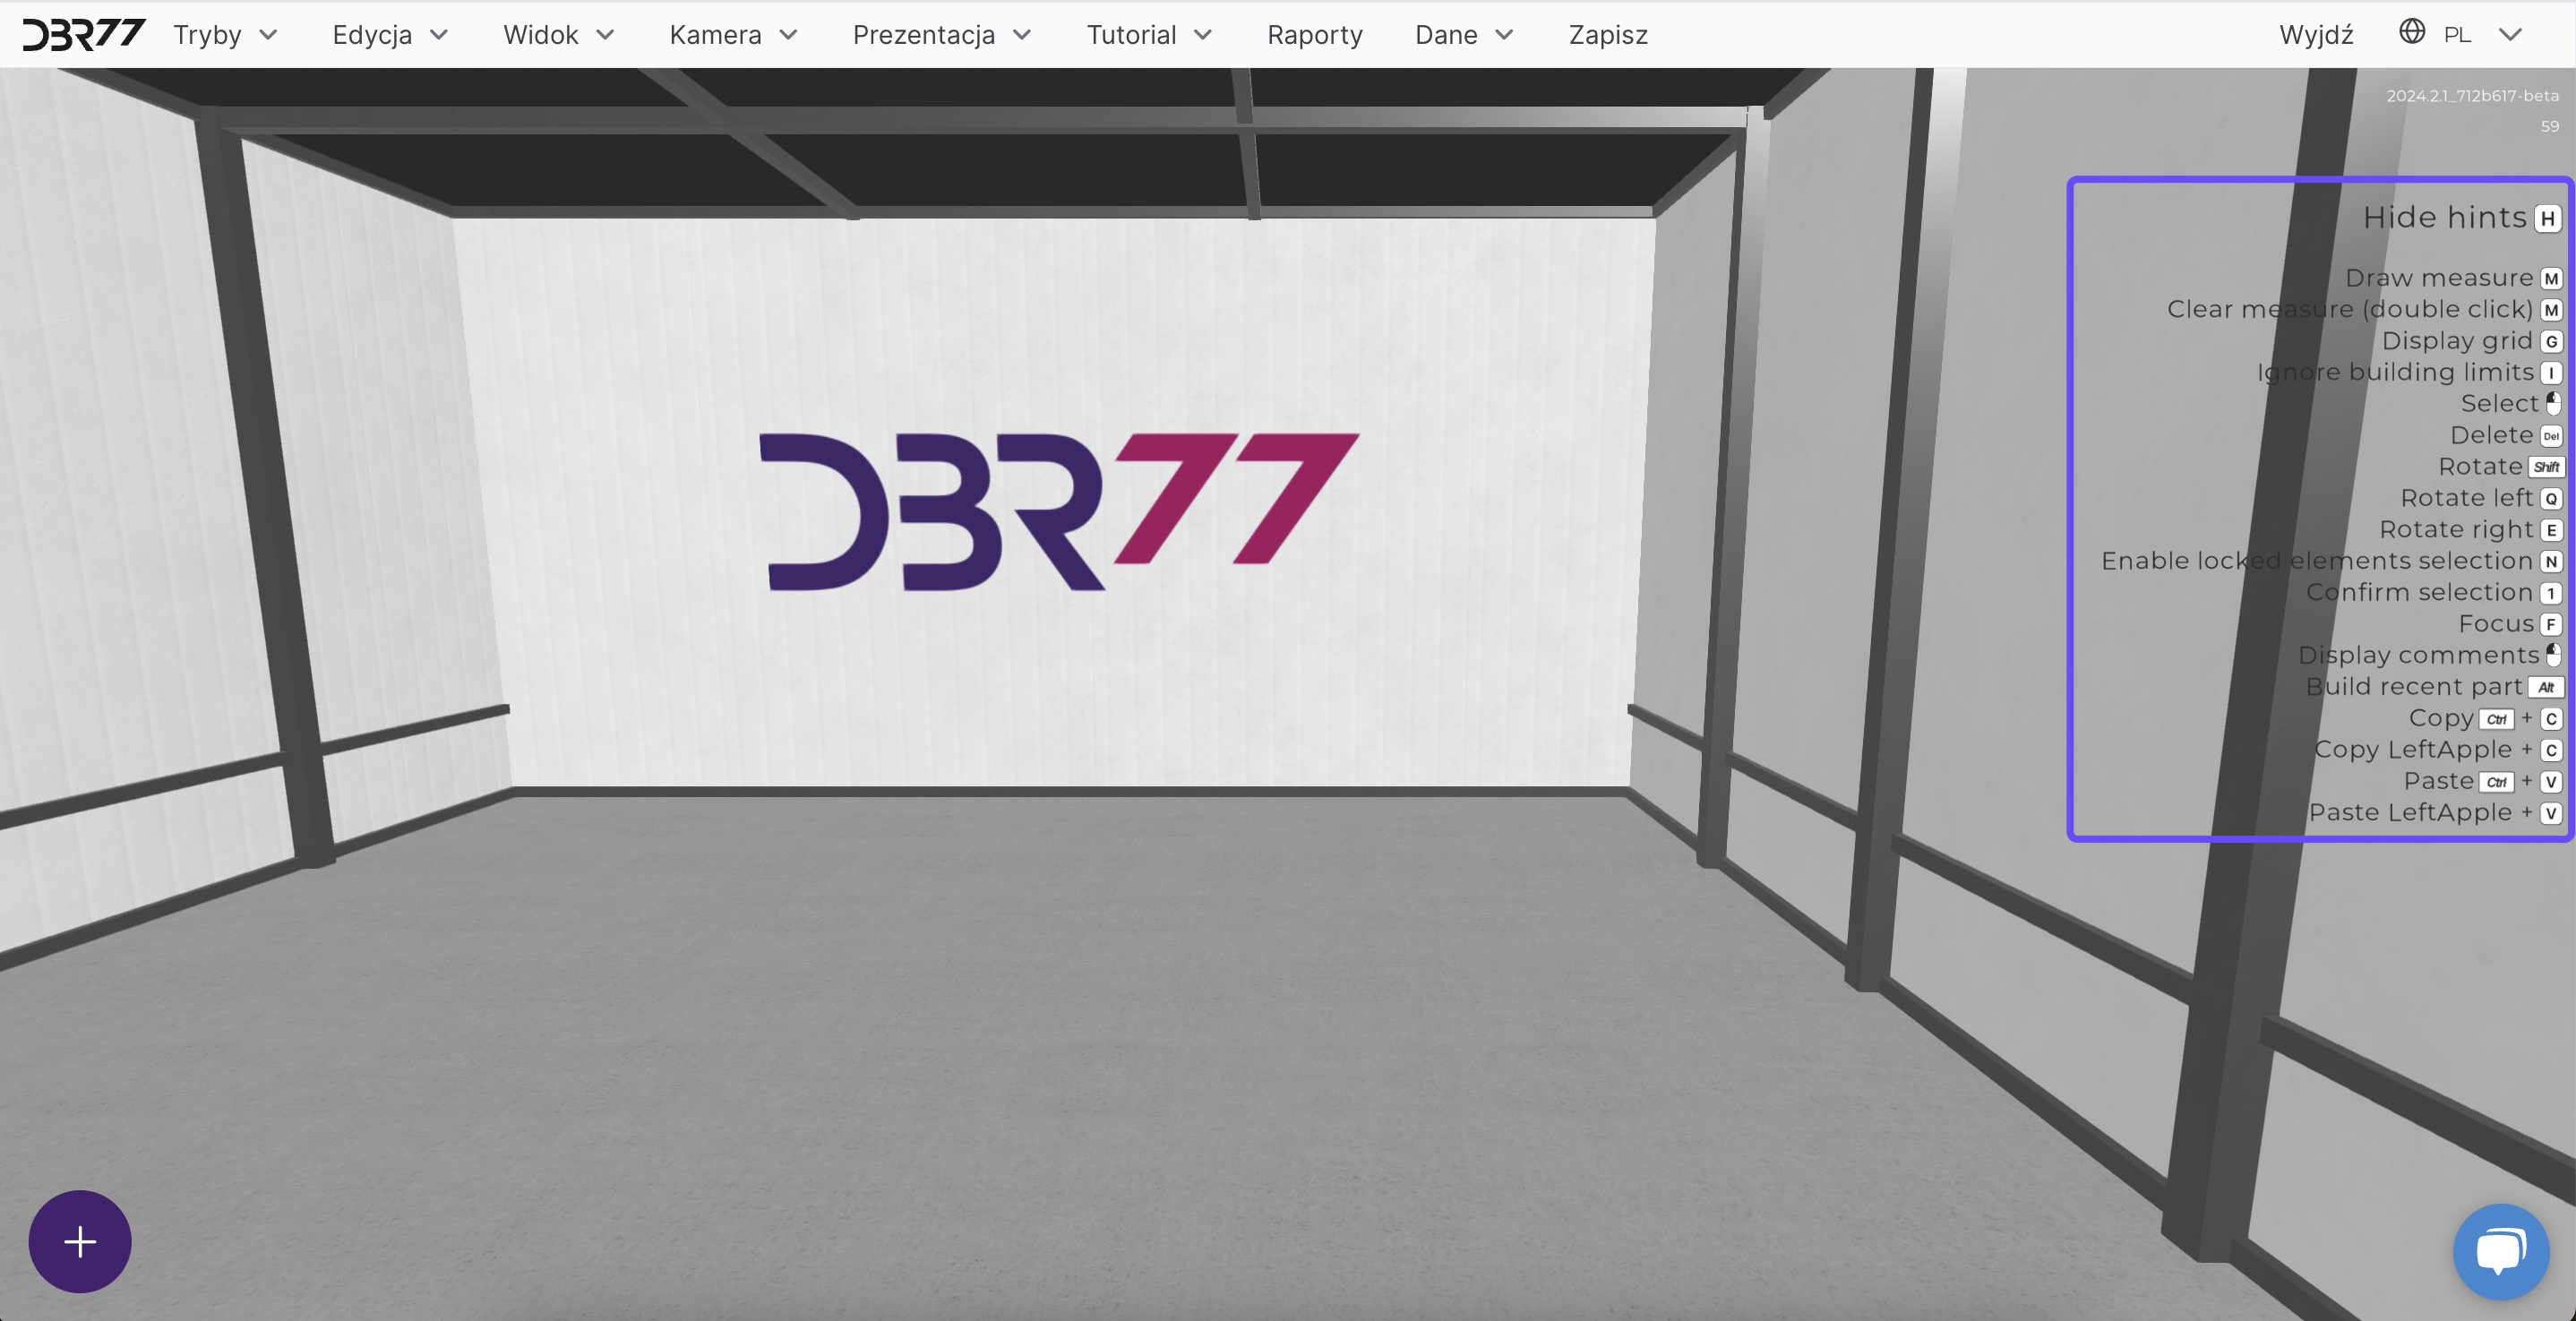
Shortcuts
Navigation
- WASD: Move around the space (forward, backward, left, right).
- Q: Move down.
- E: Move up.
- Shift: Accelerate movement.
Camera Control
Additional Shortcuts
- M: Display the measuring tape.
- Double-click M: Delete the measuring tape.
- I: Ignore collisions when moving objects.